
A rich brownie base, creamy cheesecake, and irresistible cookie dough topping come together in this ultimate dessert. Each layer offers a different texture and flavor, making every bite an unforgettable experience. The fudgy brownie provides a dense and chocolatey foundation, the cheesecake adds a smooth and tangy contrast, and the edible cookie dough completes it with its soft, buttery sweetness.
This dessert isn’t just about indulgence; it’s a showstopper for any occasion. A slice pairs perfectly with a cup of coffee or a scoop of vanilla ice cream, making it ideal for gatherings or a well-deserved treat. The layers bake together seamlessly, creating a visually stunning masterpiece that’s just as delicious as it looks. Whether served at a party or enjoyed in a quiet moment, this Brownie Bottom Cookie Dough Cheesecake will satisfy even the most intense sweet cravings.
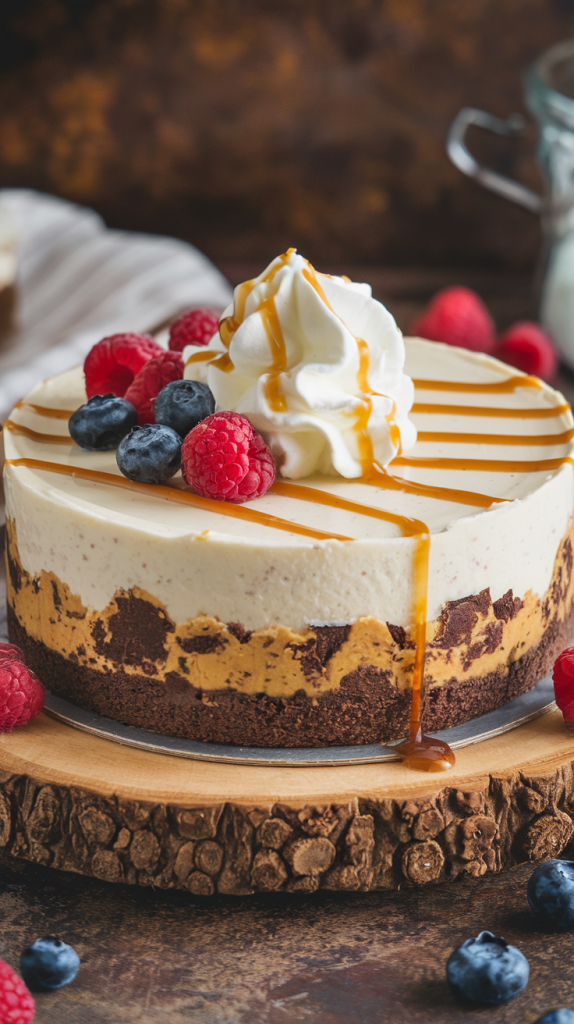
Brownie Bottom Cookie Dough Cheesecake (Excellent Recipe)
Ingredients

Brownie Layer
- ½ cup (1 stick) unsalted butter, melted
- 1 cup granulated sugar
- 2 large eggs
- 1 teaspoon vanilla extract
- ½ cup all-purpose flour
- ⅓ cup unsweetened cocoa powder
- ¼ teaspoon salt
- ¼ teaspoon baking powder
Cheesecake Layer
- 16 ounces (2 blocks) cream cheese, softened
- ½ cup granulated sugar
- 2 large eggs
- 1 teaspoon vanilla extract
- ½ cup sour cream
Cookie Dough Layer
- ½ cup (1 stick) unsalted butter, softened
- ½ cup brown sugar, packed
- ¼ cup granulated sugar
- 2 tablespoons milk
- 1 teaspoon vanilla extract
- 1 cup all-purpose flour, heat-treated
- ½ teaspoon salt
- ½ cup mini chocolate chips
Brownie Bottom Cookie Dough Cheesecake (Step by Step Guide)
Here’s a step-by-step guide to making Brownie Bottom Cookie Dough Cheesecake with detailed i
Step 1: Prepare the Brownie Batter
Preheat your oven to 350°F (175°C). Grease a 9-inch springform pan with butter or non-stick spray and line the bottom with parchment paper. In a large mixing bowl, whisk together melted butter and sugar until smooth. Add eggs and vanilla extract, whisking until well combined. Sift in the cocoa powder, flour, salt, and baking powder, and gently fold until the batter is just mixed. Do not overmix, or the brownie layer will be too dense.
Pour the batter into the prepared pan, spreading it evenly with a spatula. Bake for 15 minutes, then remove from the oven and allow it to cool while preparing the cheesecake layer. The brownie base should be slightly set but not fully baked.
Step 2: Prepare the Cheesecake Filling
Using a hand mixer or stand mixer, beat cream cheese and sugar until smooth and creamy. Scrape down the sides of the bowl to ensure even mixing. Add eggs one at a time, beating at low speed after each addition. Mix in the vanilla extract and continue beating until smooth and lump-free.
Pour the cheesecake filling over the partially baked brownie layer, using a spatula to spread it evenly. Be careful not to press too hard to avoid disturbing the brownie base.
Step 3: Bake the Cheesecake Layer
Reduce the oven temperature to 325°F (163°C) and place the cheesecake back into the oven. Bake for 30-35 minutes, or until the center is set but still slightly jiggly. If the edges start to brown too much, loosely cover the pan with aluminum foil.
Once baked, turn off the oven and leave the cheesecake inside for 10 minutes with the oven door slightly open. This helps prevent cracks from forming. Remove from the oven and allow the cheesecake to cool completely at room temperature.
Step 4: Make the Edible Cookie Dough
While the cheesecake cools, prepare the cookie dough topping. In a large bowl, beat softened butter, brown sugar, and granulated sugar until light and fluffy. Add vanilla extract and mix well. Gradually mix in flour and salt, stirring until fully incorporated. Fold in the mini chocolate chips using a spatula.
If the dough feels too sticky, refrigerate it for 15 minutes before assembling the cheesecake. This will make it easier to shape and spread.
Step 5: Layer the Cookie Dough on the Cheesecake
Once the cheesecake has cooled completely, spread or drop small chunks of the cookie dough evenly over the top. Press gently to adhere without damaging the cheesecake layer. You can leave it as chunks or flatten it for a smoother topping.
For an extra touch, refrigerate the cheesecake for another 30 minutes before adding the ganache, so the layers set properly.
Step 6: Prepare the Chocolate Ganache (Optional)
To make a silky chocolate ganache, heat ¼ cup heavy cream in a small saucepan or microwave until warm but not boiling. Pour the warm cream over ½ cup chocolate chips in a heatproof bowl. Let it sit for 2 minutes, then stir until smooth and glossy.
Drizzle the ganache over the cookie dough layer, using a spoon or piping bag. This step is optional but adds a rich chocolatey finish to the cheesecake.
Step 7: Chill the Cheesecake for Best Results
Transfer the cheesecake to the refrigerator and chill for at least 4 hours, preferably overnight. This allows the flavors to meld together and ensures clean slices when serving.
If you’re in a hurry, you can place the cheesecake in the freezer for 1 hour, but avoid freezing for too long, or it may become too hard to slice.
Step 8: Remove from the Springform Pan
Once fully chilled, run a knife along the edges of the cheesecake to loosen it from the pan. Carefully release the springform latch and remove the outer ring. If the edges appear rough, use a warm knife to smooth them out.
For best results, wipe the knife clean between slices to maintain a neat presentation.
Step 9: Garnish and Serve
Before serving, add final toppings like:
- Extra mini chocolate chips sprinkled over the top
- Whipped cream dollops around the edges
- A light dusting of cocoa powder for extra richness
Slice the cheesecake into even portions and serve chilled. The combination of fudgy brownie, creamy cheesecake, and chewy cookie dough makes this a decadent dessert that’s perfect for any occasion.
Step 10: Storage and Freezing Instructions
If you have leftovers, store the cheesecake in an airtight container in the refrigerator for up to 5 days. To freeze:
- Wrap individual slices in plastic wrap and then place them in a ziplock bag.
- Freeze for up to 3 months.
- Thaw overnight in the refrigerator before serving.
This Brownie Bottom Cookie Dough Cheesecake is a show-stopping dessert that will impress everyone. Enjoy!
Finishing Touches and Serving Suggestions
Once your Brownie Bottom Cookie Dough Cheesecake has been chilled and removed from the springform pan, it’s time for the final presentation.
1. Adding Decorative Toppings
Enhance the visual appeal with these finishing touches:
- Chocolate Drizzle – Use melted chocolate or ganache to create elegant drizzles over the cheesecake.
- Whipped Cream – Pipe small swirls around the edges for a bakery-style look.
- Extra Cookie Dough Chunks – Place a few small cookie dough pieces on top for an indulgent effect.
- Chocolate Chips or Sprinkles – Scatter mini chocolate chips or sprinkles over the top for a fun, textured finish.
2. Serving Tips for the Best Experience
To ensure perfect slices, follow these serving tips:
- Use a sharp knife and wipe it clean between each cut for smooth slices.
- Allow the cheesecake to sit at room temperature for 10 minutes before serving for a softer texture.
- Serve with vanilla ice cream or a caramel drizzle for an extra-special treat.
3. Pairing Suggestions
This cheesecake pairs wonderfully with:
- Hot coffee or espresso to balance the sweetness.
- A glass of milk or a vanilla latte for a classic pairing.
- Fresh berries for a refreshing contrast to the rich flavors.
FAQs
1. Can I use a boxed brownie mix for the base?
Yes! If you prefer a shortcut, you can use a boxed brownie mix instead of making the brownie layer from scratch. Follow the package instructions, but bake it for 10-15 minutes less than usual since it will continue baking with the cheesecake layer. Just make sure the brownie is set but still slightly underbaked before adding the cheesecake.
2. How do I make the cookie dough safe to eat?
Since this is an edible cookie dough topping, there are no raw eggs in the dough. However, to make the flour safe, you can heat-treat it by spreading it on a baking sheet and baking at 350°F (175°C) for 5 minutes or microwaving it in 30-second bursts until it reaches 165°F (74°C). This eliminates any potential bacteria.
3. What should I do if my cheesecake cracks?
Cracks can form if the cheesecake is overbaked or cools too quickly. To prevent this:
- Don’t overmix the batter (too much air can cause cracking).
- Bake at a lower temperature and allow the cheesecake to cool gradually in the oven.
- If cracks still appear, simply cover them with cookie dough chunks, whipped cream, or ganache—no one will notice!
4. Can I make this cheesecake ahead of time?
Absolutely! This cheesecake actually tastes better the next day after chilling. You can make it 1-2 days in advance and store it in the refrigerator. If freezing, wrap it well and thaw it in the fridge overnight before serving.
5. Can I make this recipe gluten-free?
Yes! To make a gluten-free version, use gluten-free all-purpose flour for both the brownie and cookie dough layers. Make sure to check that your chocolate chips and vanilla extract are also gluten-free. The texture may be slightly different, but it will still taste amazing.
Conclusion
This Brownie Bottom Cookie Dough Cheesecake is the ultimate dessert for anyone who loves chocolate, cheesecake, and cookie dough in one bite. With its fudgy brownie base, creamy cheesecake center, and sweet cookie dough topping, every layer brings something special. Whether you’re making it for a party, special occasion, or just because, this dessert is guaranteed to impress.
Follow the step-by-step guide, let it chill properly, and use the finishing touches to make it look bakery-worthy. Serve it with coffee, milk, or fresh fruit for a delicious treat.
Enjoy making and sharing this indulgent cheesecake! Would you like any additional variations or troubleshooting tips?
Related Recipes