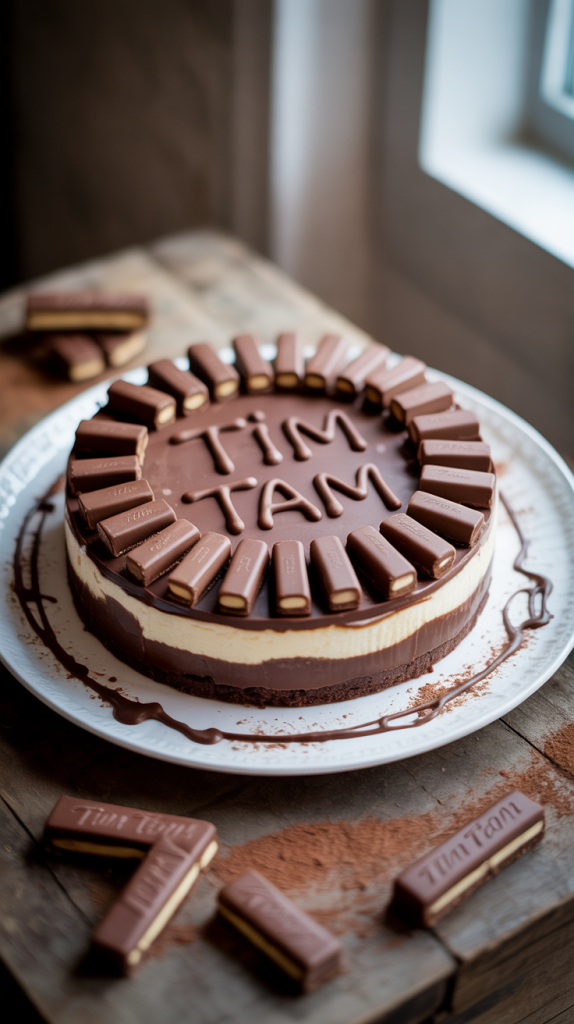
Tim Tam cheesecake join forces in the most delicious way possible. This dessert doesn’t just taste good—it stuns. Imagine the crunchy, chocolatey bite of Australia’s favorite biscuit meeting the rich, creamy swirl of a cheesecake. That combo creates something unforgettable.
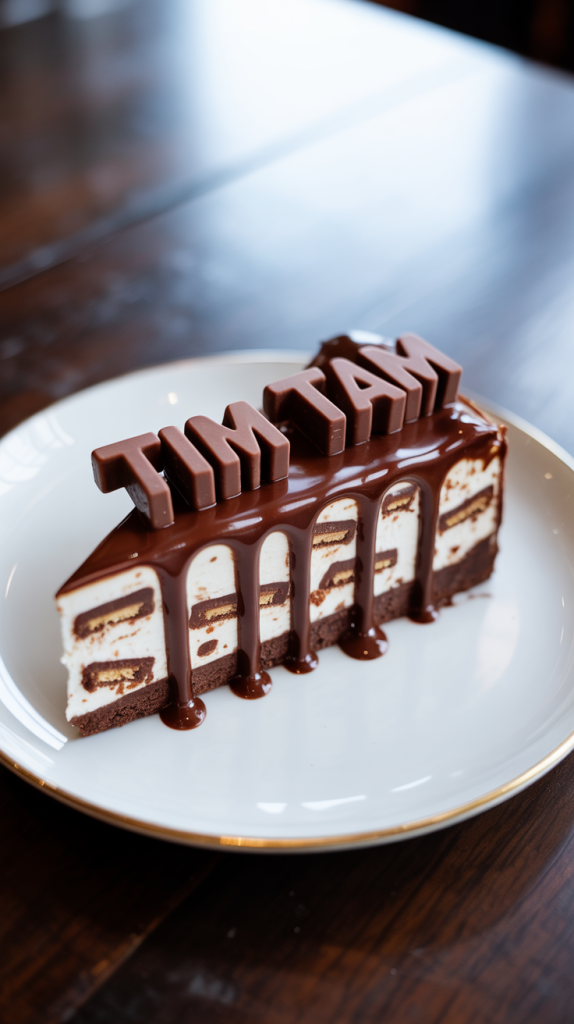
Each slice delivers a perfect balance of smooth filling and that signature Tim Tam crunch. The base holds a fudgy snap, while the top melts on your tongue. Dessert doesn’t get more indulgent, more fun, or more crowd-pleasing than this.
This recipe guarantees smiles at parties, cozy nights in, or anytime you need a serious treat. One bite wraps you in chocolate comfort and creamy bliss. The best part? It’s surprisingly easy to make with just a handful of ingredients. So go ahead, grab a pack of Tim Tams and turn dessert into the main event.
Ingredients
For the Base:
- 2 packs Tim Tams (about 400g total), crushed
- 80g unsalted butter, melted
For the Cheesecake Filling:
- 500g cream cheese, softened
- 300ml thickened cream (or heavy whipping cream)
- 1/2 cup powdered sugar (or icing sugar)
- 1 teaspoon vanilla extract
- 1 pack Tim Tams (roughly chopped, reserve a few for topping)
For the Topping (Optional but Recommended):
- 100g dark or milk chocolate, melted
- Extra chopped Tim Tams for garnish
- Whipped cream or chocolate curls (optional)
Equipment Needed
- 9-inch (23cm) springform pan – for easy release and perfect cheesecake shape
- Food processor or rolling pin + ziplock bag – to crush the Tim Tams for the base
- Mixing bowls (medium & large) – for combining the crust and the filling
- Electric mixer or stand mixer – to whip the cream and beat the cream cheese until smooth
- Rubber spatula – for folding in chopped Tim Tams and scraping the sides
- Measuring cups and spoons – for accurate ingredient quantities
- Offset spatula or back of a spoon – to smooth out the layers evenly
- Microwave-safe bowl – for melting chocolate if using the topping
- Refrigerator space – to chill and set the cheesecake for at least 6 hours (or overnight)
Step By Step Guide Of Tim Tam Cheesecake
Step 1: Prepare Your Springform Pan
Grab your 9-inch springform pan and lightly grease the base with a little butter or line it with parchment paper. This prevents sticking and ensures your cheesecake lifts out clean. Place it aside on a flat surface so you’re ready for the base.
Step 2: Crush the Tim Tams for the Base
Place 2 packs of Tim Tams into a food processor and pulse until they resemble fine crumbs. No food processor? Pop the biscuits in a ziplock bag and smash them using a rolling pin. Make sure there are no large chunks left.
Step 3: Make the Biscuit Base
Transfer the crushed Tim Tams into a mixing bowl. Pour in the melted butter and stir with a spatula until the crumbs are evenly coated and slightly sticky. Press this mixture firmly into the base of your prepared springform pan. Use the back of a spoon or a glass to smooth and compact it evenly.
Step 4: Chill the Base
Slide the pan into the refrigerator and let the crust chill for at least 30 minutes. This helps the base firm up so it doesn’t mix into the filling. While that’s chilling, move on to the cheesecake mixture.
Step 5: Beat the Cream Cheese
In a large mixing bowl, add softened cream cheese. Beat it using an electric mixer on medium speed until it’s completely smooth and lump-free. This usually takes around 2 to 3 minutes. Smooth cream cheese is key to a silky filling.
Step 6: Whip the Cream Separately
In a separate bowl, pour in the thickened cream. Whip it using clean beaters until soft peaks form. You don’t want stiff peaks—just a soft, fluffy texture. Whipping the cream separately gives your cheesecake a light and airy feel.
Step 7: Combine the Filling
Add the powdered sugar and vanilla extract to the beaten cream cheese and beat again until fully combined. Then gently fold in the whipped cream using a spatula. Don’t rush this step—fold slowly to keep the air in the mixture.
Step 8: Add the Chopped Tim Tams
Roughly chop 1 pack of Tim Tams into small chunks. Toss them into the filling and gently fold them in. These bits add surprise pockets of crunch and chocolate in every bite. Save a few pieces for topping later if you like.
Step 9: Fill the Pan and Smooth the Top
Take the crust out of the fridge. Spoon the cheesecake filling over the base, spreading it out evenly. Use an offset spatula or the back of a spoon to smooth the top nicely. Tap the pan gently on the counter to remove any air bubbles.
Step 10: Chill and Decorate
Place the cheesecake in the fridge and chill for at least 6 hours, but overnight is best for a firm, sliceable texture. Once set, drizzle melted chocolate on top and sprinkle with extra chopped Tim Tams. Add whipped cream or chocolate curls for a final flourish.
Serving Tips
- Chill Before Slicing:
Always serve this cheesecake cold. Make sure it’s been in the fridge for at least 6 hours (preferably overnight). The chilled texture enhances the creamy filling and keeps the base firm. - Use a Warm Knife:
Run a sharp knife under hot water, then wipe it dry before slicing. This helps you cut smooth, clean pieces without dragging through the filling. Wipe and reheat the knife between each slice for picture-perfect results. - Add Fresh Garnish Just Before Serving:
Top each slice with a dollop of whipped cream, extra chopped Tim Tams, or a drizzle of melted chocolate right before serving. This keeps the garnish fresh and visually stunning. - Serve on Chilled Plates:
For extra indulgence and to keep the dessert cool longer, serve on cold plates straight from the fridge. It gives a professional touch and helps with presentation. - Pair It Right:
Offer a cup of espresso, black coffee, or a glass of cold milk alongside. The bold flavors of the cheesecake pair perfectly with simple drinks that cut through the richness.
FAQs
FAQ 1: Can I use other chocolate biscuits instead of Tim Tams?
Yes, you can substitute Tim Tams with similar chocolate biscuits like Oreos, Chocolate Digestives, or any crunchy chocolate cookie. Keep in mind that the flavor and texture will change slightly, but the cheesecake will still taste delicious.
FAQ 2: Do I need to bake this cheesecake?
No baking is required for this Tim Tam cheesecake. It’s a no-bake recipe that sets firmly in the fridge thanks to the cream cheese and whipped cream combination. This makes it quick and easy for any occasion.
FAQ 3: How long can I store the cheesecake?
Store the cheesecake covered in the refrigerator for up to 3-4 days. Keep it airtight to maintain freshness. Avoid freezing as it may alter the texture and make the biscuit base soggy.
FAQ 4: Can I make this cheesecake dairy-free or vegan?
You can try using dairy-free cream cheese and coconut cream as substitutes. Look for vegan chocolate biscuits or make your own base using crushed nuts and dairy-free alternatives. The texture might be slightly different but still enjoyable.
FAQ 5: What’s the best way to serve leftover cheesecake?
Leftover cheesecake tastes great chilled or at room temperature. For extra flair, add fresh berries, a drizzle of chocolate sauce, or a scoop of vanilla ice cream. Just slice carefully to maintain the layers.
Conclusion
The Tim Tam cheesecake offers a decadent twist on a classic dessert by blending creamy cheesecake with Australia’s beloved chocolate biscuit. Easy to prepare and visually stunning, it fits perfectly into any celebration or simple indulgence moment. This no-bake recipe delivers rich flavor and delightful textures that impress every time. With minimal ingredients and straightforward steps, even beginners can master it effortlessly. Give yourself the joy of this chocolatey treat—each bite promises comfort, fun, and pure deliciousness. Grab your Tim Tams and enjoy a dessert that truly steals the show!
Related Recipes