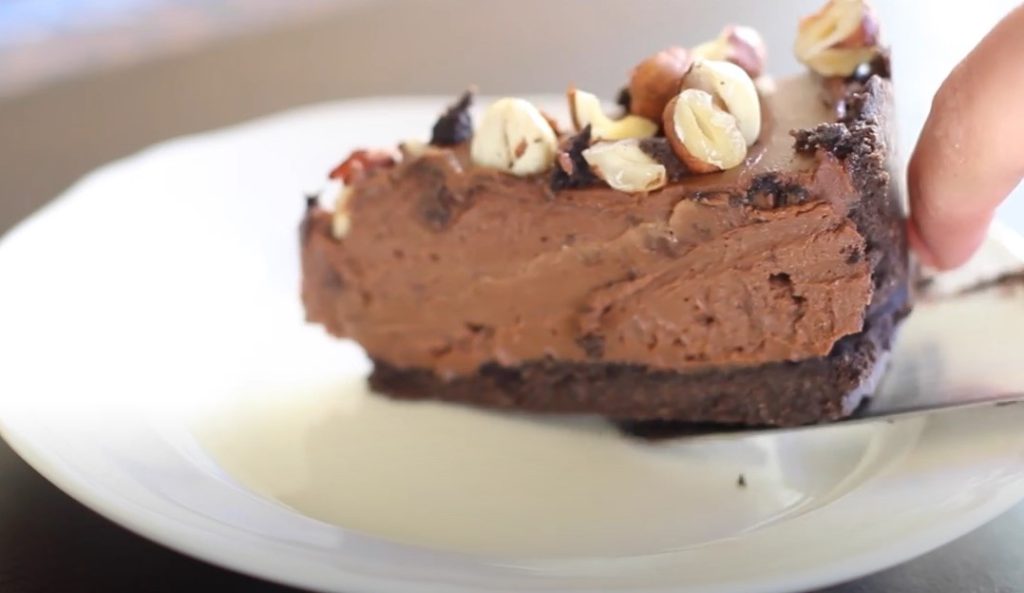
A rich swirl of Nutella meets velvety cream cheese in the easiest dessert you’ll ever whip up. This no-bake Nutella cheesecake brings together the smoothness of chocolate hazelnut spread with the light, fluffy texture of a chilled mousse, all on top of a buttery cookie crust. Every bite delivers indulgence without the stress of baking or cracking.
This dessert doesn’t need a water bath, oven timer, or complicated techniques. Just a handful of ingredients, a chilled bowl, and a little patience while it sets in the fridge. Perfect for birthdays, holidays, or last-minute guests, this cheesecake never fails to impress.
Kids and adults fall in love with its silky texture and deep Nutella flavor. The crust adds just the right crunch to balance the creamy filling. Whether it’s summer heat or busy schedules, this dessert fits every occasion with style and ease. Get ready to slice into chocolatey bliss.

Ingredients for No-Bake Nutella Cheesecake
For the crust:
- 2 cups crushed graham crackers or digestive biscuits
- ½ cup unsalted butter, melted
- 2 tablespoons granulated sugar (optional, for added sweetness)
For the filling:
- 16 oz (450g) cream cheese, softened
- 1 cup Nutella
- ½ cup powdered sugar
- 1 teaspoon vanilla extract
- 1 ½ cups heavy whipping cream, cold
For the topping (optional but delicious):
- Extra Nutella for drizzling
- Chocolate shavings or curls
- Crushed hazelnuts or Ferrero Rocher pieces
- Whipped cream
Kitchen Tools
- Mixing bowls (at least two: one for crust, one for filling)
- Electric mixer or hand whisk (for whipping cream and mixing filling)
- Spatula (for folding and scraping)
- 9-inch (23 cm) springform pan or a pie dish
- Measuring cups and spoons
- Food processor or a rolling pin and plastic bag (to crush the cookies)
- Rubber scraper or spoon (to press crust into pan)
- Refrigerator (to chill and set the cheesecake)
Equipment Needed
- Refrigerator (to chill and set the cheesecake)
- Electric mixer or stand mixer (to whip the cream and mix filling smoothly)
- Springform pan (9-inch) or an 8-9 inch pie dish for easy removal
- Food processor (optional, for finely crushing the cookies)
- Mixing bowls (at least two)
- Measuring cups and spoons
Step-by-Step Guide
1. Prepare the Crust Ingredients
Measure out the graham crackers (or digestive biscuits), melted butter, and sugar. Having these ready before you start mixing makes the process smooth and efficient.
2. Crush the Cookies for the Crust
Use a food processor to pulse the cookies until they become fine crumbs. If you don’t have one, place the cookies in a ziplock bag and crush them with a rolling pin until you get a sandy texture. This ensures a firm and even crust.
3. Mix the Crust Ingredients
Combine the cookie crumbs, melted butter, and sugar in a bowl. Stir until all crumbs are evenly coated with butter. The butter helps the crust hold together and adds richness.
4. Press the Crust into the Pan
Transfer the crust mixture into your springform pan or pie dish. Use the back of a spoon or a flat-bottomed glass to press the crumbs firmly and evenly across the bottom and slightly up the sides. This forms the solid base for the cheesecake.
5. Chill the Crust
Place the crust in the refrigerator for at least 15 minutes. Chilling firms the crust, making it stable enough to support the creamy filling.
6. Soften the Cream Cheese
Allow the cream cheese to sit at room temperature until soft. This makes it easier to whip into a smooth, lump-free filling and prevents graininess.
7. Whip the Cream Cheese and Nutella
In a large mixing bowl, beat the softened cream cheese and Nutella together with an electric mixer until smooth and fully combined. This creates the rich, chocolatey base of your cheesecake.
8. Add Powdered Sugar and Vanilla
Mix in the powdered sugar and vanilla extract. These add sweetness and depth of flavor, balancing Nutella’s rich nuttiness.
9. Whip the Heavy Cream
In a separate bowl, whip the cold heavy cream with an electric mixer until it forms stiff peaks. Stiff peaks mean the cream holds its shape firmly when the beaters are lifted—this is key for a fluffy texture.
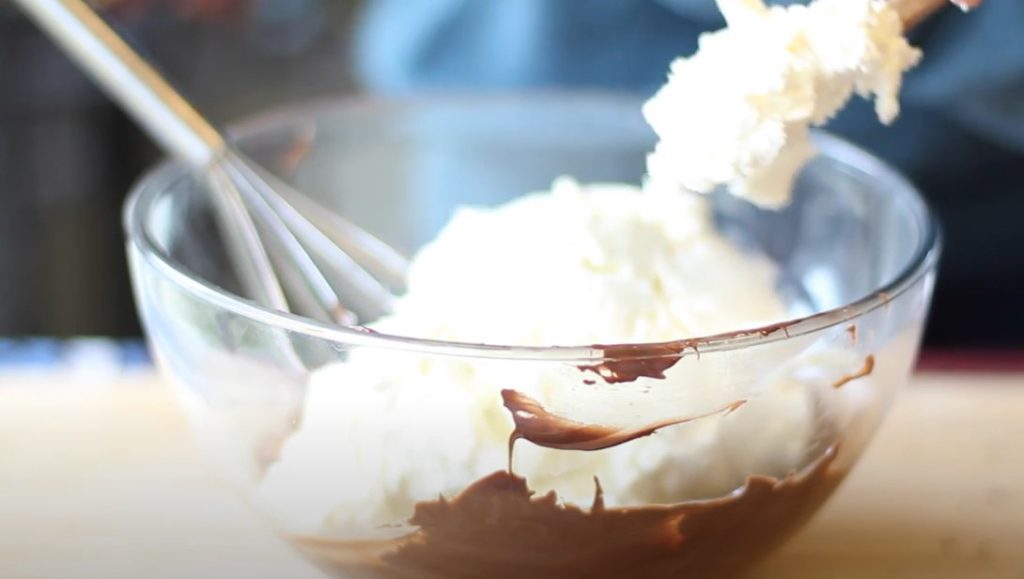
10. Fold Whipped Cream into Nutella Mixture
Gently fold the whipped cream into the Nutella and cream cheese mixture using a spatula. Folding keeps the air in the whipped cream, resulting in a light, airy filling.
11. Assemble and Chill the Cheesecake
Pour the filling over the chilled crust, spreading it evenly. Cover the pan with plastic wrap or foil, then refrigerate for at least 4 hours or overnight to allow the cheesecake to set perfectly.
12. Garnish and Serve
Before serving, optionally drizzle extra Nutella on top, add chocolate shavings, or sprinkle crushed hazelnuts for texture and visual appeal. Slice with a warm knife for clean cuts, and enjoy!
Serving Tips
- Chill Before Serving: Always serve the cheesecake well-chilled. This enhances its creamy texture and makes slicing easier. Let it rest at room temperature for about 10 minutes before cutting to avoid cracking.
- Warm Knife for Clean Slices: Dip your knife in hot water and wipe it dry before slicing each piece. This simple trick helps you get smooth, neat slices without dragging or tearing the cake.
- Add Fresh Berries: Brighten the rich Nutella flavor by serving with fresh raspberries, strawberries, or blueberries. Their tartness complements the sweetness perfectly.
- Whipped Cream Dollop: A small spoonful of fresh whipped cream on each slice adds a light, airy contrast that pairs beautifully with the dense filling.
- Drizzle More Nutella: For an extra indulgent touch, drizzle warm Nutella over each serving just before plating.
- Serve with Coffee or Milk: Nutella cheesecake pairs wonderfully with a cup of espresso, cappuccino, or cold milk to balance the richness.
- Portion Control: Since this cheesecake is rich, serve small slices to allow guests to savor every bite without feeling too heavy.
How to Properly Store Your No-Bake Nutella Cheesecake in the Fridge
Storing your cheesecake correctly keeps it fresh, creamy, and delicious for days.
- Cover the Cheesecake Well
Wrap the cheesecake tightly with plastic wrap or place it in an airtight container. This prevents it from absorbing any fridge odors and keeps the surface from drying out or forming a crust. - Use the Right Temperature
Set your refrigerator to around 37–40°F (3–4°C). This temperature keeps the cheesecake firm but not frozen, preserving its perfect texture. - Place on a Stable Shelf
Store the cheesecake on a flat, stable shelf inside the fridge to avoid any tilting or spilling. Avoid the door shelves, as temperature fluctuates more there. - Chill for Proper Setting
Allow the cheesecake to chill for at least 4 hours, preferably overnight. This resting time lets the filling firm up nicely for clean slicing and the best mouthfeel. - Consume Within 4-5 Days
For optimal freshness and safety, eat the cheesecake within 4 to 5 days. Beyond that, its texture and flavor may start to decline. - Freezing Option
If you want to store it longer, wrap the cheesecake tightly in plastic wrap and then in aluminum foil, and freeze for up to 1 month. Thaw overnight in the fridge before serving.
Following these steps guarantees your no-bake Nutella cheesecake stays fresh and irresistible!
Frequently Asked Questions (FAQs)
1. Can I use regular cream cheese or do I need a specific type?
Regular full-fat cream cheese works best for a creamy and rich texture. Avoid low-fat or whipped cream cheese, as they can affect the cheesecake’s firmness and flavor.
2. How long does the cheesecake need to chill before serving?
Chill the cheesecake for at least 4 hours, but overnight chilling is ideal. This allows the filling to set perfectly and enhances the flavors.
3. Can I substitute Nutella with another spread?
Yes! You can replace Nutella with any chocolate-hazelnut spread or even peanut butter for a different twist. Just keep in mind the flavor will change accordingly.
4. Is it possible to make this cheesecake vegan or dairy-free?
Absolutely. Use dairy-free cream cheese and coconut cream for whipping, and choose a vegan chocolate-hazelnut spread. The texture might differ slightly but still delicious!
5. How should I store leftovers?
Store any leftovers covered in the refrigerator for up to 4-5 days. For longer storage, freeze the cheesecake well-wrapped for up to a month.
Conclusion
This no-bake Nutella cheesecake offers a perfect balance of creamy richness and nutty chocolate flavor without the hassle of baking. Its simple ingredients and quick assembly make it an ideal dessert for both beginners and experienced bakers. Chilled to perfection, every slice melts delightfully in your mouth, making it a crowd-pleaser at any gathering. Easy to customize and quick to prepare, this cheesecake is a must-try for Nutella lovers craving an indulgent yet fuss-free treat. Keep it chilled, slice with care, and enjoy a luscious dessert that feels like a special occasion—any day of the week!
Related Recipes