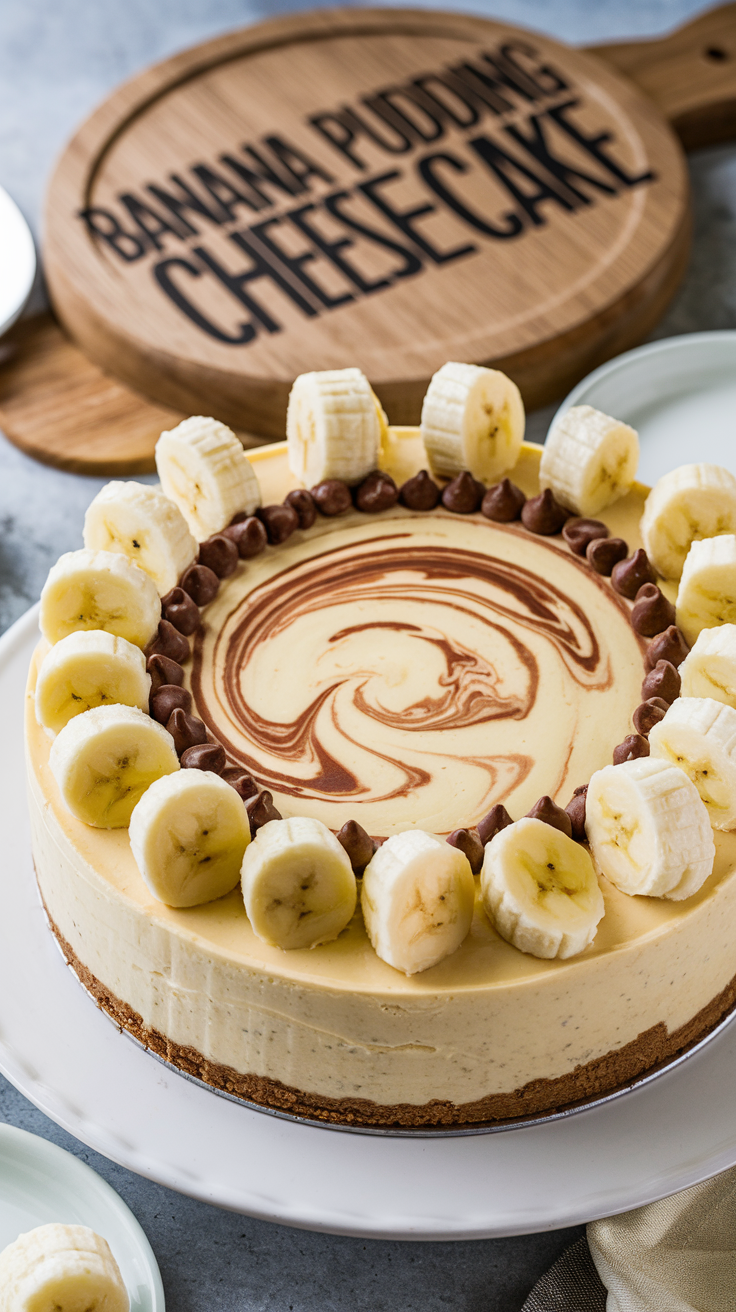
Banana Pudding Cheesecake Recipe: A Creamy Southern Delight
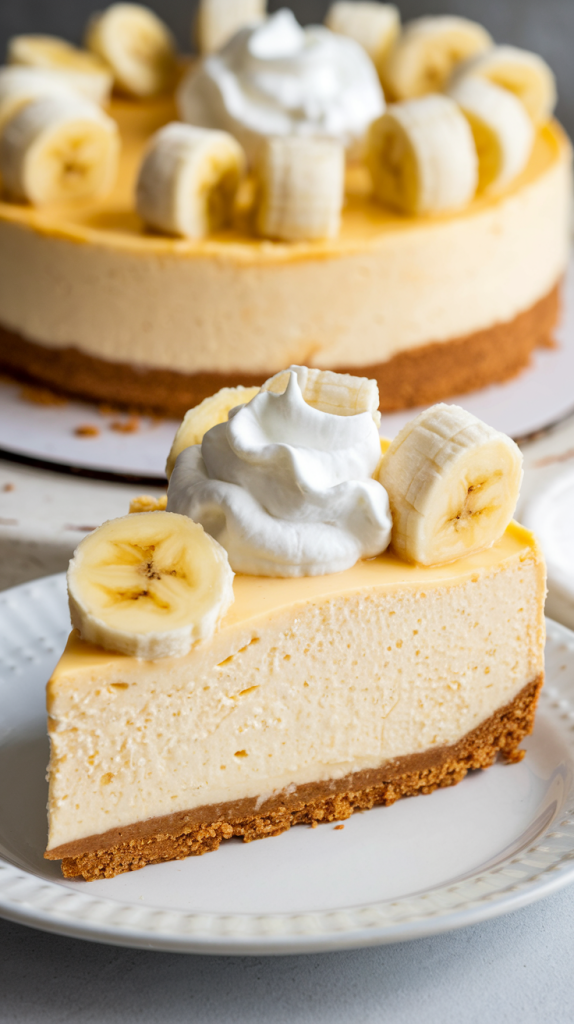
Banana pudding and cheesecake bring two beloved desserts together in a rich, creamy masterpiece. Velvety cheesecake meets the nostalgic flavors of banana pudding, complete with layers of vanilla wafers and a luscious banana-infused filling. Each bite delivers the perfect balance of sweetness, smooth texture, and a hint of crunch.
This dessert shines at family gatherings, holidays, and potlucks, where a classic Southern treat always steals the show. A buttery vanilla wafer crust lays the foundation, while the cheesecake filling bursts with banana flavor. A light, fluffy topping finishes it off for an irresistible dessert that leaves everyone wanting more. Whether serving it chilled straight from the fridge or with a warm drizzle of caramel, this cheesecake offers pure indulgence. Preparing it at home ensures the perfect combination of flavors, making it a go-to for any occasion.
Ingredients for Banana Pudding Cheesecake
For the Crust:
- 2 cups vanilla wafer crumbs
- 1/4 cup granulated sugar
- 1/2 cup unsalted butter, melted
For the Cheesecake Filling:
- 24 oz (3 blocks) cream cheese, softened
- 1 cup granulated sugar
- 3 large eggs
- 1 cup mashed ripe bananas (about 2 bananas)
- 1/4 cup sour cream
- 1/4 cup heavy cream
- 1 tablespoon vanilla extract
- 1 tablespoon cornstarch
For the Banana Pudding Layer:
- 1 box (3.4 oz) instant banana pudding mix
- 1 1/2 cups cold whole milk
- 1 cup heavy whipping cream
- 2 tablespoons powdered sugar
- 1 teaspoon vanilla extract
For the Topping:
- 1 cup heavy whipping cream
- 2 tablespoons powdered sugar
- 1 teaspoon vanilla extract
- Sliced bananas (for garnish)
- Vanilla wafers (for garnish)
Necessary Equipment for Banana Pudding Cheesecake Recipes
To make a delicious banana pudding cheesecake, you’ll need the right kitchen tools. Here’s a list of essential equipment to ensure smooth preparation and baking:
1. Mixing Equipment
- Electric Mixer or Stand Mixer – For beating cream cheese, sugar, and eggs to a smooth consistency.
- Mixing Bowls – At least two large bowls for combining different ingredients.
- Whisk – Useful for blending pudding mix and other liquid ingredients.
2. Baking Equipment
- Springform Pan (9-inch) – Essential for shaping and easily releasing the cheesecake.
- Baking Sheet – To place under the springform pan in case of leaks.
- Aluminum Foil – Used for wrapping the pan if baking in a water bath.
3. Cooking Tools
- Measuring Cups and Spoons – For precise ingredient portions.
- Rubber Spatula – Helps scrape down the sides of bowls and spread layers evenly.
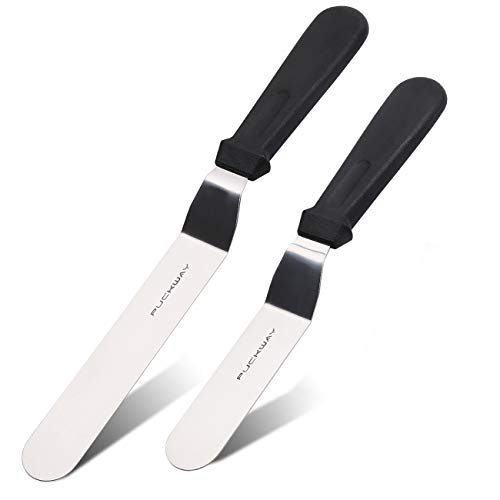
- Offset Spatula – Useful for smoothing the top of the cheesecake.
4. Preparation & Serving Tools
- Food Processor or Rolling Pin – For crushing vanilla wafers into fine crumbs.
- Knife & Cutting Board – To slice fresh bananas for layering and garnish.
- Cooling Rack – Helps the cheesecake cool properly before refrigeration.
- Serving Platter & Pie Server – For presentation and slicing clean portions.
Step-by-Step Guide to Making Banana Pudding Cheesecake
Step 1: Preheat and Prepare the Pan
Preheat your oven to 325°F (163°C). Wrap the outside of a 9-inch springform pan with aluminum foil to prevent leaks if using a water bath. Lightly grease the pan with butter or non-stick spray.
Step 2: Make the Crust
Crush vanilla wafers into fine crumbs using a food processor or by placing them in a sealed bag and rolling over them with a rolling pin. Transfer the crumbs to a bowl and mix with melted butter until the texture resembles wet sand. Press the mixture firmly into the bottom of the prepared pan to form an even crust. Bake for 10 minutes, then remove from the oven and let it cool.
Step 3: Prepare the Cheesecake Filling
In a large mixing bowl, beat the softened cream cheese and sugar together until smooth and creamy. Add eggs one at a time, mixing well after each addition. Pour in vanilla extract and mashed bananas, then continue mixing until fully incorporated. In a separate bowl, whisk together instant banana pudding mix and heavy cream until thickened. Gently fold the pudding mixture into the cream cheese batter.
Step 4: Assemble the Cheesecake
Pour half of the cheesecake batter over the cooled crust. Arrange a layer of sliced bananas on top. Pour the remaining batter over the bananas and smooth the surface with a spatula. Tap the pan lightly on the counter to release any air bubbles.
Step 5: Bake the Cheesecake
Place the springform pan into a larger roasting pan and carefully pour hot water into the roasting pan, reaching about halfway up the sides of the cheesecake pan. Transfer to the oven and bake for 60 to 70 minutes, or until the edges are set but the center still has a slight jiggle.
Step 6: Cool and Refrigerate
Turn off the oven and crack the door open slightly. Let the cheesecake cool inside for an hour to prevent cracking. Remove from the oven and transfer to a wire rack to cool completely. Once at room temperature, cover and refrigerate for at least 4 hours or overnight for the best texture.
Step 7: Add Toppings and Serve
Before serving, spread a layer of whipped topping over the cheesecake. Arrange fresh banana slices and crushed vanilla wafers on top for decoration. Carefully release the cheesecake from the springform pan, slice, and enjoy!
How to Serve Banana Pudding Cheesecake
Chilling for the Best Texture
Banana pudding cheesecake is best served cold, so make sure it has been properly refrigerated for at least four hours or, ideally, overnight. This resting time allows the flavors to develop fully and helps the cheesecake set for a firm yet creamy texture. Before serving, remove the cheesecake from the refrigerator and let it sit at room temperature for about 10 to 15 minutes to soften slightly for easier slicing.
Releasing from the Springform Pan
Carefully unlock and remove the sides of the springform pan. If the edges seem stuck, run a thin knife or spatula around the sides before releasing the latch. For a clean and smooth presentation, wipe any crumbs or excess filling from the edges using a damp paper towel.
Slicing for Perfect Portions
To achieve clean and even slices, use a sharp knife dipped in warm water. Wipe the knife clean between each cut to maintain smooth edges. A cheesecake is typically sliced into 8 to 12 servings, depending on how large you prefer each piece. If serving a crowd, consider cutting smaller portions since the dessert is rich and creamy.
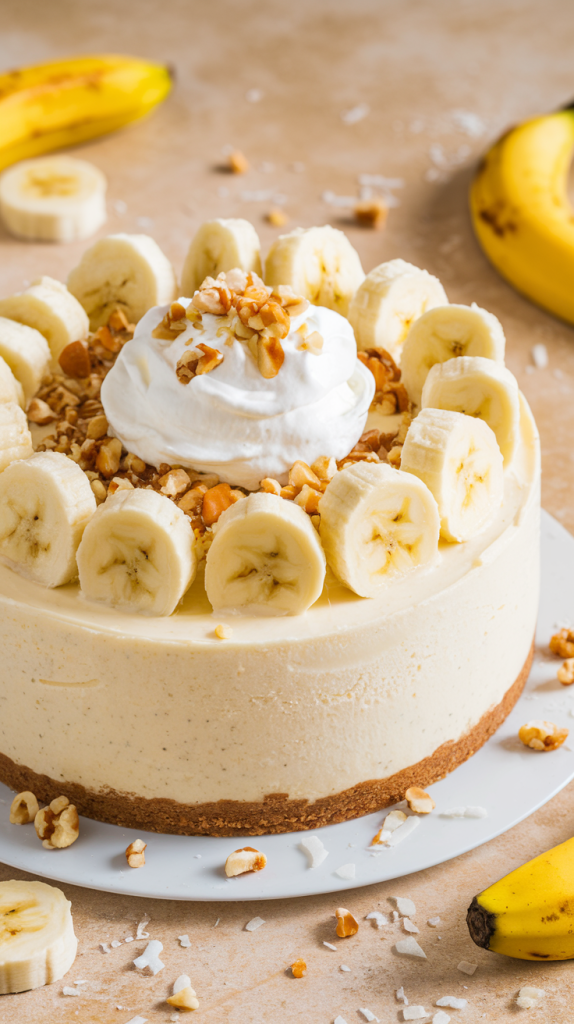
Adding the Final Touches
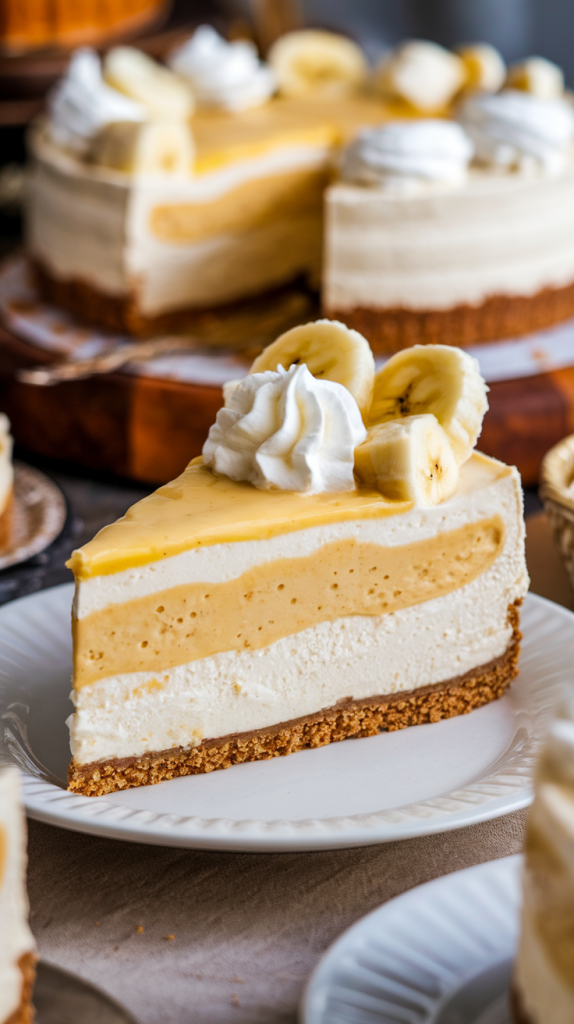
Before presenting the cheesecake, add a layer of freshly whipped cream or whipped topping for a light and airy contrast to the dense filling. Garnish with thinly sliced bananas arranged in a decorative pattern, and sprinkle crushed vanilla wafers on top for extra crunch. If desired, a drizzle of caramel sauce or a dusting of cinnamon can enhance the flavors even more.
Serving on a Plate
Use a pie server or a flat spatula to lift each slice carefully onto individual serving plates. To elevate the presentation, serve with additional whipped cream or a side of fresh banana slices. A scoop of vanilla ice cream or a drizzle of chocolate syrup can also complement the flavors beautifully.
Enjoying at Its Best
Banana pudding cheesecake is best enjoyed within 24 hours of adding fresh banana slices, as they can brown over time. However, the cheesecake itself remains delicious for up to five days when stored properly in the refrigerator. Serve chilled for a refreshing treat, and savor every creamy, banana-filled bite.
Conclusion
Banana pudding cheesecake is a delightful dessert that combines the best of both worlds—the creamy richness of cheesecake and the nostalgic flavors of banana pudding. Its smooth, velvety texture and balanced sweetness make it a crowd-pleaser for any occasion, from family gatherings to holiday celebrations. The combination of a buttery vanilla wafer crust, luscious banana filling, and a creamy cheesecake layer offers a comforting yet indulgent treat that everyone will love. With its simple preparation and impressive presentation, banana pudding cheesecake is a dessert that’s sure to leave a lasting impression. Whether served as a festive centerpiece or a special weeknight treat, it’s a dessert that brings joy with every bite.
Related Recipe