Decadent Brownie Bottom Cheesecake Recipe: The Ultimate Dessert Duo
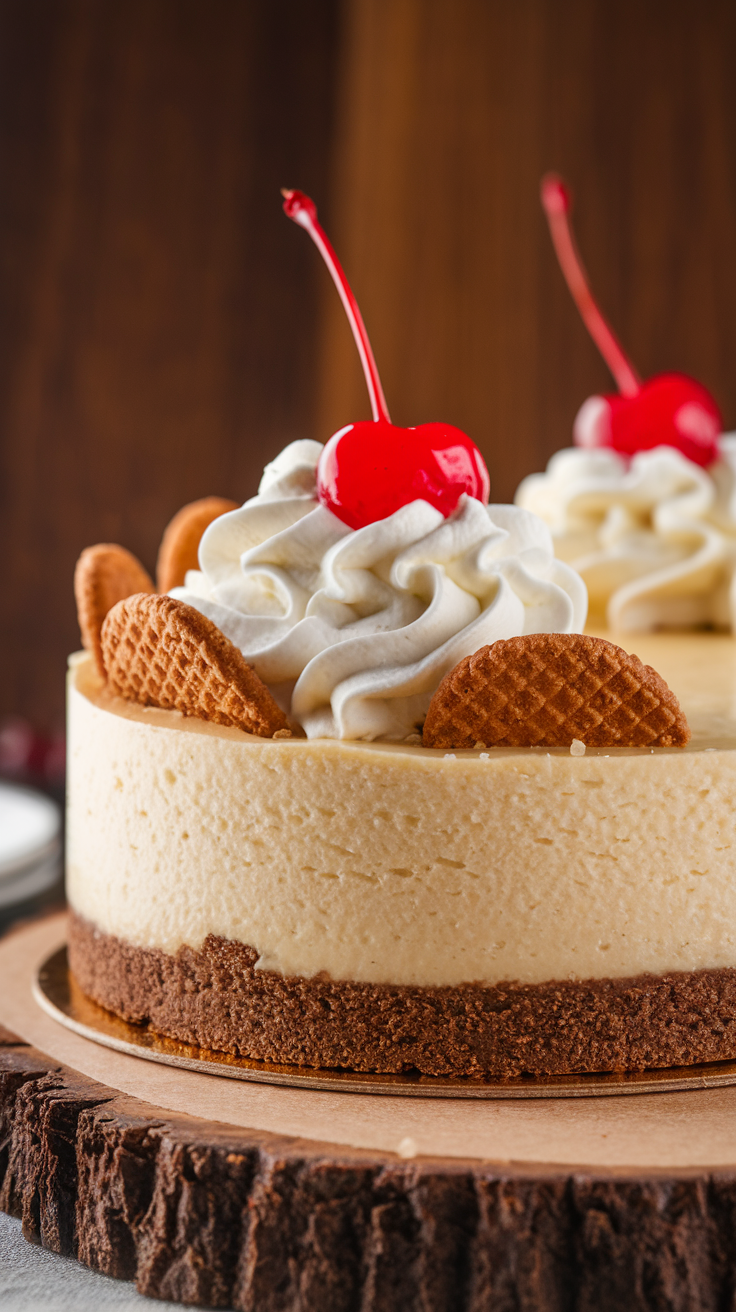
A rich, fudgy brownie base and a creamy cheesecake layer come together in one irresistible dessert. This brownie bottom cheesecake is perfect for those who love both chocolate and classic cheesecake but don’t want to choose between them. The dense, chocolatey bottom contrasts beautifully with the smooth, tangy top, creating a dessert that’s both indulgent and balanced.
Each bite delivers a perfect combination of textures—chewy and creamy, rich yet light. A homemade brownie layer adds a deep cocoa flavor, while the cheesecake brings a velvety, melt-in-your-mouth experience. Whether serving it for a special occasion or treating yourself to a weekend indulgence, this recipe guarantees compliments.
Topped with a drizzle of chocolate ganache or fresh berries, this dessert is as visually stunning as it is delicious. Prepare to impress your guests or satisfy your own sweet tooth with this show-stopping combination.
Ingredients
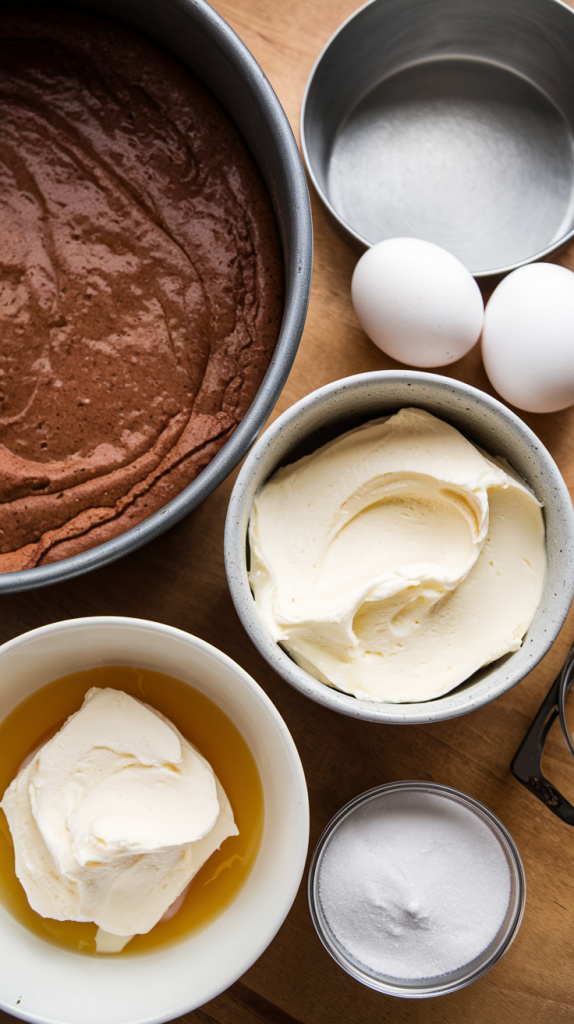
For the Brownie Layer:
- ½ cup (1 stick) unsalted butter, melted
- 1 cup granulated sugar
- 2 large eggs
- 1 teaspoon vanilla extract
- ⅓ cup unsweetened cocoa powder
- ½ cup all-purpose flour
- ¼ teaspoon salt
- ¼ teaspoon baking powder
For the Cheesecake Layer:
- 16 ounces (2 blocks) cream cheese, softened
- ½ cup granulated sugar
- 2 large eggs
- 1 teaspoon vanilla extract
- ½ cup sour cream
Optional Toppings:
- Chocolate ganache (½ cup heavy cream + 1 cup chocolate chips)
- Fresh berries
- Whipped cream
Required Equipment
- 9-inch springform pan – Ensures easy removal without damaging the layers.
- Mixing bowls – One for the brownie batter and another for the cheesecake filling.
- Electric mixer – A hand or stand mixer helps achieve a smooth cheesecake texture.
- Whisk & spatula – A whisk for blending ingredients and a spatula for folding and spreading.
- Measuring cups & spoons – For accurate ingredient measurements.
- Parchment paper – Optional, but helps prevent sticking.
- Cooling rack – Allows the cheesecake to cool evenly before chilling.
- Knife & offset spatula – For slicing and serving clean portions.
Best Baking Pan for Brownie Bottom Cheesecake
A 9-inch springform pan is the best choice for a brownie bottom cheesecake. Its removable sides make it easy to release the cheesecake without damaging the layers. The depth of a springform pan provides enough space for both the brownie and cheesecake layers to bake evenly.
A light-colored, nonstick springform pan works best because it prevents over-browning on the edges. Dark-colored pans absorb more heat, which can cause the brownie layer to cook too quickly. If using a dark pan, reducing the oven temperature slightly can help prevent overbaking.
For added protection, wrapping the bottom of the pan in aluminum foil prevents leaks if using a water bath. Greasing the sides lightly or lining the bottom with parchment paper ensures the brownie base doesn’t stick. A high-quality springform pan guarantees a perfectly layered, easy-to-slice cheesecake every time.
Brownie Bottom Cheesecake Recipe (Need to Complete 10 Steps)
Step 1: Preheat the Oven and Prepare the Pan
Set the oven to 325°F (163°C) to ensure even baking for both the brownie and cheesecake layers. A steady temperature prevents the cheesecake from cracking and helps the brownie base cook properly. Lightly grease a 9-inch springform pan with butter or nonstick spray. For extra protection, line the bottom with parchment paper to prevent sticking.
If using a water bath to create a moist baking environment, wrap the outside of the pan with aluminum foil. This prevents water from seeping into the cheesecake. A water bath isn’t required, but it helps achieve a smoother cheesecake texture.
Step 2: Melt the Butter and Mix the Brownie Batter
Melt the butter in a microwave-safe bowl or on the stovetop until fully liquefied. Let it cool slightly to avoid scrambling the eggs in the batter. Stir in the sugar, eggs, and vanilla extract, mixing until smooth. The sugar helps create a fudgy brownie texture, while eggs provide structure.
In a separate bowl, whisk together the cocoa powder, flour, salt, and baking powder. Slowly add the dry ingredients to the wet mixture, stirring until just combined. Overmixing will result in a dense and tough brownie base, so mix gently for the best texture.
Step 3: Bake the Brownie Layer
Pour the brownie batter into the prepared springform pan, spreading it evenly with a spatula. Ensure the surface is smooth for a uniform base. Baking the brownie layer separately ensures it sets before the cheesecake is added. This step prevents the layers from blending into each other.
Place the pan in the preheated oven and bake for 15 minutes. The brownie should be slightly underbaked since it will continue cooking with the cheesecake layer. Once done, remove from the oven and let it cool slightly. Keep the oven on, as the cheesecake will bake next.
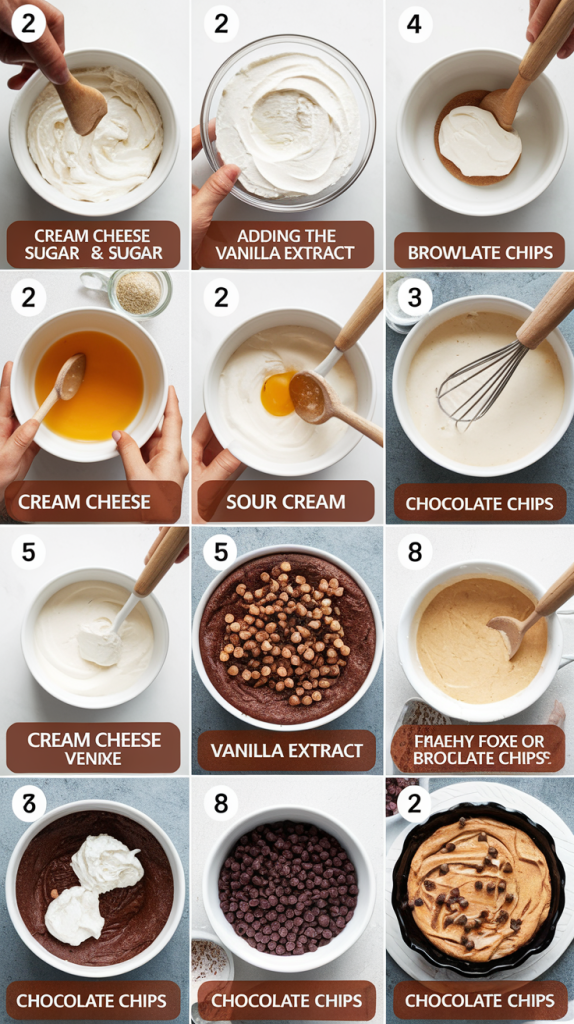
Step 4: Prepare the Cheesecake Batter
While the brownie layer cools, beat the softened cream cheese in a large bowl until smooth. A hand or stand mixer works best for achieving a creamy consistency. Add the sugar and continue mixing until fully incorporated. The sugar helps break down the cream cheese, making the batter silky.
Add the eggs one at a time, mixing on low speed after each addition. Stir in the vanilla extract and sour cream, blending until smooth. Avoid overmixing, as too much air in the batter can cause cracks in the cheesecake during baking. Set the mixture aside.
Step 5: Assemble the Cheesecake Layers
Ensure the brownie layer has slightly cooled before adding the cheesecake batter. Pour the cheesecake mixture over the brownie base, using a spatula to spread it evenly. Tap the pan lightly on the counter to remove any air bubbles trapped inside.
If using a water bath, place the springform pan inside a larger baking dish. Fill the outer dish with hot water until it reaches halfway up the sides of the pan. This method creates steam, preventing the cheesecake from drying out or cracking during baking.
Step 6: Bake the Cheesecake
Place the cheesecake in the oven and bake at 325°F (163°C) for 45-50 minutes. The center should still have a slight jiggle when gently shaken. Overbaking can cause cracks, so remove it from the oven as soon as the edges are set and the middle looks slightly wobbly.
If not using a water bath, place a separate oven-safe dish with hot water on the lower rack. This adds moisture to the oven, helping the cheesecake stay creamy. Once baked, turn off the oven and let the cheesecake sit inside for an hour with the door slightly open.
Step 7: Cool the Cheesecake Completely
After an hour in the oven, remove the cheesecake and place it on a wire cooling rack. Allow it to cool at room temperature for another hour before transferring it to the refrigerator. Sudden temperature changes can cause cracks, so gradual cooling is best.
Loosely cover the cheesecake with plastic wrap or aluminum foil and refrigerate for at least four hours, preferably overnight. Chilling allows the flavors to develop and the texture to firm up. A properly chilled cheesecake will slice cleanly and have a smooth, creamy consistency.
Step 8: Remove the Cheesecake from the Pan
Run a thin knife around the edges of the cheesecake to loosen it from the sides of the pan. Release the springform latch slowly to ensure the cheesecake remains intact. If any edges stick, gently separate them with the knife before fully removing the pan.
For clean slices, dip a sharp knife in warm water and wipe it dry before cutting each piece. This prevents the cheesecake from sticking to the blade. A clean cut ensures a beautiful presentation, highlighting the contrast between the brownie base and the creamy top layer.
Step 9: Add Toppings and Decorations
Enhance the cheesecake by adding chocolate ganache, fresh berries, or whipped cream. To make ganache, heat ½ cup of heavy cream and pour it over 1 cup of chocolate chips. Stir until smooth, then drizzle over the cheesecake for a glossy finish.
Berries like raspberries, strawberries, or blueberries add a fresh, tangy contrast to the rich chocolate and cream cheese flavors. For extra indulgence, pipe whipped cream along the edges or dust with cocoa powder. Decorative toppings not only improve the taste but also make the dessert visually appealing.
Step 10: Serve and Enjoy
Once the cheesecake is fully chilled and decorated, it’s ready to serve. Use a warm knife to slice even portions, cleaning the blade between cuts for the best results. The combination of fudgy brownie and smooth cheesecake makes each bite irresistible.
Store leftovers in an airtight container in the refrigerator for up to five days. For longer storage, wrap individual slices in plastic wrap and freeze for up to two months. Whether for a special occasion or a simple treat, this brownie bottom cheesecake is always a crowd-pleaser.
Freezing Instructions for Brownie Bottom Cheesecake
Properly freezing brownie bottom cheesecake ensures it maintains its creamy texture and rich flavor. Start by allowing the cheesecake to cool completely in the refrigerator for at least four hours, preferably overnight. A fully chilled cheesecake is firmer, making it easier to wrap and store without damaging the layers. Cutting it into individual slices before freezing allows for convenient, single-serving portions.
For whole cheesecakes, wrap tightly in plastic wrap, followed by a layer of aluminum foil to prevent freezer burn. If freezing slices, place parchment paper between each piece before wrapping. Store in an airtight container or freezer-safe bag for extra protection. Label with the date to track freshness. Cheesecake can be frozen for up to two months without losing quality.
To thaw, transfer the cheesecake to the refrigerator and let it defrost overnight. Avoid microwaving, as it can alter the texture. For best results, let slices sit at room temperature for 10 minutes before serving.
FAQs About Brownie Bottom Cheesecake
1. Can I use a boxed brownie mix instead of homemade?
Yes, a boxed brownie mix works well as a shortcut. Prepare the batter according to package instructions, then bake for about 15 minutes before adding the cheesecake layer. Keep in mind that homemade brownies offer a richer flavor and better texture control.
2. How do I prevent my cheesecake from cracking?
Cracks can occur from overbaking, sudden temperature changes, or overmixing the batter. To prevent this, bake at a consistent temperature, avoid overmixing the cheesecake batter, and cool the cake gradually in the oven before refrigerating. Using a water bath also helps maintain moisture.
3. Can I make this cheesecake ahead of time?
Yes, this cheesecake is perfect for making ahead. Prepare and bake it a day before serving to allow the flavors to develop. Store it in the refrigerator, covered, for up to five days. You can also freeze it for longer storage.
4. What toppings go well with brownie bottom cheesecake?
Chocolate ganache, fresh berries, whipped cream, or a dusting of cocoa powder all complement this cheesecake beautifully. For extra indulgence, try caramel drizzle or chopped nuts. Toppings enhance both the flavor and presentation of the dessert.
5. How do I get clean slices when serving?
For clean slices, use a sharp knife dipped in warm water, wiping it dry between cuts. This prevents the cheesecake from sticking to the blade. Cutting with a smooth motion instead of sawing helps maintain the layers’ integrity.
Conclusion
Brownie bottom cheesecake is the ultimate dessert for chocolate and cheesecake lovers. The rich, fudgy brownie base pairs perfectly with the smooth and creamy cheesecake layer, creating a decadent treat that impresses with both flavor and texture. Whether served plain or topped with ganache, berries, or whipped cream, this dessert always stands out.
Making this cheesecake at home is easier than it looks, especially with step-by-step guidance. With proper cooling, slicing, and storing techniques, you can enjoy a perfect cheesecake every time. Serve it for special occasions, family gatherings, or simply as a well-deserved indulgence.
Related Recipes