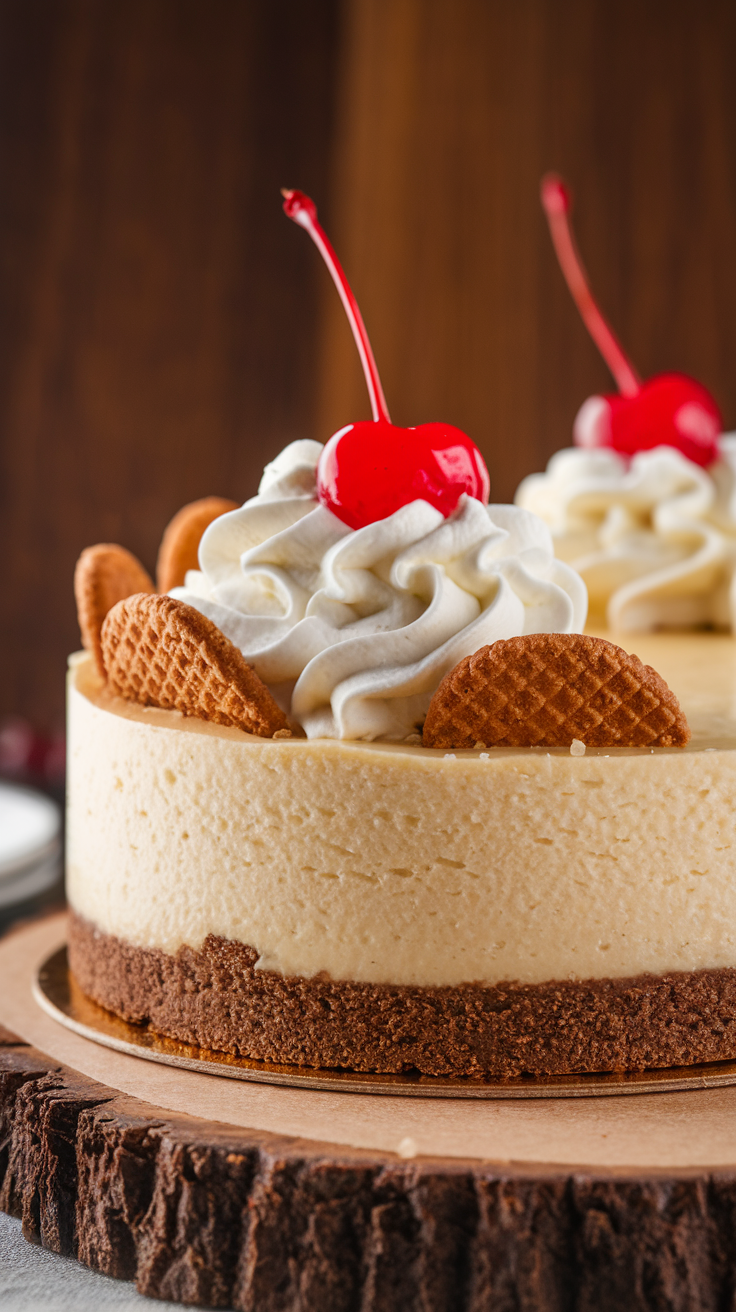
Caramelised Apple Cheesecake: A Fall-Inspired Dessert Worth Every Bite
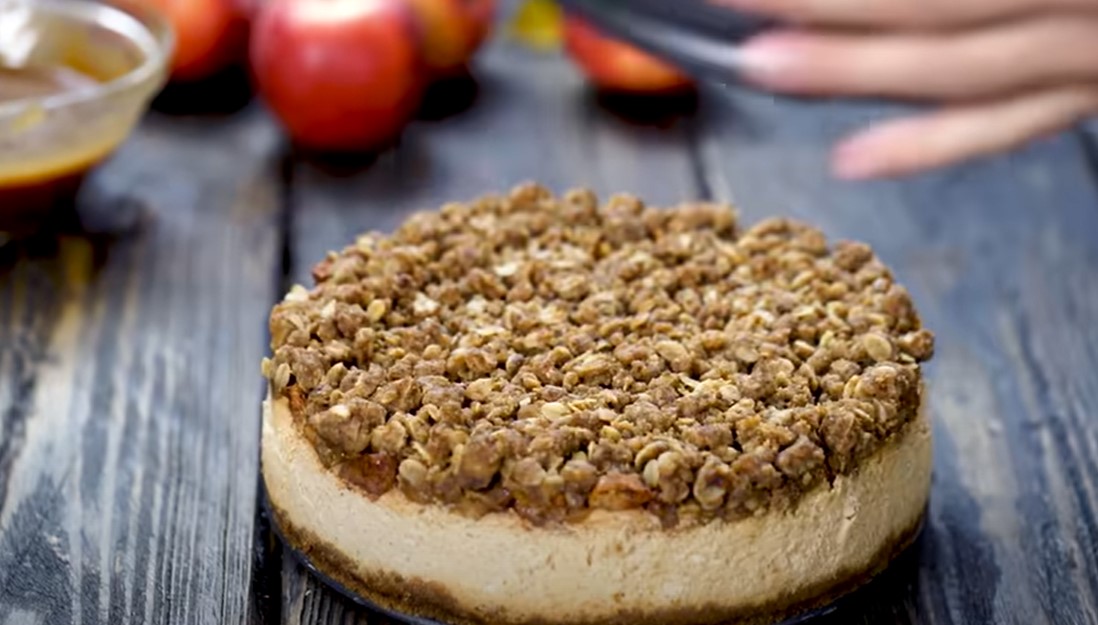
Golden apple slices kissed by butter and brown sugar rest atop a creamy cheesecake that melts in your mouth. This caramelised apple cheesecake blends the cozy flavors of fall with the elegance of a classic dessert. Each forkful delivers the warm essence of spiced apples, rich cream cheese, and a buttery graham cracker crust. Sweet meets tangy in the most delightful way, creating a balance that keeps everyone coming back for seconds.
The scent alone feels like a warm hug on a crisp day. Think soft apple pie filling layered with velvety cheesecake—all tied together by a drizzle of golden caramel. This dessert isn’t just a treat; it’s a memory in the making. Whether served at holiday gatherings, weekend dinners, or quiet evenings at home, it feels special every single time. With simple ingredients and comforting flavor, this cheesecake is bound to become a seasonal favorite.
Ingredients
For the Crust:
- 1 ½ cups graham cracker crumbs
- 2 tablespoons brown sugar
- ½ teaspoon cinnamon
- 6 tablespoons unsalted butter, melted
For the Cheesecake Filling:
- 3 (8 oz) blocks cream cheese, softened
- ¾ cup granulated sugar
- ¼ cup sour cream
- 2 teaspoons vanilla extract
- 3 large eggs
- 1 tablespoon all-purpose flour
For the Caramelised Apple Topping:
- 2 large apples (such as Honeycrisp or Granny Smith), peeled and thinly sliced
- 2 tablespoons unsalted butter
- ¼ cup brown sugar
- ½ teaspoon cinnamon
- Pinch of nutmeg
- ¼ teaspoon salt
Optional Garnish:
- Caramel sauce for drizzling
- Whipped cream
- Crushed pecans or walnuts for extra crunch
Kitchen Tools Needed
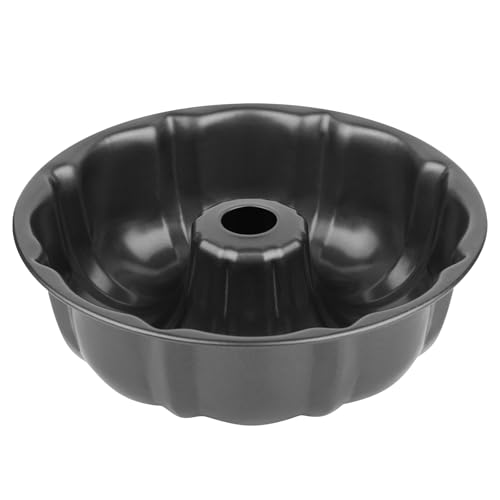
- 9-inch springform pan
- Mixing bowls (medium and large)
- Electric hand mixer or stand mixer
- Silicone spatula or wooden spoon
- Measuring cups and spoons
- Food processor or zip-top bag with rolling pin (for crushing graham crackers)
- Saucepan (for caramelising apples)
- Cooling rack
- Sharp knife and vegetable peeler (for apples)
- Parchment paper (optional, for lining the pan)
- Baking sheet (for a water bath or catching drips)
- Oven mitts
Each tool helps create the perfect texture—from a crisp crust to a silky-smooth filling and tender apple topping. Let me know if you want substitutions for any of them.
Step By Step Guide of Caramelised Apple Cheesecake
Step 1: Prepare the Springform Pan and Preheat the Oven
Grease a 9-inch springform pan lightly with butter or cooking spray. For added security against leaks, wrap the outside of the pan with two layers of foil. Preheat your oven to 325°F (163°C) so it’s ready when your batter is mixed.
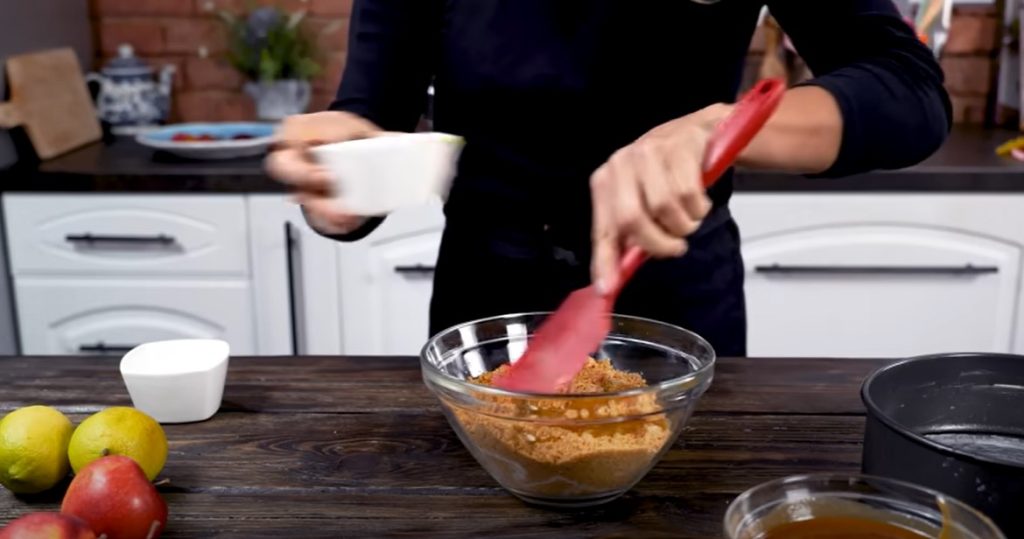
Step 2: Make the Graham Cracker Crust
In a bowl, combine graham cracker crumbs, brown sugar, cinnamon, and melted butter. Mix until the texture resembles wet sand. Press the mixture firmly into the bottom of the springform pan using the bottom of a glass or measuring cup. Bake for 8 minutes, then let it cool while you prepare the filling.
Step 3: Beat the Cheesecake Filling Until Smooth
In a large mixing bowl, beat the softened cream cheese until completely smooth. Add the sugar and continue beating until creamy. Mix in sour cream, vanilla extract, and flour. Add the eggs one at a time, mixing gently after each. Do not overbeat to avoid incorporating too much air.
Step 4: Pour and Smooth the Filling
Pour the cheesecake batter over the cooled crust. Tap the pan gently on the counter to release any air bubbles. Use a spatula to smooth the top evenly.
Step 5: Bake Low and Slow
Place the pan on a baking sheet and bake for 50–60 minutes, or until the center is slightly jiggly but edges are set. Avoid opening the oven door during baking. Once baked, turn off the oven, crack the door open, and let the cheesecake cool inside for 1 hour to prevent cracking.
Step 6: Chill for a Creamy Finish
After cooling, transfer the cheesecake to the refrigerator. Chill for at least 6 hours or overnight for the best texture and flavor. The cheesecake will firm up and become easier to slice.
Step 7: Caramelise the Apples to Perfection
In a saucepan over medium heat, melt the butter and stir in the brown sugar, cinnamon, nutmeg, and salt. Add sliced apples and sauté for 6–8 minutes, or until they are tender and caramel-coated. Let them cool slightly before topping the cheesecake.
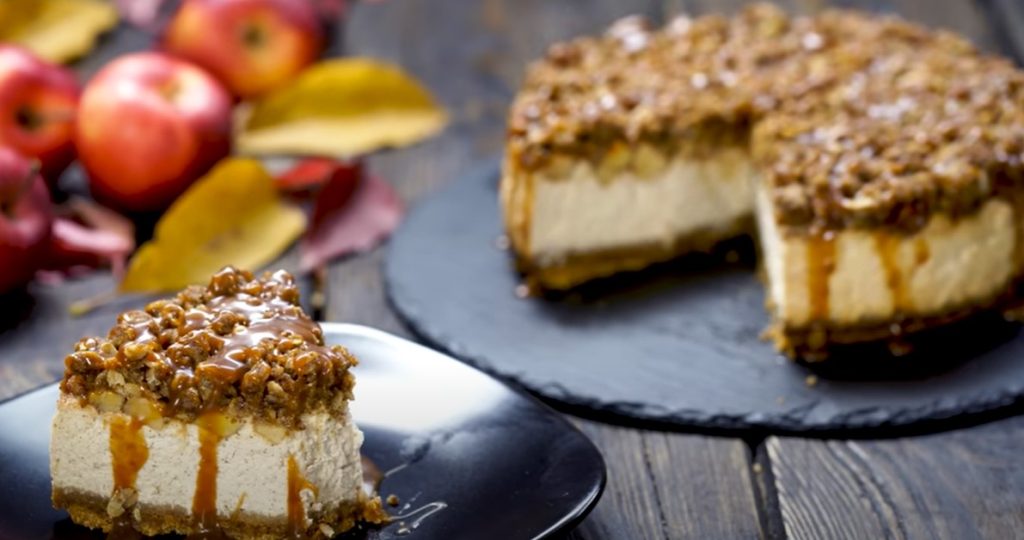
Step 8: Assemble and Serve
Carefully release the chilled cheesecake from the springform pan. Arrange the caramelised apple slices on top in a circular pattern or pile them for a rustic look. Drizzle with extra caramel sauce if desired. Slice with a warm knife for clean cuts and serve with whipped cream or toasted nuts.
Serving Tips
- Use a Hot Knife for Clean Slices
Dip a sharp knife in hot water and wipe it clean between each slice. This keeps the layers neat and prevents the caramelised apples from dragging through the cheesecake. - Let It Sit for 10–15 Minutes
Allow the cheesecake to rest at room temperature for about 10–15 minutes before serving. This softens the texture slightly and enhances the flavor of both the filling and the topping. - Serve with Complementary Toppings
Add a drizzle of warm caramel sauce, a dollop of whipped cream, or a sprinkle of crushed pecans or walnuts for extra indulgence. A scoop of vanilla bean ice cream can elevate it into a show-stopping dessert. - Pair with a Beverage
Offer guests coffee, spiced tea, or a dessert wine like Riesling or Moscato to complement the sweet-tart apple flavors. - Plate with Style
Use a wide dessert plate, place the slice slightly off-center, and garnish with a light caramel drizzle or cinnamon dusting for that professional bakery touch.
Storage Ideas
- Refrigeration (Best for Short-Term)
Store leftover cheesecake in the refrigerator, tightly covered with plastic wrap or in an airtight container. It stays fresh for up to 5 days. Place a layer of parchment paper between the topping and the cover to prevent sticking. - Separate the Topping for Better Texture
If possible, store the caramelised apple topping separately in a small airtight container. Reheat it gently on the stove or in the microwave and spoon over each slice just before serving to maintain texture and freshness. - Freezing for Longer Shelf Life
Cheesecake freezes beautifully without the apple topping. Wrap individual slices or the whole cake (without apples) in plastic wrap and a layer of foil. Freeze for up to 2 months. Thaw overnight in the refrigerator and add fresh caramelised apples before serving. - Avoid Moisture Exposure
Always use airtight storage to prevent moisture from softening the crust or turning the apples soggy. Place a paper towel under the lid if condensation is a concern.
FAQs
1. Can I make this cheesecake ahead of time?
Yes, it’s actually better when made in advance. Prepare it a day before serving to allow the flavors to develop and the texture to set properly.
2. What are the best apples to use?
Firm, tart-sweet apples like Honeycrisp, Granny Smith, or Pink Lady work best. They hold their shape while caramelising and balance the sweetness of the cheesecake.
3. How do I prevent my cheesecake from cracking?
Avoid overmixing the batter, use a water bath if desired, and let it cool gradually in the oven with the door slightly open. Also, ensure all ingredients are at room temperature before mixing.
4. Can I skip the caramelised topping?
Yes, the cheesecake is delicious on its own. You can also replace the apple topping with fresh fruit, a fruit compote, or a drizzle of caramel sauce.
5. What can I use instead of a springform pan?
A deep 9-inch cake pan can work, but lining it with parchment paper and carefully removing the cheesecake may be tricky. A springform pan is highly recommended for best results.
Conclusion
Caramelised apple cheesecake is the kind of dessert that feels indulgent yet familiar—a perfect blend of rich, creamy cheesecake and warm, spiced apples. Every layer adds something special: the buttery crust, the velvety filling, and the glossy apple topping all work in harmony. Whether you’re planning a fall feast or just want a cozy weekend treat, this recipe will impress your guests and satisfy any sweet craving. Save it, bake it, and savor it—this is a cheesecake worth repeating all season long.
Related Recipes