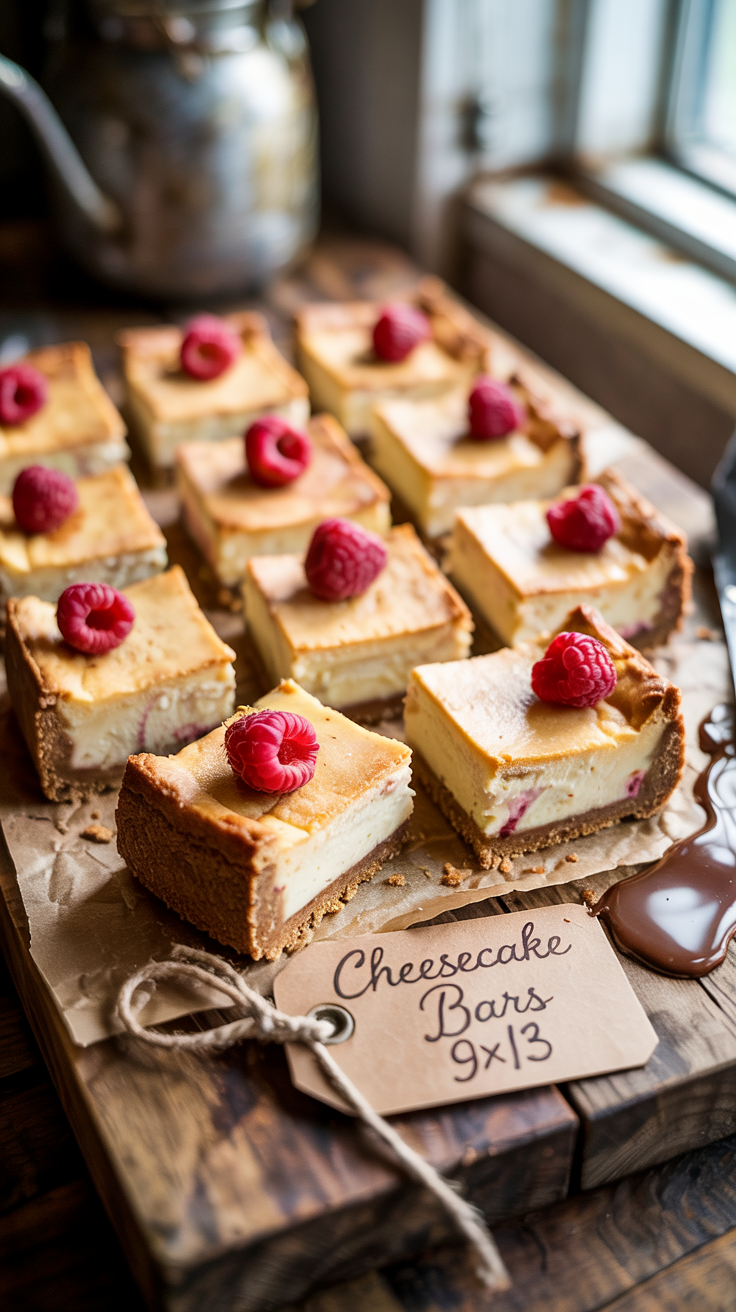
Cheesecake Bars 9X13 | Cheesecake Bars for a Crowd
A cheesecake bars 9×13 pan of cheesecake bars delivers more than dessert—it brings people together. Each slice promises a creamy center, a buttery crust, and that irresistible balance of sweet and tangy. Whether it’s a family gathering, holiday party, or last-minute potluck, this recipe never disappoints. There’s something comforting about that golden top and smooth texture that feels like home on a plate. No fancy water bath or springform pans required—just simple ingredients and a little bit of love. These bars chill beautifully, travel well, and slice into neat little squares that disappear faster than you’d expect. From birthdays to baby showers, they hold their own on any dessert table. The best part? The batch makes enough to share generously, but you’ll still wish you’d made more. Pull out that 9×13 pan—it’s about to become your favorite baking tool. Ready for the recipe that steals the spotlight? Let’s dig in.
Ingredients Cheesecake Bars 9X13
For the Crust:
- 2 cups graham cracker crumbs
- ½ cup unsalted butter, melted
- ¼ cup granulated sugar
- Pinch of salt
For the Cheesecake Filling:
- 3 (8 oz) blocks cream cheese, softened
- 1 cup granulated sugar
- 3 large eggs
- 1 teaspoon vanilla extract
- ½ cup sour cream
- 2 tablespoons all-purpose flour
- Zest of 1 lemon (optional, for brightness)
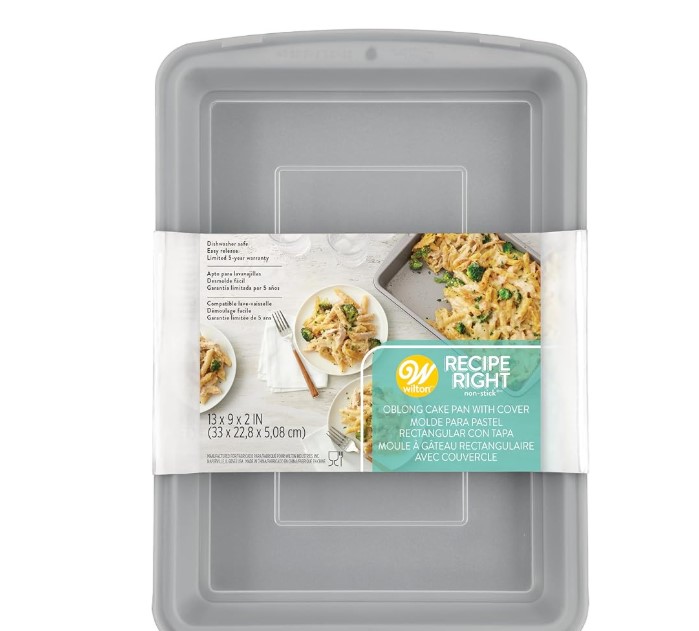
Wilton Recipe Right Non-Stick Baking Pan with Lid, 9 x 13-Inch, Steel
Optional Toppings:
- Fresh berries
- Chocolate ganache
- Caramel drizzle
- Crushed nuts or toffee bits
Essential Equipment:
- 9×13-inch baking pan
- Mixing bowls (one large, one medium)
- Hand mixer or stand mixer
- Rubber spatula or wooden spoon
- Measuring cups and spoons
- Parchment paper (for easy removal)
- Cooling rack
- Knife for slicing
Helpful Extras:
- Offset spatula (for spreading the filling evenly)
- Zester or microplane (if using lemon zest)
- Food processor or zip-top bag with a rolling pin (to crush graham crackers)
Step By Step Instructions
Step 1: Preheat the Oven
Start by preheating your oven to 325°F (163°C). This temperature helps the cheesecake bake gently without cracking or browning too much. While the oven heats, prepare your baking pan. Line a 9×13-inch pan with parchment paper, leaving an overhang on two sides for easy lifting later. Lightly grease the paper and sides of the pan with nonstick spray or butter to prevent sticking.
Step 2: Make the Graham Cracker Crust
In a medium bowl, combine 2 cups graham cracker crumbs, ½ cup melted butter, ¼ cup granulated sugar, and a pinch of salt. Stir until the mixture resembles wet sand and holds together when pressed. The butter binds the crumbs and gives the crust its richness and crisp texture.
Step 3: Press the Crust into the Pan
Pour the crust mixture into the prepared pan. Use the bottom of a measuring cup or a flat glass to press it down firmly and evenly across the bottom. Make sure the crust reaches all the corners and is packed tightly—this prevents crumbling later. Place the pan in the freezer while preparing the filling.
Step 4: Soften the Cream Cheese
Place 3 blocks (8 oz each) of cream cheese in a large mixing bowl. Beat with a hand mixer or stand mixer on medium speed until smooth and lump-free. This may take 2–3 minutes. Scrape down the sides of the bowl as needed. Room-temperature cream cheese ensures a silky-smooth filling without clumps.
Step 5: Add Sugar and Mix
Add 1 cup granulated sugar to the softened cream cheese. Beat on medium speed for another 1–2 minutes until the mixture is creamy and fully combined. The sugar dissolves into the cream cheese, adding sweetness and helping achieve a smooth, spreadable consistency.
Step 6: Mix in Eggs and Vanilla
Crack in 3 large eggs, one at a time, mixing well after each addition. Then pour in 1 teaspoon vanilla extract. Beat until the mixture is silky and slightly fluffy. Scrape down the bowl frequently to make sure everything is fully incorporated and smooth.
Step 7: Add Sour Cream and Flour
Mix in ½ cup sour cream for a subtle tang and extra creaminess. Then sprinkle in 2 tablespoons of all-purpose flour and mix just until blended. The flour helps stabilize the cheesecake so it cuts cleanly into bars. Optional: add the zest of 1 lemon for a bright pop of flavor.
Step 8: Pour Filling Over Crust
Take the crust from the freezer and pour the cheesecake filling evenly over the top. Use a rubber spatula or offset spatula to smooth the surface. Tap the pan gently on the counter to release any air bubbles. The filling should be evenly spread with no bare spots or thick ridges.
Step 9: Bake Until Set
Place the pan on the middle rack of the oven and bake for 35–40 minutes. The edges should look slightly puffed and the center will still jiggle a bit—it will firm up as it cools. Avoid overbaking, which can lead to cracks or a dry texture. Let the bars cool at room temperature for about an hour.
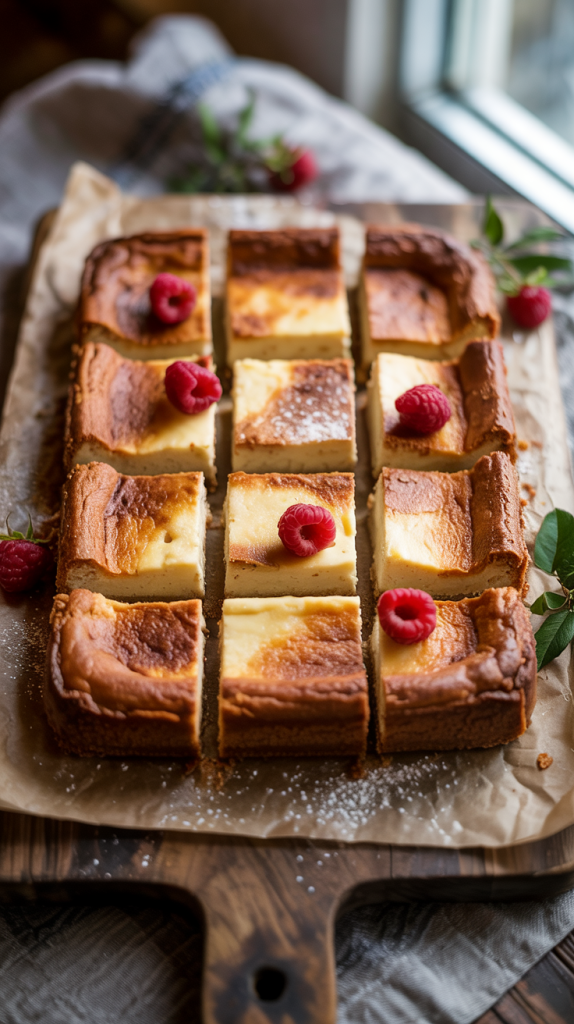
Step 10: Chill and Slice
Transfer the cooled cheesecake to the refrigerator and chill for at least 4 hours, or overnight for best results. Once fully chilled, lift the bars out using the parchment overhang. Slice into neat squares or rectangles with a sharp knife, wiping the blade clean between cuts. Top with berries, chocolate drizzle, or enjoy plain.
Tips & Tricks
Use Room Temperature Ingredients
Cold cream cheese or eggs can lead to a lumpy batter. Leave your cream cheese, eggs, and sour cream out for at least 30–60 minutes before starting. Soft ingredients blend more smoothly and help avoid overmixing.
Line the Pan for Easy Removal
Parchment paper with an overhang on the sides makes it super easy to lift the cheesecake out of the pan without damaging the crust or cracking the filling. Grease the parchment lightly so the bars release cleanly.
Avoid Overmixing the Batter
Once the eggs are in, mix just until combined. Overmixing can incorporate too much air, which leads to a puffy top that sinks or cracks while cooling.
Tap the Pan to Release Air Bubbles
After pouring the batter into the crust, gently tap the pan on the counter a few times. This helps release trapped air and gives the bars a denser, smoother texture.
Check for Doneness Without Overbaking
The edges should be firm and slightly golden, while the center stays a little wobbly. Don’t wait for it to fully set in the oven—cooling in the fridge will finish the job.
Cool Gradually to Avoid Cracks
Let the bars cool at room temperature before chilling. Drastic temperature changes can cause the top to crack. A slow, natural cool-down helps maintain that smooth, flawless finish.
Clean Knife Between Slices
To get neat, bakery-style bars, use a sharp knife and wipe it clean between each cut. This prevents smearing and gives each piece a crisp edge.
Make Ahead for Best Texture
Chilling the bars overnight makes the texture firmer and richer. The flavors also have time to meld, making them taste even better the next day.
FAQs
1. Can I use a different crust instead of graham crackers?
Yes, crushed cookies like Oreos, vanilla wafers, or digestive biscuits work great. Just swap them in at a 1:1 ratio with graham crumbs and follow the same steps for mixing with butter and sugar.
2. How long do cheesecake bars last in the fridge?
They stay fresh for up to 5 days when stored in an airtight container in the refrigerator. For best flavor and texture, enjoy them within the first 3 days.
3. Can I freeze cheesecake bars?
Absolutely. Once fully chilled and sliced, wrap each bar tightly in plastic wrap and freeze in a zip-top bag or sealed container. They’ll keep for up to 2 months. Thaw overnight in the fridge before serving.
4. Why did my cheesecake crack on top?
Cracks often happen from overbaking or rapid cooling. To avoid them, don’t overmix the eggs, pull the pan when the center still jiggles slightly, and let the bars cool slowly at room temperature before refrigerating.
5. Can I add fruit or chocolate to the filling?
Yes, small mix-ins like mini chocolate chips, crushed berries, or swirls of jam work well. Fold them in gently after the batter is fully mixed to avoid affecting the smooth texture.
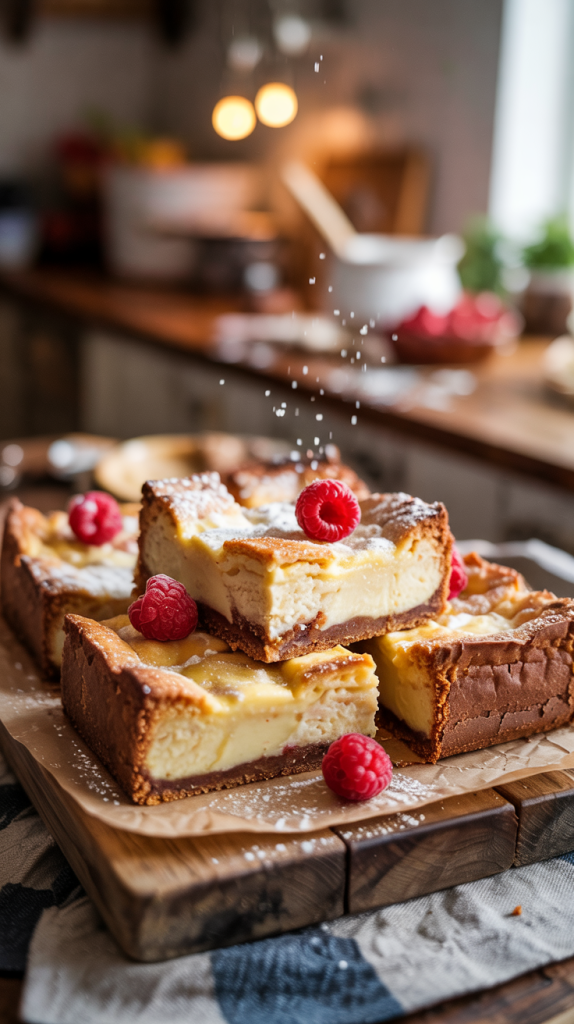
Conclusion
A 9×13 pan of cheesecake bars brings all the indulgence of traditional cheesecake without the hassle. With simple ingredients, easy prep, and endless topping options, this recipe is perfect for sharing or saving all to yourself. Whether you’re baking for a party or a quiet night in, these creamy bars always hit the sweet spot. Ready to try them? One slice is never enough.
Related Recipes