Cranberry Cheesecake Recipe: A Sweet and Tangy Holiday Favorite
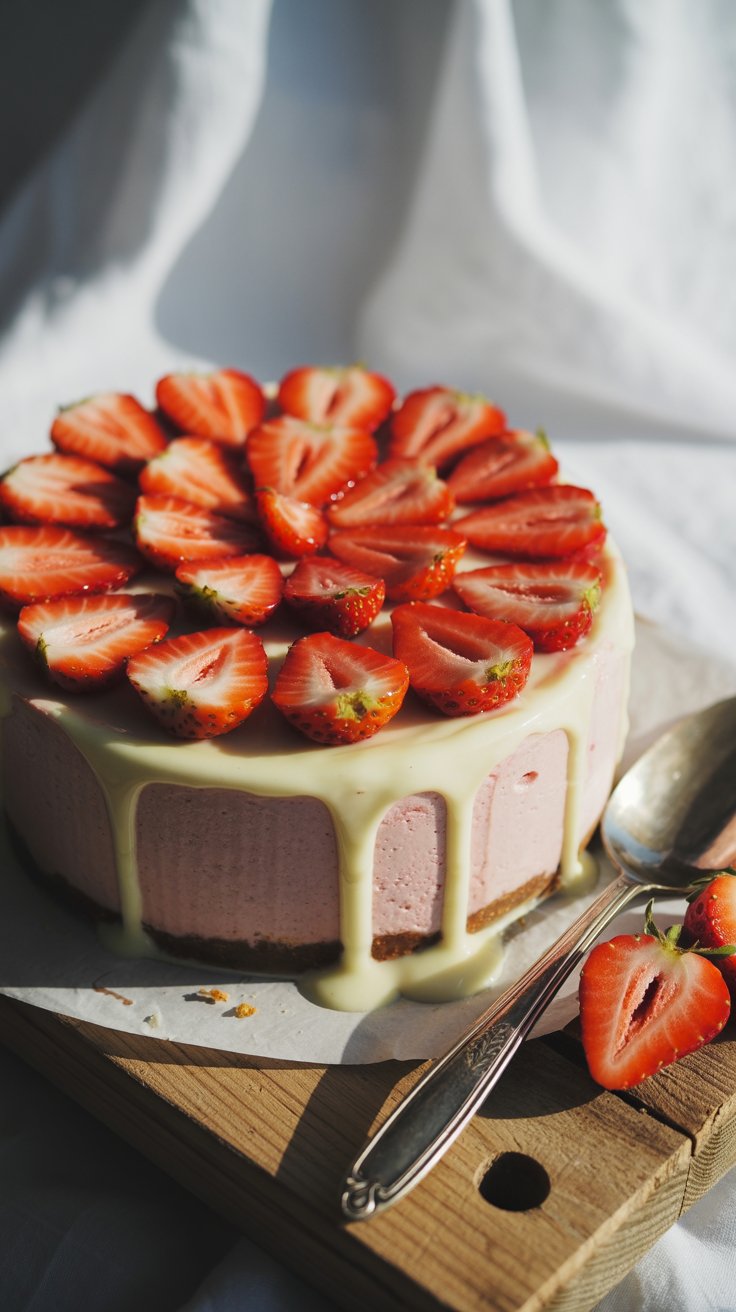
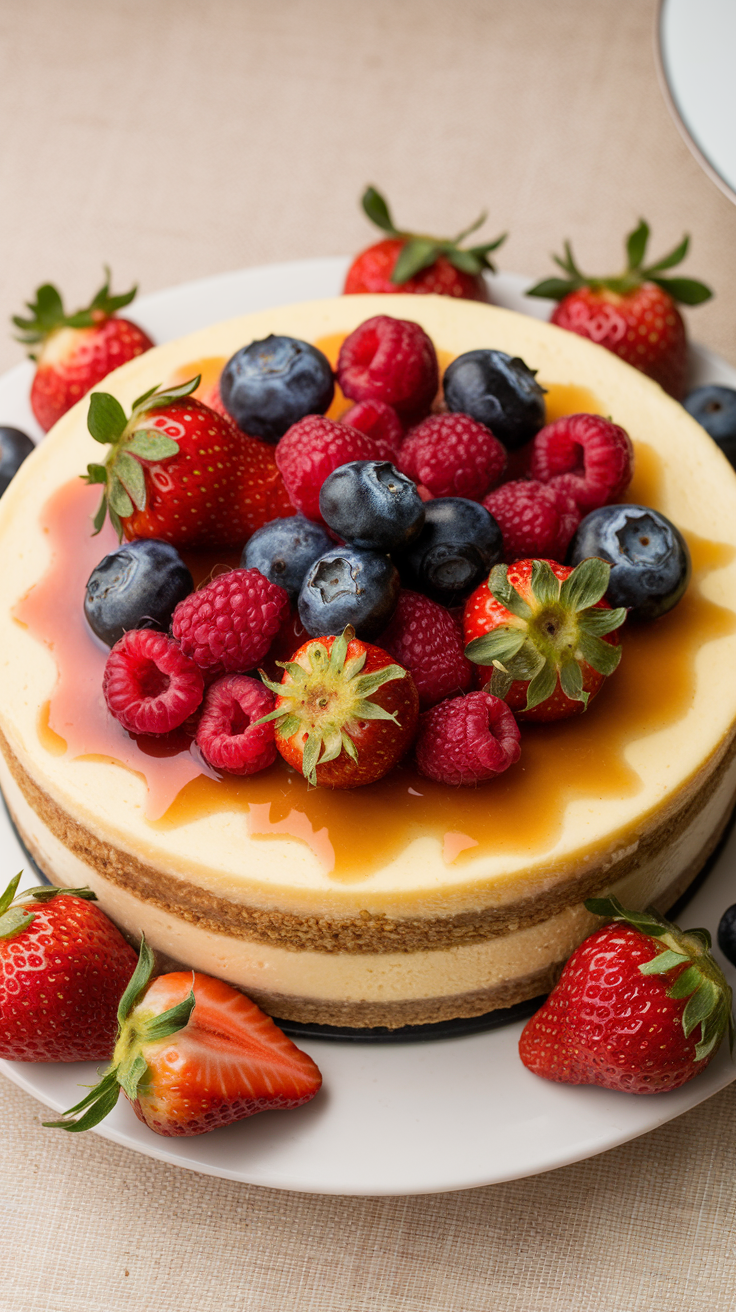
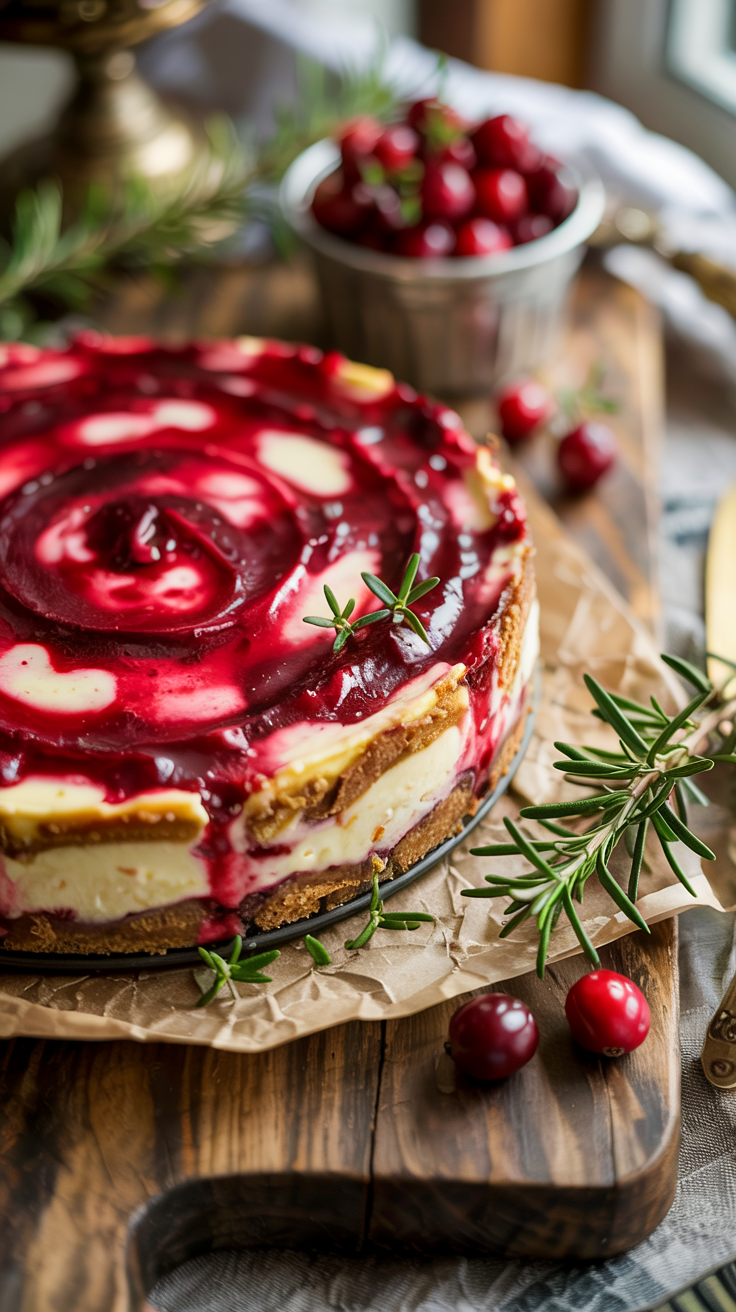
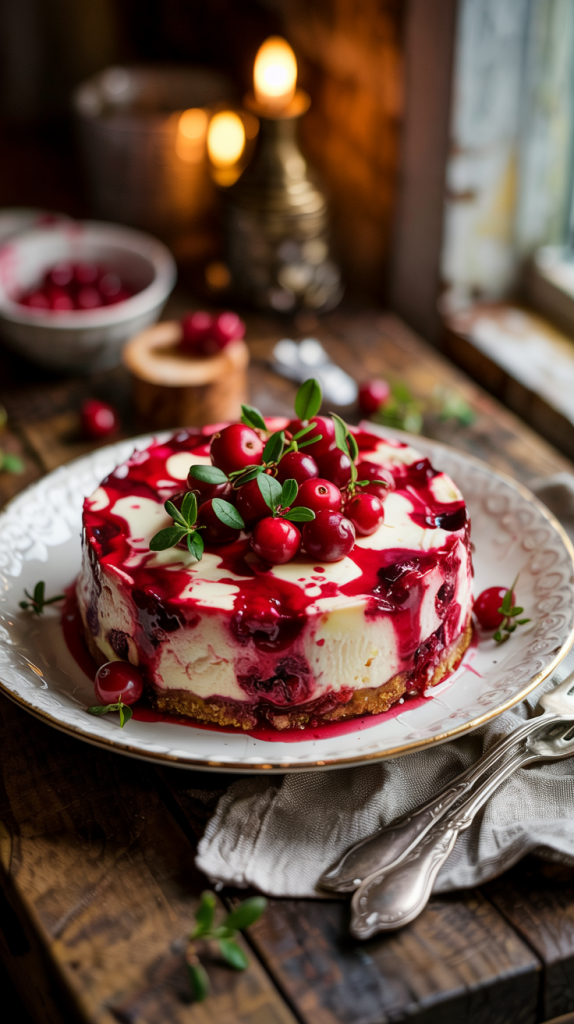
Sweet meets tart in the boldest way with this cranberry cheesecake recipe. Creamy layers of rich vanilla filling rest on a buttery graham cracker crust, topped with a jewel-toned cranberry sauce that bursts with flavor. Each bite brings together smooth texture and a fruity zing that keeps everyone reaching for seconds. Fresh cranberries don’t just add color—they balance the richness of the cheesecake with natural brightness and a hint of citrus. This dessert doesn’t need a holiday to shine, but it certainly steals the show at every gathering. From festive dinners to quiet nights at home, this cheesecake delivers a homemade touch that feels both cozy and luxurious. Expect compliments, recipe requests, and maybe even a few fights over the last slice. Pull out your springform pan, grab a bag of cranberries, and dive into a dessert that’s anything but ordinary. This cheesecake doesn’t just satisfy—it dazzles.
Ingredients

For the Crust:
- 1 ½ cups graham cracker crumbs
- ¼ cup granulated sugar
- ½ cup unsalted butter, melted
- ½ teaspoon cinnamon (optional)
For the Cheesecake Filling:
- 3 (8 oz) packages cream cheese, softened
- 1 cup granulated sugar
- 3 large eggs
- 1 teaspoon vanilla extract
- ½ cup sour cream
- 1 tablespoon all-purpose flour
- 1 tablespoon lemon juice
- 1 teaspoon lemon zest
For the Cranberry Topping:
- 2 cups fresh or frozen cranberries
- ½ cup granulated sugar
- ¼ cup orange juice
- 1 teaspoon orange zest
- 2 tablespoons water
- 1 tablespoon cornstarch (mixed with 1 tablespoon water to thicken)
Required Kitchen Tools:
- 9-inch springform pan
- Mixing bowls (various sizes)
- Electric hand mixer or stand mixer
- Rubber spatula
- Whisk
- Measuring cups and spoons
- Food processor (optional, for making graham cracker crumbs)
- Saucepan (for cranberry topping)
- Fine grater or zester (for lemon and orange zest)
- Cooling rack
- Baking sheet (for water bath, optional but recommended)
- Aluminum foil (for wrapping pan base if using water bath)
- Knife (for slicing and serving)
Step By Step Guide Of Cranberry Cheesecake Recipe
Step 1: Preheat the Oven
Set your oven to 325°F (163°C). Allow it to preheat fully while you prepare the crust and filling. A consistent temperature helps the cheesecake bake evenly.
Step 2: Prepare the Crust
In a mixing bowl, combine graham cracker crumbs, sugar, melted butter, and cinnamon (if using). Stir until the crumbs are coated and moist. Press the mixture firmly into the bottom of a 9-inch springform pan to form an even layer.
Step 3: Bake the Crust
Place the crust in the preheated oven and bake for 10 minutes. Remove and let it cool while you make the filling. Keep the oven on.
Step 4: Mix the Cream Cheese and Sugar
In a large bowl, beat softened cream cheese using a hand or stand mixer on medium speed. Add sugar and continue mixing until the texture becomes smooth and creamy with no lumps.
Step 5: Add Eggs One at a Time
Crack in the eggs, one at a time, mixing well after each addition. This step creates a silky consistency and prevents overmixing later.
Step 6: Blend in Remaining Ingredients
Add vanilla extract, sour cream, lemon juice, lemon zest, and flour. Mix on low speed just until everything combines. Scrape down the sides of the bowl to ensure a smooth batter.
Step 7: Pour Filling into Crust
Pour the cheesecake batter over the cooled crust. Use a spatula to smooth the top for an even surface.
Step 8: Bake with a Water Bath (Optional but Recommended)
Wrap the outside of the pan in aluminum foil. Place the pan inside a larger baking dish and fill the dish with 1 inch of hot water. Bake for 50–60 minutes until the center is just set but still slightly jiggly.
Step 9: Cool Gradually
Turn off the oven and crack the oven door. Let the cheesecake sit for 1 hour. Remove it from the oven and water bath, then transfer it to a cooling rack. Allow it to cool completely at room temperature.
Step 10: Chill Overnight
Cover the cheesecake and refrigerate for at least 6 hours or overnight. Chilling sets the texture and enhances the flavor.
Step 11: Prepare the Cranberry Topping
In a saucepan, combine cranberries, sugar, orange juice, and orange zest. Simmer over medium heat for 10–12 minutes until the cranberries burst and soften. Stir in the cornstarch-water mixture and cook until the sauce thickens. Cool before using.
Step 12: Assemble and Serve
Spread the cooled cranberry topping over the chilled cheesecake. Slice with a clean, sharp knife for perfect portions. Serve cold and enjoy the sweet-tart contrast.
FAQs
1. Can I use frozen cranberries instead of fresh ones?
Yes, frozen cranberries work just as well. There’s no need to thaw them first—just increase the cooking time slightly while making the topping.
2. What can I use if I don’t have a springform pan?
A deep 9-inch round cake pan can work, but removing the cheesecake without damage will be harder. Line it with parchment paper to help with lifting it out.
3. Why did my cheesecake crack on top?
Cracks often happen from overmixing or sudden temperature changes. Baking with a water bath and cooling slowly in the oven can prevent this.
4. How long can I store cranberry cheesecake?
Store it in the fridge, tightly covered, for up to 5 days. You can also freeze it (without topping) for up to 2 months. Thaw overnight in the refrigerator.
5. Can I make the cranberry topping ahead of time?
Absolutely. Prepare and refrigerate the topping up to 3 days in advance. Let it come to room temperature before spreading over the cheesecake.
Conclusion
Cranberry cheesecake brings together creamy indulgence and bright, tangy fruit in one unforgettable dessert. Its rich filling and fresh topping offer the perfect contrast—sweet, tart, smooth, and satisfying all at once. Whether you’re hosting a holiday feast or just baking for fun, this recipe brings a splash of color and a burst of flavor to the table. With a simple crust, a luscious filling, and a ruby-red topping, it turns everyday ingredients into something special. Serve chilled, share generously, and watch this cheesecake disappear faster than you made it.
Related Recipes