How to Make a Wooden Handle for a Knife? DIY Guide
How to make a wooden handle for a knife? To make a wooden handle for a knife, cut two wooden scales, drill holes matching the knife tang, and glue them with epoxy. Clamp tightly until cured. Shape the handle with files or sandpaper, then smooth and finish with oil or sealant for durability and comfort.
You might think making a wooden handle for a knife is complex, but it’s simpler than you imagine. By the end of this article, you’ll have the knowledge and confidence to transform a mere piece of wood into a masterpiece.
This guide will walk you through every step, ensuring you make the perfect wooden handle that feels just right in your grasp. Ready to hone your skills and impress yourself with your craftsmanship? Let’s dive into the art of making a wooden handle for your knife.
How to Make a Wooden Handle for a Knife?
Choosing The Right Wood
Crafting a wooden knife handle requires choosing the right wood. This step is crucial for durability and aesthetics. The wood type affects grip, appearance, and longevity. Select the wood wisely to enhance your knife.
Types Of Wood To Consider
Many woods are suitable for knife handles. Hardwoods like oak offer strength and durability. Maple provides a smooth finish and is easy to work with. Cherry wood adds a rich color and unique grain pattern. Each wood type has distinct features and benefits.
Durability And Strength
Durability is key for a knife handle. Hardwoods resist wear and tear, ensuring a long-lasting handle. Oak and walnut are excellent choices due to their toughness. These woods withstand daily use without damage.
Aesthetic Appeal
Wood selection impacts the knife’s look. Different woods offer varied shades and textures. Mahogany provides a dark, elegant finish. Birch adds a light, fresh appearance. Choose a wood that complements your knife design.
Ease Of Working
Some woods are easier to shape. Softwoods like pine require less effort to carve. Maple is another easy-to-handle wood. Consider your skill level when selecting wood. Choose a wood that suits your craftsmanship abilities.
Cost Considerations
Wood prices vary greatly. Exotic woods like ebony can be expensive. More common woods like oak are budget-friendly. Balance cost with quality to find the perfect wood. Ensure the wood fits your budget without sacrificing quality.
Gathering Essential Tools
Creating a wooden handle for a knife begins with the right tools. These tools ensure precision and safety. A well-equipped workspace makes the task easier and more enjoyable. Start by collecting all necessary tools before you begin. It saves time and reduces frustration. Let’s explore the essential tools you need.
1. Measuring Tools
Accurate measurements are crucial for a perfect fit. Use a ruler or measuring tape. These tools help in cutting the wood to the correct size. Precision prevents mistakes and ensures a snug fit.
2. Marking Instruments
A pencil or marker is vital. They help trace the shape of the handle on the wood. Clear markings guide your cuts and drills. This ensures accuracy in your work.
3. Cutting Tools
A handsaw or jigsaw is essential. These tools help cut the wood to your desired shape. Choose a saw that suits the wood thickness. Sharp blades make clean cuts.
4. Sanding Tools
Smooth out rough edges with sandpaper or a sanding block. Different grits provide a smooth finish. Sanding ensures the handle is comfortable to hold.
5. Drilling Tools
A drill is necessary for creating holes. Holes allow the blade tang to fit securely. Choose the correct drill bit size. This prevents damage to the wood.
6. Clamping Tools
Clamps hold the wood steady while you work. They ensure safety and precision. Secure the wood tightly to avoid slips.
7. Protective Gear
Safety glasses and gloves protect you. They shield against wood splinters and tool slips. Always prioritize safety in your workspace.
Shaping The Wooden Handle
Creating a wooden handle for your knife can be rewarding. The shaping process is where your creativity shines. It’s crucial to focus on comfort and functionality. A well-shaped handle enhances your knife’s performance.
Select a wood type that suits your knife’s purpose. Hardwoods like walnut or maple work well. They are durable and easy to shape. The right wood ensures longevity and comfort.
Marking The Outline
Begin by marking the handle outline on the wood. Use a pencil for clear visibility. This guides your cutting and shaping process. Ensure the outline matches your knife tang for a snug fit.
Cutting The Basic Shape
Use a saw to cut out the handle’s rough shape. Follow the marked outline carefully. This step requires precision to maintain symmetry. A steady hand ensures a balanced handle.
Sanding For Smoothness
Sand the wooden handle to achieve a smooth surface. Start with coarse-grit sandpaper. Progress to finer grits for a polished finish. Smooth handles provide a comfortable grip.
Testing The Fit
Test the handle fit on the knife tang frequently. Make adjustments as needed for a snug fit. A well-fitted handle enhances safety and usability.
Adding Ergonomic Features
Consider adding ergonomic features for better grip. Curves and contours can enhance comfort. Tailor the handle to fit your hand naturally. This makes handling the knife easier and safer.
Finishing Touches
Apply a finish to protect the wood from wear. Use oils or varnishes for added durability. Finishing enhances the wood’s natural beauty. A good finish also increases the handle’s lifespan.
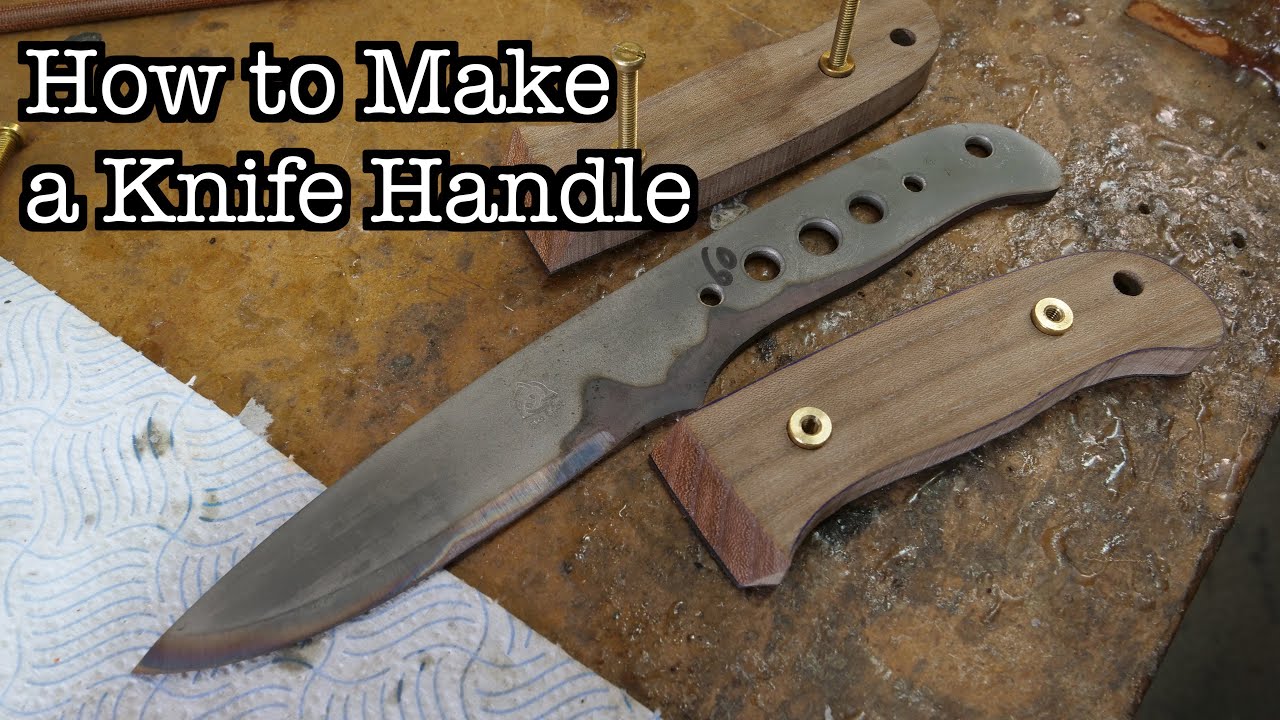
Credit: www.backpackingtechnology.com
Attaching The Handle To The Knife
Attaching the handle to the knife is an exciting step. It brings your handcrafted piece to life. This process requires precision and care. A well-attached handle ensures durability and comfort. It’s vital for safety and usability. Below, we explore methods to attach the handle effectively.
Drilling Holes For Pins
Start by marking the spots for the pins. Use a pencil for clear visibility. Drill holes into the tang of the knife. Ensure they align with the handle. This secures the handle tightly. Use a drill bit slightly larger than the pins.
Choosing The Right Adhesive
Epoxy is popular for knife handles. It offers strong bonding. Mix the epoxy according to instructions. Apply it evenly on the tang. Cover all surfaces for maximum adhesion. This prevents the handle from loosening.
Securing Pins In Place
Insert pins through the drilled holes. Use a hammer to tap them gently. Make sure they fit snugly. Pins add stability and reinforce the bond. They prevent the handle from rotating.
Clamping The Handle
Place clamps on the handle and tang. Ensure even pressure across the surface. Leave it clamped until the adhesive dries. This guarantees a firm attachment. Clamping prevents gaps and ensures a seamless fit.
Sanding For Smoothness
Once the adhesive sets, remove the clamps. Sand the handle for a smooth finish. Use fine-grit sandpaper for best results. This enhances comfort and grip. A smooth handle feels great in hand.
Finishing And Sealing The Handle
Finishing and sealing the wooden handle is crucial. It enhances the knife’s durability and appearance. Proper finishing ensures a smooth surface. Sealing protects the wood from moisture and wear. These steps add longevity to the knife handle. Follow this guide to achieve a professional finish.
Preparing The Surface
Start by sanding the handle. Use fine-grit sandpaper for best results. Sand in the direction of the wood grain. This prevents scratches. Ensure the surface is smooth and even. Wipe away dust with a clean cloth.
Choosing The Right Finish
Several finishes are available. Tung oil is a popular choice. It penetrates deeply and enhances grain. Linseed oil is another option. It provides a warm, natural look. Choose based on your preference and use.
Applying The Finish
Apply the finish with a clean cloth. Use small, circular motions. Ensure even coverage over the entire handle. Allow the finish to soak in. Wipe off any excess after a few minutes. Let it dry completely before applying another coat.
Sealing The Handle
Sealing is the final step. It protects the wood from moisture. Use a clear sealant or wax. Apply sparingly with a cloth. Buff the handle to a shine. Check for missed spots and reapply if needed.
Final Inspection
Inspect the handle closely. Look for any rough areas or missed spots. Ensure the finish is even. The handle should feel smooth and polished. A well-finished handle offers comfort and style.

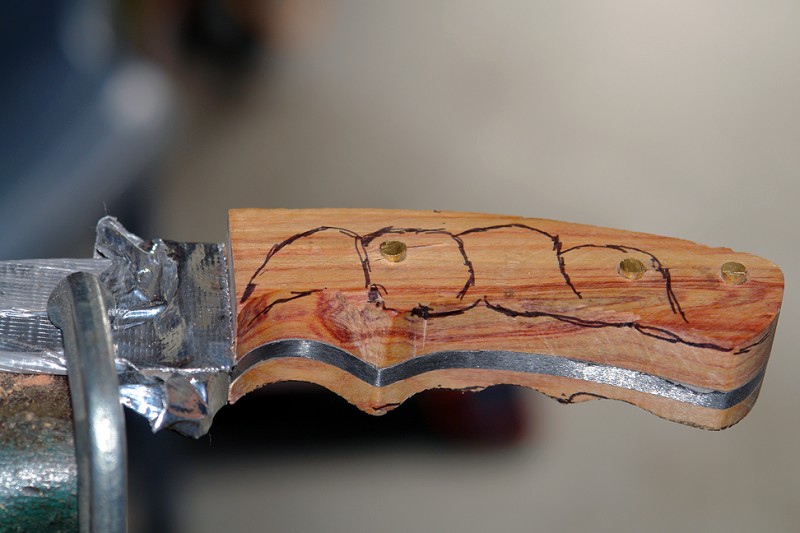
Credit: www.wikihow.com
Credit: www.youtube.com
Frequently Asked Questions
What Tools Do I Need To Make A Knife Handle?
You need a saw, drill, sandpaper, and wood glue. These basic tools help shape and attach the handle securely.
How Do I Choose The Right Wood For The Handle?
Choose hardwoods like oak or walnut. They are strong and durable, making them ideal for knife handles.
Can I Customize The Design Of My Knife Handle?
Yes, you can carve or paint the handle. Personalize it with unique shapes and designs that suit your style.
Conclusion
Crafting a wooden handle for your knife is rewarding. You gain a unique, personal touch. Start with selecting quality wood. Measure and cut it carefully. Sand it smooth for a comfortable grip. Attach the handle securely. Use glue and pins for strength.
Protect it with oil or varnish. Appreciate the beauty and effort involved. Enjoy the satisfaction of using a handle you made. Your knife becomes more than a tool. It’s a piece of art. A blend of function and style. Now, sharpen your skills and begin creating.
Related Article
- Best Xacto Knife Sets: Precision Cutting Tools for Every Task
- Do Knife Sharpeners Wear Out? Uncover the Truth!
- Best Deer Field Dressing Knife: Top Picks for Efficient Hunting
- Best Dishwasher Safe Steak Knife: Top Picks for Effortless Dining
- Best EDC Spyderco Knife: Top Picks for Everyday Carry Enthusiasts
- Best Cutting Board And Knife Set: Top Picks for Your Kitchen Needs