How to Make Oreo Cheesecake? Easy & Delicious Recipe
Craving something sweet and indulgent? Imagine sinking your fork into a creamy, luscious cheesecake that’s perfectly complemented by the classic crunch of Oreo cookies.
Sounds heavenly, right? If you’ve ever wondered how to make an Oreo cheesecake that’s both irresistible and easy to whip up, you’re in the right place. This is your chance to master a dessert that could easily become the star of your next gathering or simply a delightful treat for yourself.
With step-by-step guidance, even if you’re not an expert in the kitchen, you’ll find this recipe surprisingly simple. Get ready to impress your taste buds and your guests with a dessert that combines the best of both worlds: the rich texture of cheesecake and the nostalgic taste of Oreos. Keep reading to uncover the secrets to creating this crowd-pleaser!

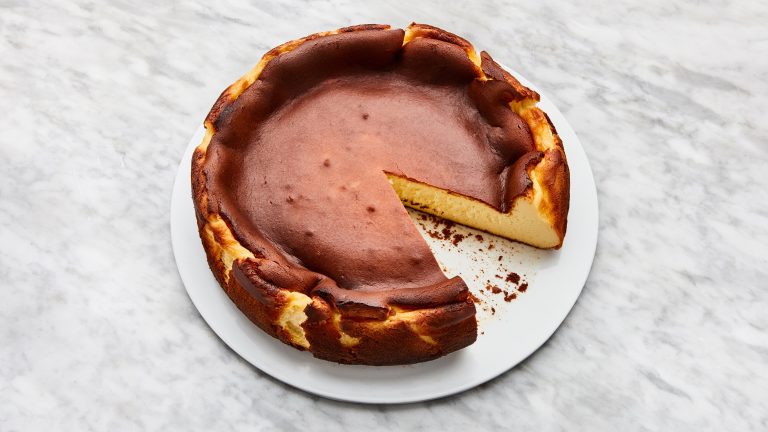
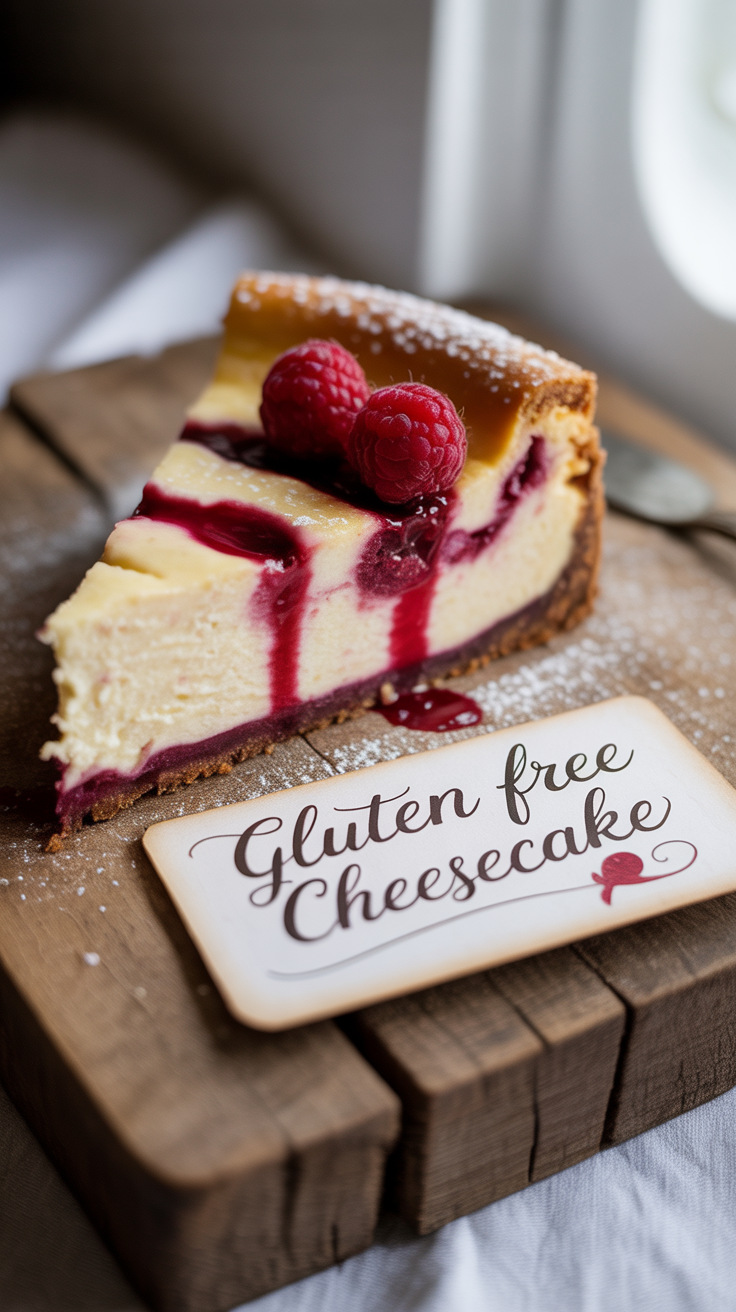
Credit: charlotteslivelykitchen.com
How to Make Oreo Cheesecake?
Ingredients Needed
Creating the perfect Oreo cheesecake starts with gathering the right ingredients. These components blend to create a delicious dessert that delights every bite. Each ingredient has its unique role in achieving the creamy texture and rich flavor. Let’s dive into what you’ll need to make this treat.
Oreo Cookies
Oreo cookies form the crust and add crunch. Use whole Oreos, including the cream filling, for the best texture.
Cream Cheese
Cream cheese is crucial for cheesecake. Choose full-fat cream cheese to ensure a rich and creamy texture.
Sugar
Sugar sweetens the cheesecake. Use granulated sugar for a smooth blend with cream cheese.
Vanilla Extract
Vanilla extract enhances the flavor. Pure vanilla extract gives the cheesecake a warm, aromatic taste.
Eggs
Eggs bind the ingredients. They also contribute to the cheesecake’s structure.
Heavy Cream
Heavy cream adds richness. It helps achieve a smooth and velvety consistency.
Butter
Butter keeps the crust together. Melted butter combines with crushed Oreos for a firm base.
Preparing The Crust
Creating a perfect Oreo cheesecake starts with a delicious crust. The crust forms the foundation of your cheesecake. It provides a delightful crunch that complements the creamy filling. Let’s dive into the steps to craft a mouth-watering Oreo crust.
Choosing The Right Oreos
Select regular Oreos for the crust. They offer the best taste and texture. Avoid flavored varieties for a classic cheesecake flavor.
Crushing The Oreos
Place the Oreos in a plastic bag. Use a rolling pin to crush them into fine crumbs. A food processor works well too. Ensure no large chunks remain. Uniform crumbs ensure a smooth crust.
Mixing With Butter
Melt some unsalted butter in a pan. Mix the crushed Oreos with the melted butter. Stir until the crumbs soak up all the butter. This mixture should resemble wet sand.
Pressing The Crust
Press the mixture into the bottom of a springform pan. Use a flat-bottomed glass or spatula for an even layer. The crust should be firm and compact. This prevents crumbling when sliced.
Chilling The Crust
Place the pan in the fridge. Chill for at least 30 minutes. This sets the crust and keeps it firm. A firm crust holds the cheesecake filling perfectly.
Mixing The Cheesecake Batter
Creating the perfect Oreo cheesecake starts with mixing the batter. This step is crucial for achieving a smooth, creamy texture. The right balance of ingredients ensures a deliciously rich flavor. Follow these steps for a delightful dessert.
Gather The Ingredients
Start with cream cheese, sugar, and vanilla extract. Ensure the cream cheese is at room temperature. This helps it mix smoothly without lumps. Use a hand mixer or stand mixer for best results.
Beat The Cream Cheese
Place the cream cheese in a large bowl. Beat it on medium speed until smooth. Scrape the bowl’s sides often to incorporate all parts. This avoids lumps and ensures a creamy batter.
Add Sugar And Vanilla
Gradually add sugar to the cream cheese. Mix until well combined. Then, pour in the vanilla extract. Continue mixing until everything is smooth and blended. The batter should be creamy and thick.
Incorporate Eggs One At A Time
Add eggs to the mixture one at a time. Beat each egg until fully mixed before adding the next. This technique ensures a smooth, airy batter. It also helps avoid overmixing.
Fold In Oreo Pieces
Gently fold in crushed Oreo cookies. Use a spatula to mix them evenly. This adds a delightful crunch and flavor to your cheesecake. Avoid overmixing to keep the texture perfect.
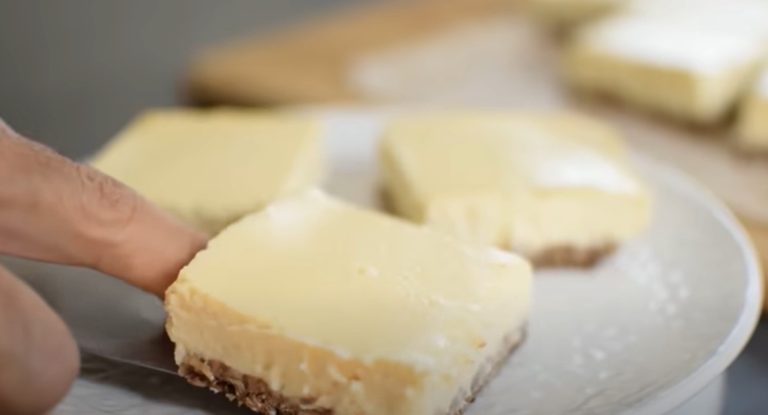
:max_bytes(150000):strip_icc()/Simply-Recipes-Oreo-Cheesecake-LEAD-04-ab9df2c09a1346fe945ddbccf5fa6251.jpg)
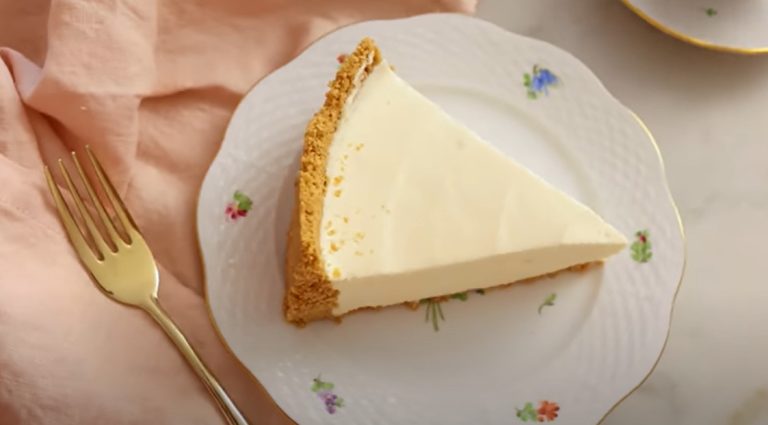
Credit: www.simplyrecipes.com
Baking Instructions
Creating the perfect Oreo cheesecake is an exciting journey. Baking this delightful dessert involves precise steps. Each stage contributes to the delicious final result. Let’s dive into the baking instructions.
Preheat Your Oven
Begin by preheating your oven to 325°F (163°C). This ensures even baking. A consistent temperature is key for a creamy texture.
Prepare The Baking Pan
Use a springform pan for easy removal. Line it with parchment paper. This prevents sticking and ensures a smooth bottom.
Mix The Cheesecake Filling
Blend cream cheese, sugar, and vanilla in a bowl. Mix until smooth. Add eggs one at a time, beating gently. Stir in crushed Oreos for added flavor.
Pour The Batter
Carefully pour the cheesecake mixture into the prepared pan. Use a spatula to even out the top. Smooth surfaces bake evenly.
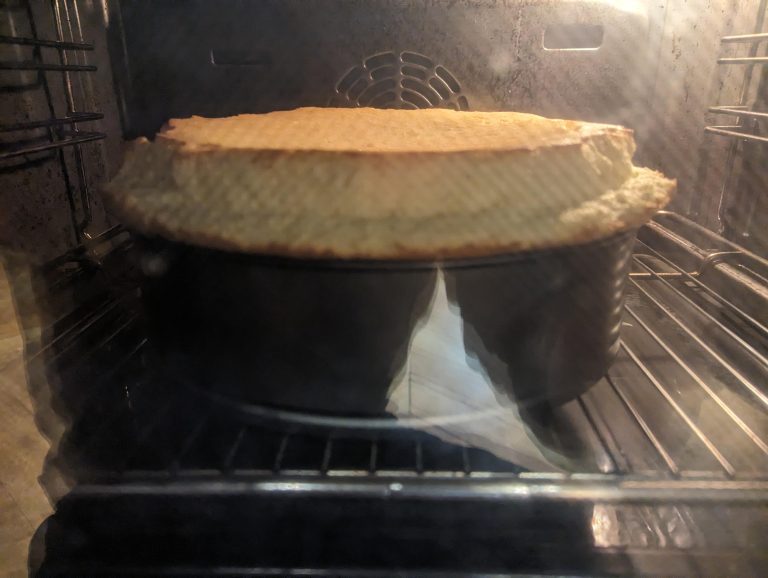
Bake The Cheesecake
Place the pan in the oven. Bake for 50 to 60 minutes. The center should be slightly wobbly. This indicates it’s perfectly baked.
Cool The Cheesecake
Remove the cheesecake from the oven. Let it cool on a wire rack. Cooling prevents cracks and ensures firm texture.
Refrigerate Overnight
Cover the cheesecake with plastic wrap. Refrigerate for at least 4 hours or overnight. This enhances flavor and texture. Patience is rewarded with rich taste.
Decorating And Serving
Crafting Oreo cheesecake involves layering creamy filling on a crunchy Oreo crust. Top it with crushed Oreos for added texture. Chill and serve this delicious dessert to enjoy its rich, sweet flavor.
Decorating and serving your Oreo cheesecake can transform a simple dessert into a memorable culinary experience. Imagine the delight on your guests’ faces as they see your masterpiece and savor each bite. This section will guide you in adding those finishing touches that make your Oreo cheesecake not only delicious but also visually stunning.
Choosing The Perfect Toppings
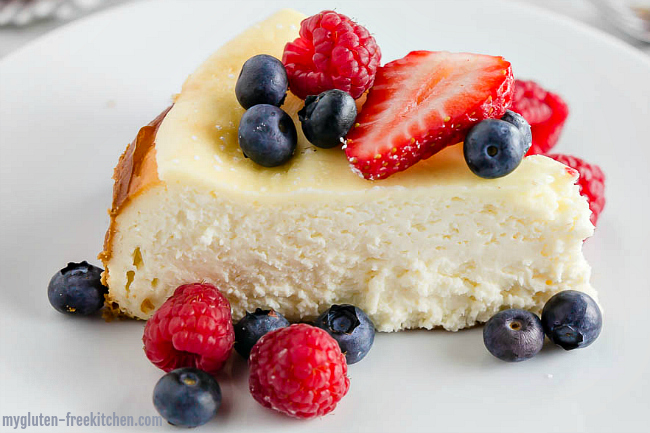
Selecting the right toppings can elevate your cheesecake from ordinary to extraordinary. You might start with a drizzle of melted chocolate or caramel, which adds a glossy finish and extra flavor. Consider a sprinkle of crushed Oreo cookies for added texture and a nod to the main ingredient. Fresh berries like strawberries or raspberries can provide a burst of color and freshness, offering a contrast to the rich, creamy filling.
Creating Eye-catching Designs
Unleash your creativity by experimenting with different designs. Try swirling toppings using a toothpick for a marbled effect or strategically placing whole Oreos around the edges for a decorative border. You can even pipe whipped cream in elegant patterns across the top. Personal experiences have taught me that symmetry and balance make a big impact. A well-decorated cheesecake not only pleases the palate but also the eye.
Serving Suggestions
Serving your Oreo cheesecake doesn’t have to be mundane. Consider slicing it into neat wedges and placing them on individual plates with a dollop of whipped cream on the side. You could even serve it with a scoop of vanilla ice cream or a chilled glass of milk to complement the flavors. Remember, presentation matters—use your favorite dessert plates or add a touch of garnish like mint leaves for a fresh look.
Engaging Your Guests
Why not turn the serving into a fun event? Invite your guests to add their own toppings from a mini buffet. Let them choose from options like chocolate chips, nuts, or fruit slices. This interactive approach not only gets everyone involved but also allows them to customize their dessert to their liking. It’s a great way to spark conversations and create lasting memories.
Have you ever thought about how the way you serve food can change your guests’ experience? Sometimes, the smallest detail can make the biggest difference. As you prepare to serve your Oreo cheesecake, remember that it’s not just about taste—it’s about creating an experience that captivates your guests from first glance to last bite.
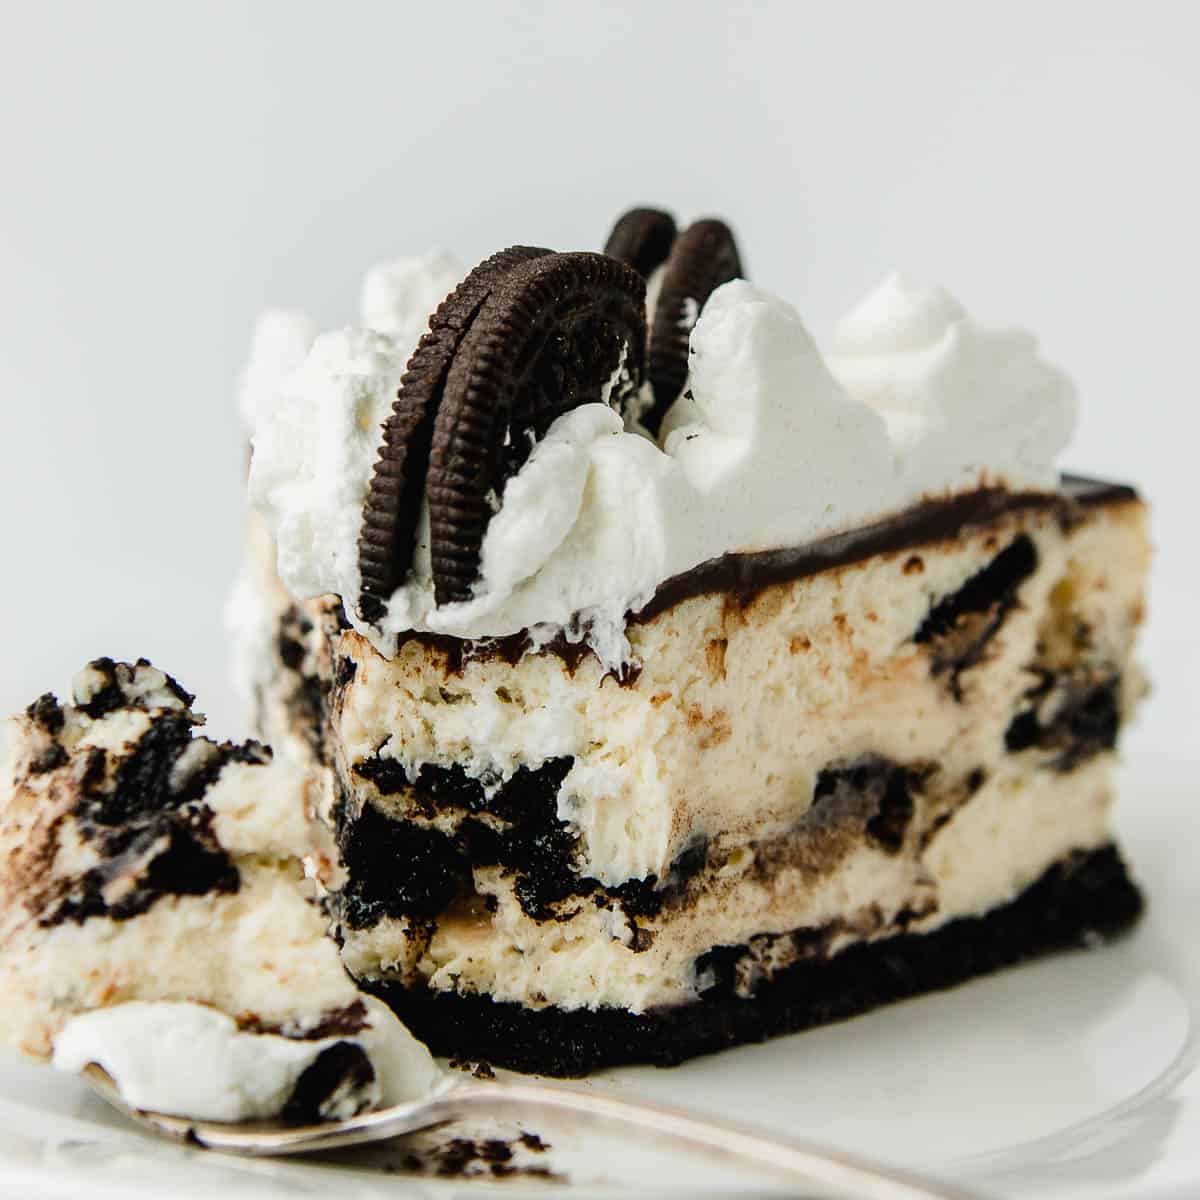
Credit: littlespoonfarm.com
Frequently Asked Questions
How Long To Bake Oreo Cheesecake?
Bake the Oreo cheesecake for about 50 minutes. Let it cool before serving.
Can I Use Store-bought Crust For Cheesecake?
Yes, you can use a store-bought crust. It’s convenient and saves time.
What Type Of Cream Cheese Is Best For Cheesecake?
Use full-fat cream cheese. It gives a rich and creamy texture to the cheesecake.
Conclusion
Making Oreo cheesecake is simple and fun. Anyone can do it. Just follow the steps closely. Enjoy the process of mixing and baking. The result is a creamy delight. Perfect for any occasion. Friends and family will love it. This dessert never disappoints.
It’s rich, sweet, and full of Oreo goodness. Try it once. You’ll want to make it again. Your kitchen will smell amazing. And the taste? Unforgettable. Oreo cheesecake will be your new favorite. So, gather your ingredients. Start baking today.
Enjoy every bite of your homemade treat. Happy cooking!
Related Recipes