How to Remove a Handle from a Kitchen Knife? Expert Tips
How to remove a handle from a kitchen knife? To remove a handle from a kitchen knife, first remove any visible rivets or screws. Use a drill to carefully drill out rivets if needed. Then, pry the handle scales apart using a flathead screwdriver or chisel. Be cautious to avoid damaging the tang or cutting yourself.
Whether you’re looking to replace it for better grip or aesthetics, or perhaps you’re interested in crafting your own, this guide will walk you through the process step-by-step. Imagine the satisfaction of transforming your knife into something that perfectly fits your hand and style.
Keep reading to discover how you can easily remove a handle and take control of your culinary tools, ensuring each meal you prepare is a masterpiece.
Tools Needed
Removing a handle from a kitchen knife requires the right tools. Using proper tools ensures safety and efficiency. Gathering these tools beforehand makes the process smoother.
1. Screwdriver
A screwdriver is essential if the handle has screws. Choose the correct size for a firm grip on the screws. This prevents damage and ensures easy removal.
2. Pliers
Pliers help grip and remove stubborn handle parts. Use them to pull out pins or small pieces. They provide better control and reduce the risk of injury.
3. Hammer
A hammer assists in loosening or removing tightly fixed components. Gently tap to avoid damaging the blade or handle.
4. Utility Knife
Use a utility knife to cut through adhesives or tape. It offers precision and helps separate the handle cleanly from the blade.
5. Heat Gun
A heat gun softens glue or epoxy holding the handle. Warm the handle gently to avoid blade damage. This makes removal easier.
6. Safety Gear
Wear gloves and safety glasses to protect your hands and eyes. Safety gear prevents injuries from sharp edges or small flying parts.

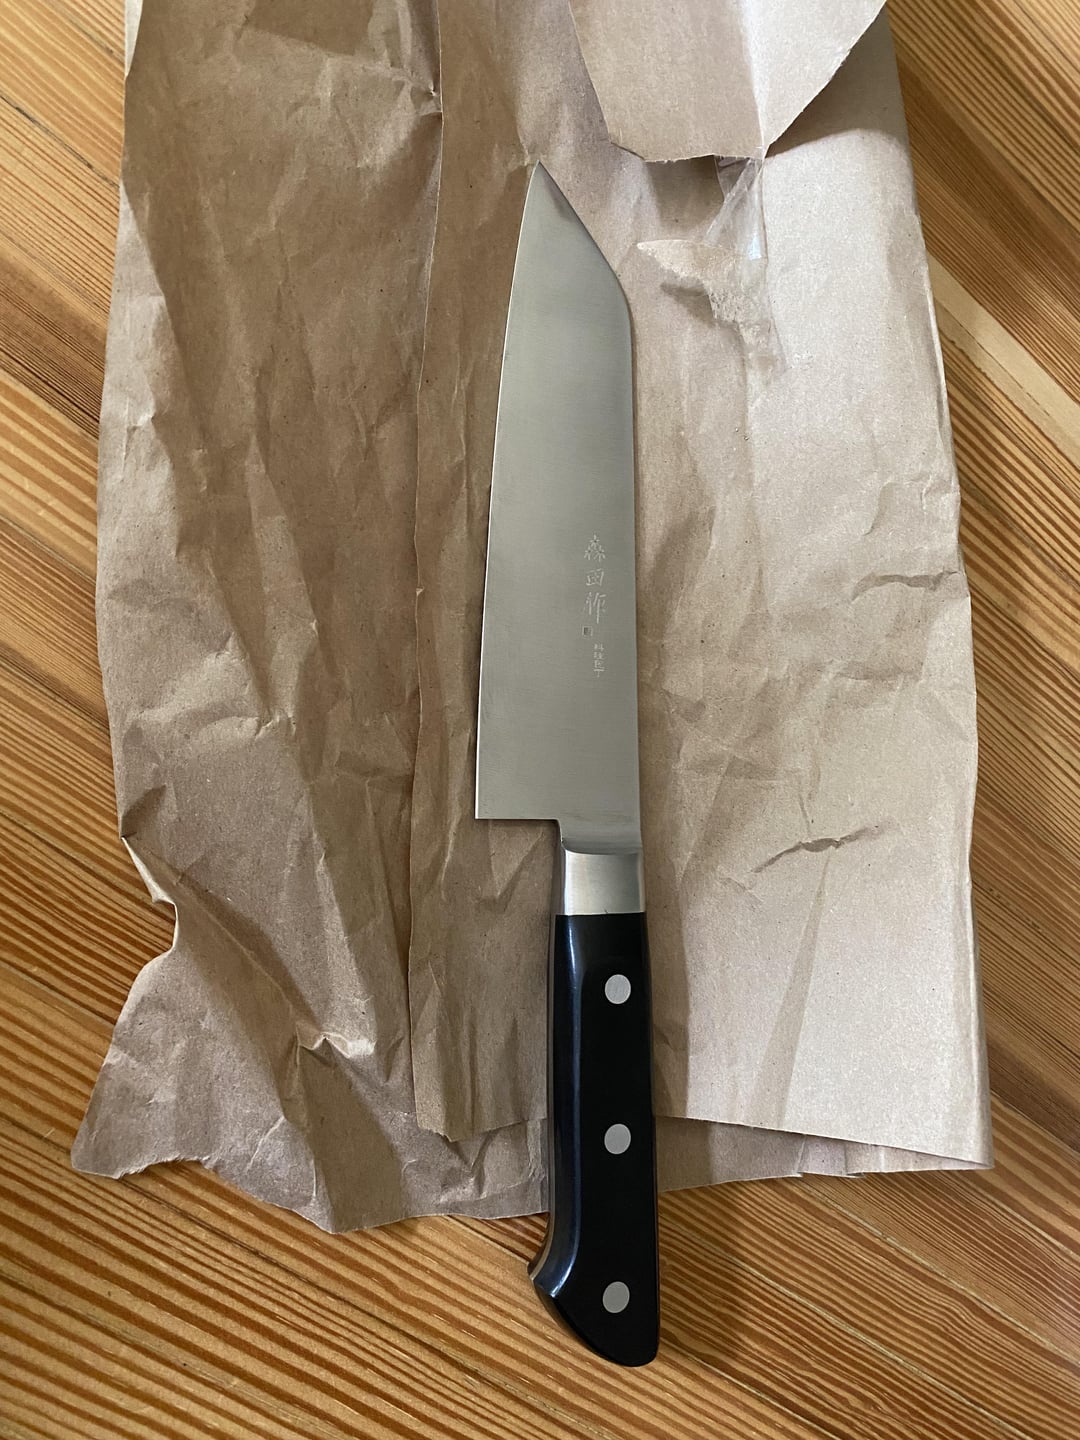
Credit: www.reddit.com
Safety Precautions
Safety precautions are crucial when removing a handle from a kitchen knife. Proper care prevents accidents and ensures a smooth process. Consider the following guidelines to protect yourself during this task.
1. Wear Protective Gear
Always wear cut-resistant gloves to protect your hands. Safety glasses are essential to shield your eyes from debris. This gear minimizes injury risks.
2. Use A Stable Work Surface
A stable surface keeps the knife secure while you work. Avoid slippery or unstable tables. A firm grip on the work area prevents unwanted movement.
3. Keep Tools Handy
Ensure you have the right tools nearby before starting. A screwdriver, pliers, and a hammer might be needed. Having tools within reach saves time and reduces distractions.
4. Work In A Well-lit Area
Good lighting helps you see clearly while working. It minimizes the risk of mistakes. Ensure the workspace is bright enough to spot small details.
5. Dispose Of Parts Safely
Discard knife parts in a safe manner. Use a container to collect broken pieces. This prevents injuries from sharp or jagged edges.
Step-by-step Process
Removing the handle from a kitchen knife can seem challenging. But with the right steps, it becomes manageable. This guide provides a clear process. Follow each step carefully. Ensure safety and precision throughout the task. Let’s dive into the details.
Gather Your Tools
First, collect all necessary tools. You’ll need a screwdriver and pliers. A hammer may also be helpful. These tools ensure you can remove the handle safely. Have them ready before you start.
Ensure Safety First
Safety is crucial when handling sharp objects. Wear protective gloves to prevent injuries. Make sure your workspace is clear and well-lit. This helps avoid accidents. Keep a first aid kit nearby, just in case.
Loosen The Handle Screws
Check the handle for screws. Use your screwdriver to loosen them. Turn the screws counterclockwise. Remove them carefully and set aside. This step helps in detaching the handle.
Detach The Handle
With the screws removed, gently pull the handle apart. Use pliers if needed for a tight fit. Be careful not to damage the knife blade. The handle should come off easily.
Inspect The Knife Tang
Once the handle is off, inspect the tang. Check for any rust or damage. Clean it if necessary before attaching a new handle. This ensures the knife remains in good condition.
Troubleshooting Common Issues
Removing a kitchen knife handle involves careful steps to avoid damage. Begin by loosening screws or rivets with a screwdriver. Gently separate the handle from the blade using a pliers or knife.
Removing a handle from a kitchen knife can sometimes be trickier than it seems. You might encounter some unexpected challenges along the way. Whether it’s a stubborn screw or a handle that won’t budge, troubleshooting these issues is crucial to ensure a smooth process. This section will guide you through common problems and provide practical solutions to help you succeed.
1. Loose Screws That Won’t Turn
Screws can often become stuck, making them difficult to turn. Use a screwdriver that perfectly fits the screw head to prevent stripping. If the screw is still stuck, apply a few drops of penetrating oil and let it sit for a few minutes. This helps to loosen the grip of rust or debris.
2. Handle Stuck Due To Adhesive
Some handles are glued to the blade with strong adhesive. Use a hairdryer or heat gun to apply gentle heat to the handle. This softens the adhesive, making it easier to remove the handle without damaging the blade. Remember to wear gloves to protect your hands from heat.
3. Blade Wobbling Or Shifting
If the blade becomes loose during the process, tighten any accessible screws to stabilize it. If there are no screws, use a vice to hold the blade securely in place. Ensure you’re not applying too much pressure to avoid bending or damaging the blade.
4. Cracked Handle Material
Sometimes, handles may crack during removal, especially if they’re made of brittle material. If this happens, carefully remove the broken pieces, ensuring not to damage the tang of the blade. Consider replacing the handle with a more durable material like wood or composite.
5. Rusted Or Corroded Components
Rusted screws or tangs can be a hassle. Use a rust remover or vinegar to dissolve rust and make removal easier. After cleaning, dry the components thoroughly to prevent further corrosion. This ensures the longevity of your knife once reassembled. Have you ever thought about how a simple kitchen task could turn into a learning experience? Each challenge you face is an opportunity to improve your skills. By addressing these common issues, you can successfully remove a handle from a kitchen knife with confidence.
Maintenance And Care After Removal
Removing a handle from a kitchen knife is only half the battle. Proper maintenance and care afterwards are crucial. This ensures the knife remains in good condition and safe to use. Understanding the right techniques can extend the knife’s lifespan.
Cleaning The Blade
Start by thoroughly cleaning the blade. Use warm water and mild soap to remove any residue. A soft cloth works best to gently wipe down the blade. Avoid harsh chemicals that might damage the metal.
Drying Thoroughly
Water can lead to rust and corrosion. Dry the blade immediately after cleaning. Use a dry towel or cloth to remove all moisture. Ensure there are no water spots left on the surface.
Inspecting For Damage
Check the blade for any signs of damage. Look for cracks or chips that might affect performance. It’s important to catch these issues early. This can prevent further damage during use.
Storing Safely
Proper storage is vital for knife safety. Store the blade in a protective sheath or case. This avoids accidental cuts or damage. Choose a dry and cool place to prevent rust.
Regular Sharpening
Sharpen the blade regularly to maintain its edge. A sharp knife is safer and more efficient. Use a sharpening stone or tool designed for kitchen knives. Follow the manufacturer’s guidelines for best results.
Monitoring For Rust
Rust can weaken the knife. Check regularly for signs of rust on the blade. If detected, treat promptly with rust remover or a vinegar solution. This helps preserve the knife’s integrity.

Credit: m.youtube.com
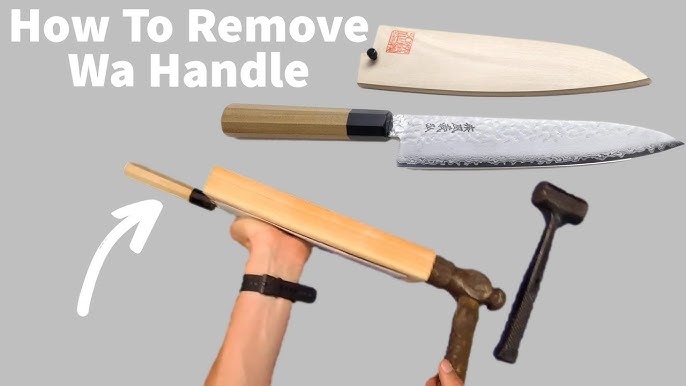
Credit: www.youtube.com
Frequently Asked Questions
How Do You Safely Remove A Knife Handle?
Use gloves for protection. Unscrew or cut the handle. Work carefully to avoid injury.
What Tools Are Needed For Handle Removal?
You’ll need a screwdriver, pliers, and a saw. These tools help in safely removing the handle.
Can I Replace A Kitchen Knife Handle Myself?
Yes, you can. Get a new handle and follow instructions. Ensure it’s securely fitted.
Conclusion
Successfully removing a kitchen knife handle requires patience and care. Follow the steps meticulously for the best outcome. Always prioritize safety. Use the right tools to make the process easier. Keep your workspace tidy to avoid accidents. After removal, inspect the blade for any damage.
If needed, consult a professional for help. Proper maintenance extends the life of your knife. This ensures safe and efficient kitchen use. Practice these tips for better results. Your knives will last longer with proper care. Enjoy a safer, more enjoyable cooking experience.
Related Article