How to remove cheesecake from Springform pan? Let the cheesecake cool completely, then chill it in the fridge for at least 4 hours. Run a thin knife around the edges to loosen it. Release the springform latch gently. Use a spatula to lift the cheesecake from the base if needed, or serve directly from the pan bottom.
You might worry about cracks, the crust sticking to the pan, or the edges looking less than perfect. But what if you could confidently and smoothly transfer your cheesecake to a serving plate without a hitch? Imagine the satisfaction and pride as you present a flawless cheesecake to your guests or enjoy it yourself.
In this guide, we’ll walk you through simple, foolproof steps to remove your cheesecake from a springform pan, ensuring it looks as delightful as it tastes. Are you ready to master this essential baking skill and impress everyone with your cheesecake prowess? Let’s get started!
Credit: www.youtube.com
How to Remove Cheesecake from Springform Pan?
Preparing The Springform Pan
To easily remove cheesecake, properly prepare the springform pan. First, line the pan with parchment paper. Then, ensure the sides are greased. This helps prevent sticking and ensures a smooth release.
Preparing your springform pan properly is the first step to achieving that picture-perfect cheesecake. Imagine spending hours baking only to struggle with removing the cake from the pan. It’s a heartbreaking moment that can be easily avoided. This section will guide you through simple yet effective steps to ensure your cheesecake slides out effortlessly, maintaining its flawless form.
Choosing The Right Springform Pan
Selecting the right pan is crucial. Go for a non-stick springform pan to make the removal process smoother. A 9-inch pan is the standard size for most cheesecake recipes, but always double-check your recipe’s requirements.
Lining The Bottom With Parchment Paper
Cut a piece of parchment paper to fit the bottom of your pan. This step acts like a shield, preventing the crust from sticking. Place the paper on the base before attaching the sides of the pan.
Greasing The Pan
A light greasing can be your best ally. Use butter or a non-stick spray to coat the sides of the pan. This extra step can help the cheesecake release easily without leaving chunks behind.
Sealing The Pan’s Edges
Springform pans can leak, especially with a water bath. Wrap the bottom and sides of the pan with aluminum foil. This provides a tight seal, keeping water out and your cheesecake intact.
Pre-baking The Crust
Many recipes call for pre-baking the crust. This step not only adds a delightful crunch but also helps in the easy removal of the cheesecake. Pre-baking firms up the crust, making it less likely to stick.
Cooling The Cheesecake Completely
Patience is key here. Allow your cheesecake to cool in the fridge for at least four hours, preferably overnight. A well-cooled cheesecake is firmer and less likely to crumble when removed.
Have you ever skipped a step in excitement, only to face a cheesecake disaster? Taking a little extra time to prepare your springform pan can save you from such heartaches. So, what’s your next cheesecake project?
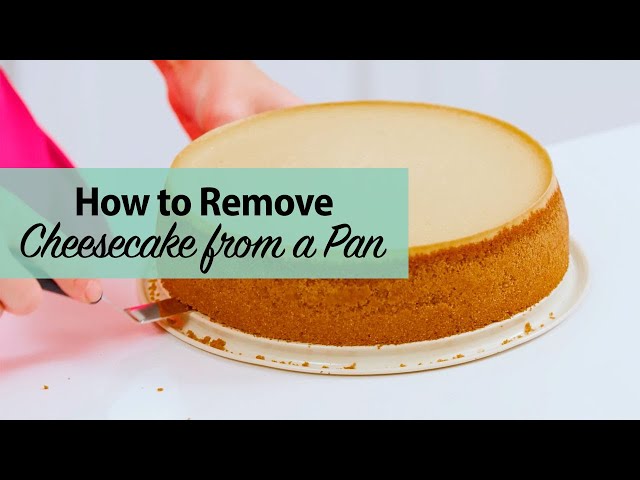
Credit: www.lifeloveandsugar.com
Cooling The Cheesecake
Cooling the cheesecake is a crucial step in the process. Proper cooling prevents cracks and ensures the best texture. Many skip this step, leading to less than perfect results. For a smooth finish, follow these steps carefully.
Let It Cool On The Counter
After baking, let the cheesecake rest on the counter. Allow it to cool at room temperature for about an hour. This slow cooling helps avoid sudden temperature changes. Sudden changes can cause cracks.
Loosen The Edges
Once cooled, use a thin knife to loosen the edges. Gently run the knife around the cake’s edge. This prevents sticking and makes removal easier. Be careful not to damage the cake’s surface.
Chill In The Fridge
After it cools on the counter, transfer to the fridge. Chill the cheesecake for at least four hours. Overnight is best for firm texture. The fridge helps the cake set properly.
Check For Firmness
Before removing from the pan, check its firmness. Press gently on the surface. It should feel firm but springy. If it feels too soft, chill longer. This ensures it holds its shape during removal.
Prepare For Removal
Once firm, prepare to remove the cake. Gather your tools: a flat spatula and a serving plate. These will help you transfer it smoothly. Being prepared avoids last-minute stress.
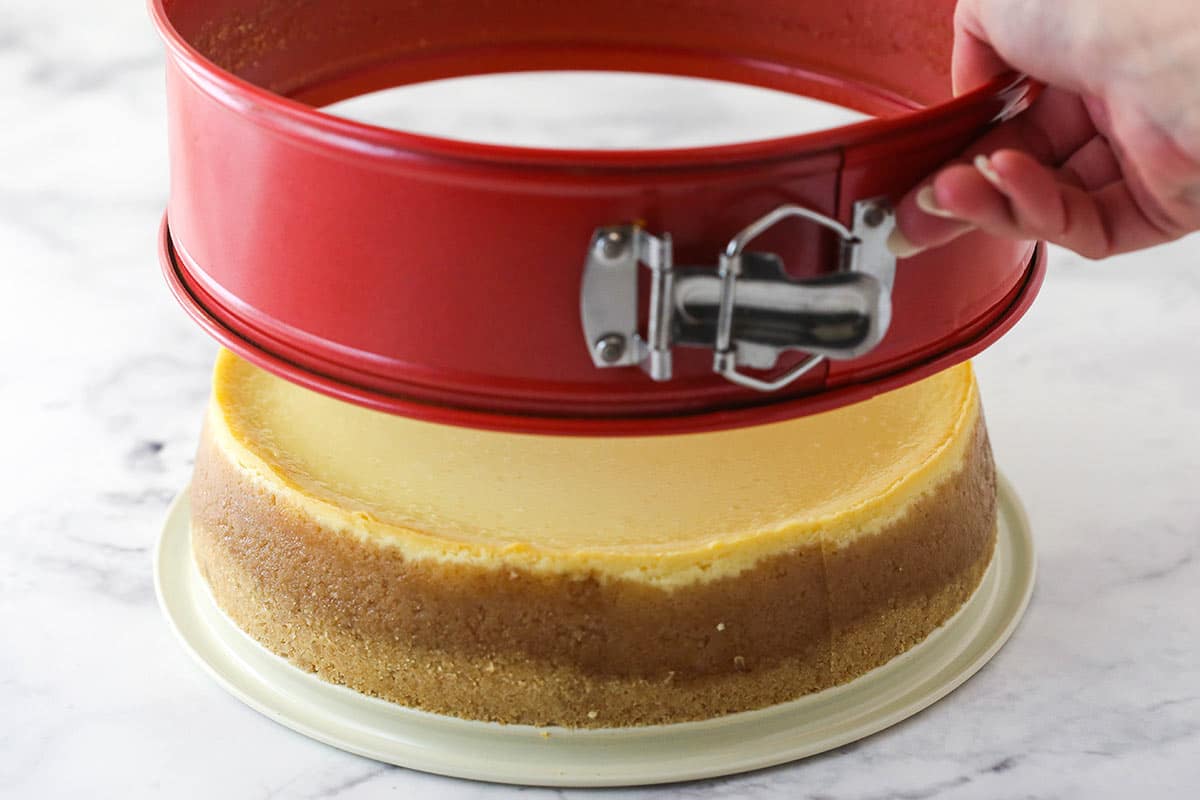
Releasing The Sides
Easily remove cheesecake from a springform pan by carefully releasing the sides. Gently run a knife around the edge. Slowly unlock the latch to prevent sticking.
Removing a cheesecake from a springform pan can be a delicate task, especially when it’s time to release the sides. You’ve crafted this beautiful dessert, and now it’s time to unveil it without any mishaps. The tension builds as you approach this crucial step. But don’t worry, with a few tips and tricks, you’ll release the sides like a pro, ensuring your cheesecake remains picture-perfect.
Loosen The Latch Carefully
Begin by slowly unlocking the latch on your springform pan. Don’t rush this step—take your time to avoid any sudden movements that might crack your cheesecake. Gently open the latch and let the sides naturally separate from the cake.
Use A Sharp Knife
If the sides are sticking, use a sharp knife to carefully trace around the edges of your cheesecake. Hold the knife at a slight angle to prevent gouging into the cake. This ensures a clean release, and you’ll feel the satisfaction as the knife glides smoothly.
Warm The Pan With A Towel
Wrap a warm, damp towel around the sides of the pan for a few minutes. The warmth helps loosen the cake’s grip on the pan, making it easier to release. It’s a simple trick that can make a big difference.
Mind The Crust
Pay attention to your crust, especially if it’s crumbly. A gentle touch is key here. A soft brush or your fingers can help coax any stubborn bits away from the pan without damaging the cake.
Trust Your Instincts
Finally, trust your instincts. You’ve been with this cheesecake from the beginning. Feel the pan’s sides as they release, and you’ll know if any adjustments are needed. There’s an art to it, and your instincts are your best guide.
What are your secret techniques for releasing the sides of a cheesecake? Maybe you have a unique method that’s foolproof. Share your thoughts and let’s master the art of cheesecake together!
Transferring The Cheesecake
Gently run a knife around the edge to loosen the cheesecake. Carefully release the springform latch to remove the side. Slide a spatula underneath and transfer the cheesecake to a serving plate.
Transferring a cheesecake from a springform pan to a serving platter can be nerve-wracking, but with the right approach, you can do it seamlessly. The last thing you want after all your hard work is a crumbled masterpiece. With a few simple steps, you can ensure your cheesecake remains intact and presentation-ready.
Preparation Is Key
Start by ensuring your cheesecake is thoroughly chilled. This helps it firm up, making it easier to handle. A cheesecake that’s been in the fridge overnight is ideal. Have you ever tried to move a warm cheesecake? It can turn into a gooey mess!
Release The Sides
Carefully run a thin knife or offset spatula around the edges of the cheesecake. This will prevent the sides from sticking to the pan. Make sure your knife is clean and dry; a wet knife can lead to a sticky situation.
Remove The Outer Ring
Unlatch the springform pan’s outer ring. Do this slowly and steadily. You’ll want to avoid any sudden movements that might jostle the cheesecake. If you’ve prepped correctly, the ring should come off smoothly.
Slide The Cheesecake
Use a large spatula or a cake lifter to gently slide the cheesecake onto a serving plate. If your cheesecake feels stubborn, try using parchment paper or a cake board underneath for easier maneuvering. Have you ever used parchment paper? It’s a lifesaver in sticky situations!
Final Touches
Once transferred, you can smooth out any imperfections on the sides with a spatula. Consider adding some toppings, like fresh fruit or a drizzle of chocolate, to hide any small blemishes. What are your favorite cheesecake toppings?
With these steps, you can transfer your cheesecake like a pro. Next time you bake, you’ll be confident in showcasing your dessert masterpiece.
Credit: www.tiktok.com
Frequently Asked Questions
How Do I Prevent Cheesecake From Sticking To The Pan?
Use parchment paper or grease the pan sides. It helps release easily. Chill before removing.
Can I Remove Cheesecake While Warm?
No, allow it to cool completely. Warm cheesecake may break apart or stick. Cooling ensures firmness.
What Tools Are Best For Removing Cheesecake?
Use a butter knife or thin spatula. Gently loosen edges. A hot towel can warm and release the pan.
Conclusion
Removing cheesecake from a springform pan can be simple. Just follow these steps. First, let it cool completely. Next, gently slide a knife around the edges. Open the springform latch slowly. Lift the ring up and off. Use a spatula to slide the cheesecake onto a serving plate.
Take your time for a perfect finish. With practice, it gets easier. Enjoy your cheesecake with confidence. Share your delicious creation with friends and family. They’ll love the creamy delight. Happy baking!
Related Recipes
- Best 12 Inch Heart Shaped Cake Pan: Perfect for Baking Delight
- How to Draw a Strawberry Cheesecake? Step-by-Step Guide
- Where to Buy Philadelphia No Bake Cheesecake Filling: Top Spots
Hi there, I’m Preppy Hartwell, but you can call me Preppy—the apron-clad foodie behind Preppy Kitchen Tips! I created Preppy Kitchen Tips because I’m convinced food has a way of telling stories that words can’t. So, grab a fork and dig in. The past never tasted so good!