Soft as a Cloud: Japanese Cheesecake Recipe Easy
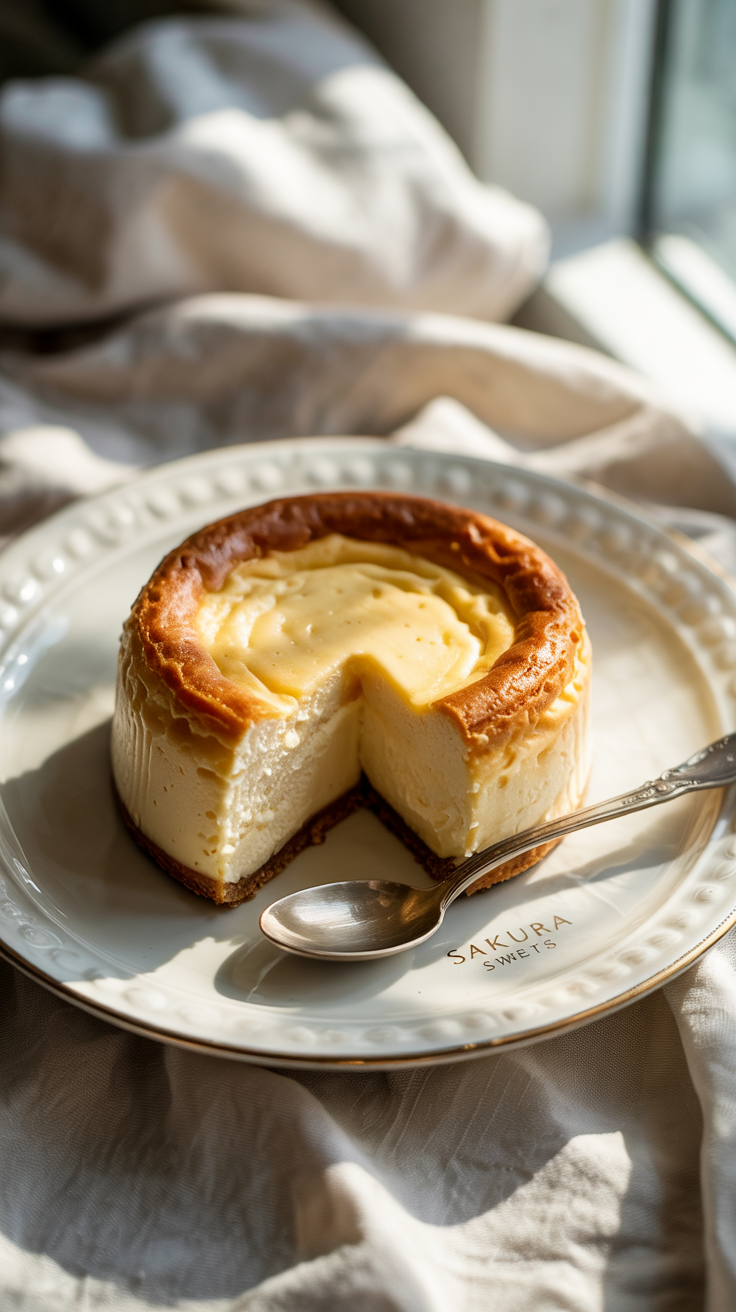
A slice of Japanese cheesecake recipe easy feels like biting into a puff of sweet air. This melt-in-your-mouth dessert blends the richness of cream cheese with the lightness of sponge cake, striking a perfect balance between creamy and fluffy. Unlike dense Western-style cheesecakes, this version offers a gentler texture and a whisper of sweetness that never overwhelms. It rises tall, jiggles softly, and finishes with a golden top that’s impossible to resist. Simple ingredients make the magic happen—eggs, cream cheese, sugar, and a bit of flour—no fancy techniques or special equipment required. The key lies in gentle folding and careful baking, and once you get that down, the results feel like a bakery-level win. Serve it chilled or slightly warm, plain or with a dusting of powdered sugar. Either way, this easy Japanese cheesecake brings a little joy with every bite. Ready to bake your own cloud? Let’s get started.
Ingredients of Japanese Cheesecake Recipe Easy
For the Cream Cheese Mixture:
- 250g (8.8 oz) cream cheese, softened
- 50g (3.5 tbsp) unsalted butter
- 100ml (½ cup) whole milk
For the Egg Mixture:
- 6 large eggs, separated
- 100g (½ cup) granulated sugar
- 60g (½ cup) cake flour (or sifted all-purpose flour)
- 20g (2 tbsp) cornstarch
- 1 tsp lemon juice or ½ tsp cream of tartar
- 1 tsp vanilla extract (optional)
Optional Toppings:
- Powdered sugar for dusting
- Fresh berries or fruit compote
Here’s a list of essential equipment you’ll need to make an easy Japanese cheesecake:
Equipment You’ll Need
- 8-inch round cake pan (preferably springform or with removable bottom)
- Parchment paper (for lining the bottom and sides)
- Mixing bowls (one large, one medium)
- Electric hand mixer or stand mixer (for whipping egg whites)
- Whisk (for combining ingredients smoothly)
- Rubber spatula (for gentle folding)
- Fine mesh sieve (for sifting flour and cornstarch)
- Measuring cups and spoons
- Kitchen scale (for accurate measurements, highly recommended)
- Water bath setup (a larger baking pan to hold water and your cake pan)
- Aluminum foil (to wrap the cake pan and prevent leaks)
- Toothpick or skewer (to test for doneness)
Step By Step Guide For This Recipe
1. Line and Prepare Your Cake Pan
Cut parchment paper to fit the bottom and sides of your 8-inch cake pan. Grease the pan lightly with butter, then press the parchment in place. Wrap the outside of the pan with two layers of aluminum foil to prevent water from seeping in during the water bath. Set the pan aside. This step helps ensure your cake releases easily and bakes evenly without a soggy bottom.
2. Preheat the Oven and Prepare the Water Bath
Set your oven to 320°F (160°C). Place a large deep baking tray on the center rack—this will hold your cheesecake in a water bath later. Boil a kettle of water and keep it hot. The water bath creates gentle steam that helps the cheesecake rise slowly and evenly without cracks.
3. Separate the Eggs Carefully
Crack six large eggs and separate the yolks from the whites. Place the whites in a clean, dry mixing bowl and refrigerate them while you prepare the batter. Cold egg whites whip better and form more stable peaks. Make sure there’s no yolk in the whites, or they won’t whip properly.
4. Melt Cream Cheese, Butter, and Milk Together
In a heatproof bowl, combine cream cheese, butter, and milk. Place the bowl over a saucepan of simmering water (double boiler method) and stir until everything melts into a smooth mixture. This step removes lumps and makes your batter silky. Once fully melted and blended, remove from heat and let it cool slightly.
5. Add Egg Yolks and Vanilla to the Mixture
Whisk the egg yolks into the slightly cooled cream cheese mixture, one at a time. Stir in vanilla extract if using. Mix until the batter becomes smooth and glossy. This step creates the base flavor and texture of your cheesecake.
6. Sift and Fold in the Dry Ingredients
Sift cake flour and cornstarch directly into the cream cheese and yolk mixture. Gently fold with a rubber spatula until no dry spots remain. Be careful not to overmix, as this can create a dense texture. The flour stabilizes the cheesecake while keeping it soft and tender.
7. Whip Egg Whites to Soft Peaks
Take the chilled egg whites from the fridge and begin whipping them on medium speed. Once they turn foamy, add lemon juice or cream of tartar. Gradually sprinkle in sugar while continuing to whip. Beat until soft, glossy peaks form—not stiff peaks. Overbeaten egg whites can make your cake collapse.
8. Fold the Meringue Gently Into the Batter
Add one-third of the whipped egg whites into the batter and stir gently to loosen the mixture. Then fold in the remaining egg whites in two parts, using a rubber spatula and a gentle hand. Use a scoop-and-turn motion to avoid deflating the batter. The air in the meringue gives the cake its signature fluffiness.
9. Pour the Batter Into the Pan
Transfer the finished batter into your prepared cake pan. Tap the pan gently on the counter to release air bubbles trapped inside. Smooth the surface with a spatula. Your batter should feel light and airy at this stage, almost like mousse.
10. Bake the Cheesecake in a Water Bath
Place the filled cake pan into the preheated water bath. Carefully pour the hot water into the outer tray so it reaches halfway up the sides of the cake pan. Bake for 25 minutes at 320°F (160°C), then lower the heat to 285°F (140°C) and bake for another 55–60 minutes. The top should turn lightly golden and the cake should jiggle slightly in the center.
11. Cool Gradually to Prevent Cracks
Once baked, turn off the oven but leave the cheesecake inside with the door slightly ajar for 15 minutes. This slow cooling step prevents the cake from collapsing due to a sudden temperature change. Remove the pan from the oven and let it cool completely on a wire rack before chilling.
12. Chill Before Serving
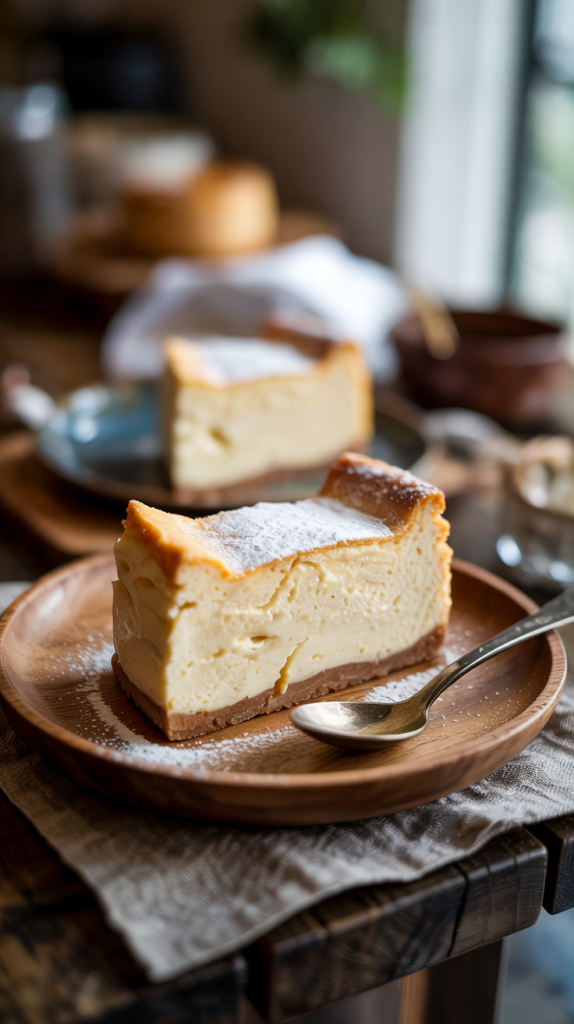
Place the cooled cheesecake in the fridge for at least 4 hours or overnight. Chilling helps it firm up and improves the flavor. Remove the parchment paper gently, dust the top with powdered sugar, and slice with a warm knife for clean cuts. The texture should feel airy, soft, and creamy with a gentle sweetness in every bite.
Folding, Baking, and Cooling the Japanese Cheesecake
Folding the Batter and Egg Whites
Folding is a delicate process that ensures your Japanese cheesecake remains light and fluffy. After whipping the egg whites to soft peaks, gently incorporate them into the cream cheese batter. Start by adding a small amount of the meringue to the batter and stir gently to lighten the mixture. Once the batter is lightened, add the rest of the meringue in two or three parts. Use a rubber spatula and a gentle folding motion to avoid deflating the air you just whipped into the egg whites. The goal is to maintain as much volume as possible to keep the cake soft and airy. Avoid stirring or mixing vigorously. If done correctly, your batter will have a smooth, fluffy consistency that will bake up beautifully.
Baking the Japanese Cheesecake
Baking a Japanese cheesecake requires patience. It’s important to use a water bath to ensure even baking and prevent cracks. Preheat your oven to 320°F (160°C) and set up a large baking tray in the center of the oven. Fill it with hot water until it reaches halfway up the sides of the cake pan. The steam from the water bath helps regulate the heat, ensuring a gentle rise and a soft, moist cake. Bake the cheesecake for 25 minutes at 320°F (160°C), then lower the temperature to 285°F (140°C) and bake for another 55–60 minutes. You should notice the cake beginning to puff up slightly and turn golden brown on top. A toothpick inserted into the center of the cake should come out clean or with only a few crumbs attached.
Cooling the Japanese Cheesecake
Once the baking time is complete, avoid removing the cheesecake from the oven immediately. Instead, turn off the oven and leave the door slightly ajar for 15 minutes. This gradual cooling prevents a sudden drop in temperature that can cause the cake to shrink or crack. After 15 minutes, carefully remove the cheesecake from the oven and let it cool completely on a wire rack at room temperature. It’s important not to rush this step—cooling the cheesecake slowly ensures that it retains its delicate structure. Once it reaches room temperature, place the cheesecake in the refrigerator to chill for at least 4 hours or overnight. Chilling helps set the texture and enhances the flavor. The cake should be firm but still slightly wobbly in the center when fully chilled.
FAQs
1. Why did my Japanese cheesecake crack on top?
Cracking typically happens due to sudden temperature changes. To prevent this, always cool the cheesecake gradually in the oven before removing it. A water bath also helps ensure even heat distribution during baking.
2. Can I use low-fat cream cheese for a lighter version?
Yes, you can substitute low-fat cream cheese, but keep in mind that it may affect the texture and flavor slightly. The cheesecake might not be as rich or fluffy, but it will still be delicious.
3. How can I ensure my cheesecake has a smooth texture?
Make sure to sift the flour and cornstarch to avoid lumps in the batter. Also, when folding in the egg whites, be gentle to retain air, which gives the cake its signature lightness.
4. How long should I bake the cheesecake?
Bake at 320°F (160°C) for 25 minutes, then reduce the temperature to 285°F (140°C) and bake for another 55-60 minutes. Always check with a toothpick—when it comes out clean or with a few crumbs, your cake is done.
5. Can I make this cheesecake in advance?
Yes! Japanese cheesecake is best chilled for a few hours or even overnight. In fact, making it in advance allows the flavors to set and the texture to firm up.
Conclusion
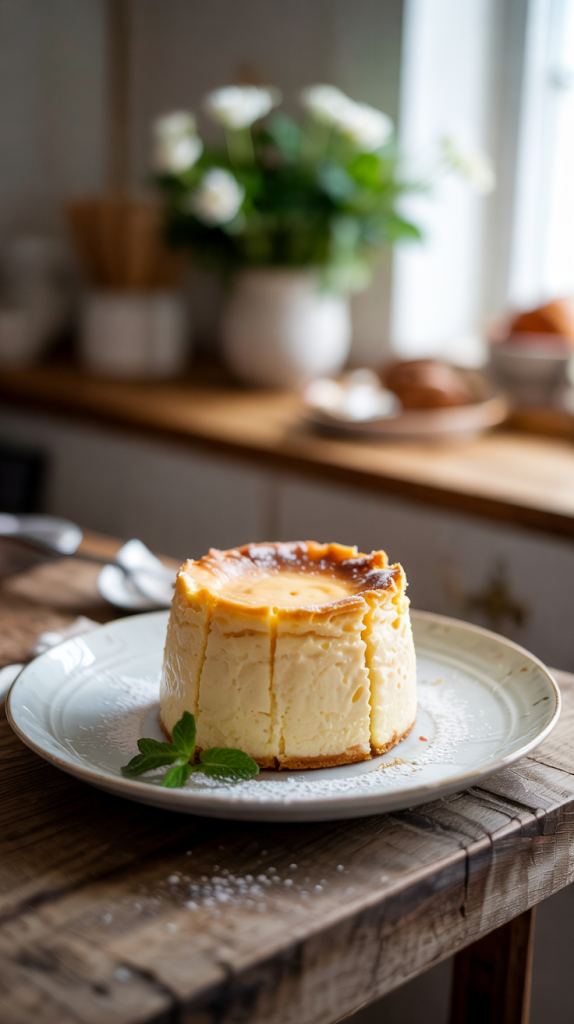
Japanese cheesecake is a delightful treat that’s light, fluffy, and simply irresistible. With the right techniques, it’s surprisingly easy to make at home. From carefully folding the egg whites to baking in a water bath and cooling the cake gradually, every step contributes to the airy, melt-in-your-mouth texture. Whether you serve it plain or topped with a dusting of powdered sugar, this cheesecake is sure to impress. With just a few simple ingredients and patience, you can create a dessert that feels like a luxurious indulgence. Enjoy your cloud-like creation, and don’t forget to share the joy with friends and family!
Related Recipes