
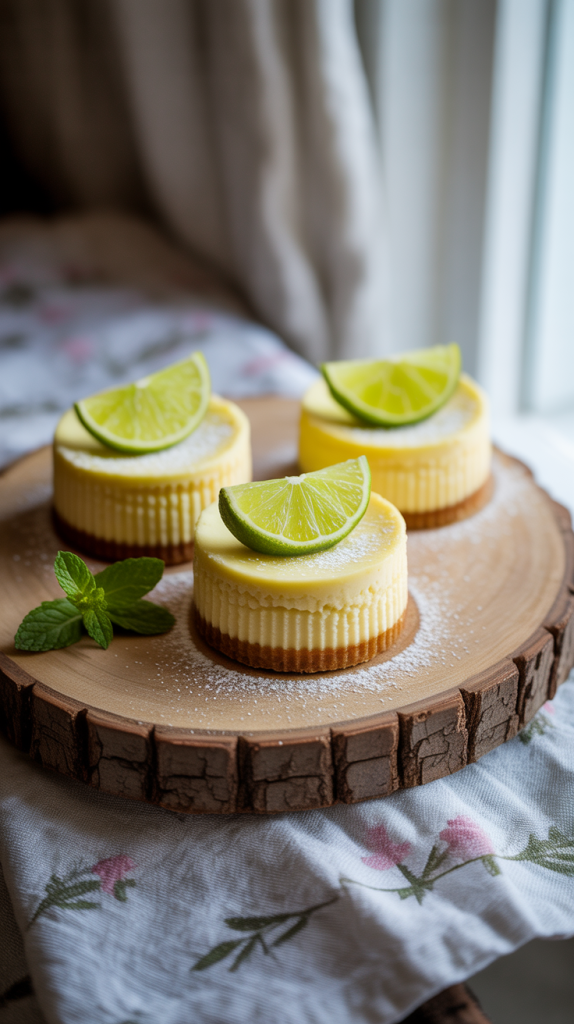
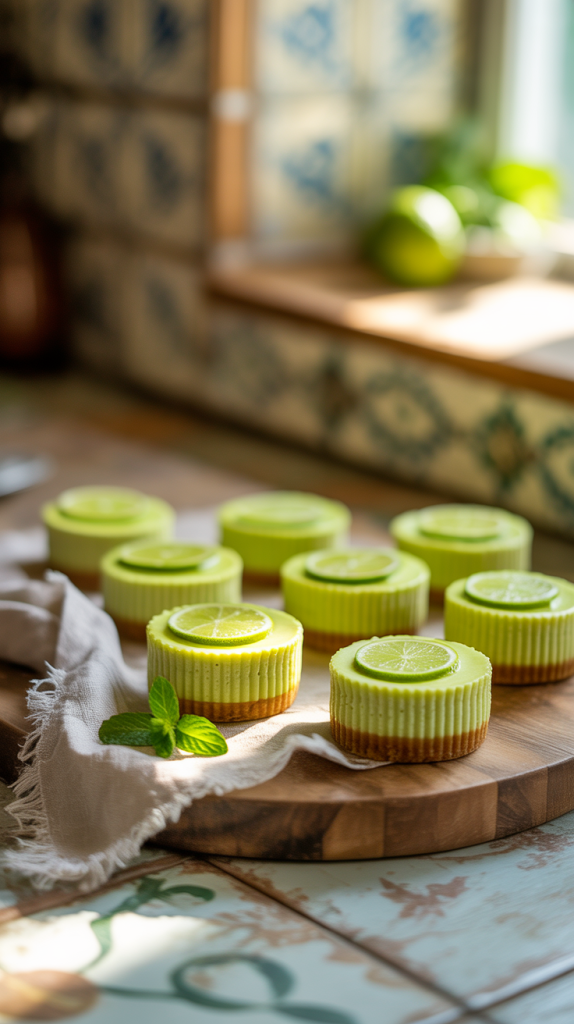
Bright citrus flavor meets creamy decadence in these irresistible Mini Key Lime Cheesecakes. Each bite-sized dessert delivers the perfect balance of tangy lime and smooth, rich filling on a buttery graham cracker crust. These treats shine at parties, make stunning gifts, and bring a pop of color and flavor to any table. Their individual size adds charm and practicality, keeping portions controlled while still satisfying the sweet tooth. Real key lime juice gives them a bold, tropical twist that sets them apart from ordinary cheesecakes. No fork required—just pure enjoyment. These mini marvels chill quickly, travel easily, and disappear fast. Serve them at brunches, BBQs, or as a light finish to heavy meals. The fresh, citrusy aroma alone will draw guests in before the first bite. This is dessert with personality—bright, bold, and ready to impress.
Ingredients Of Mini Key Lime Cheesecakes
For the Crust:
- 1 cup graham cracker crumbs (about 8 whole crackers)
- 2 tablespoons granulated sugar
- 4 tablespoons unsalted butter, melted
For the Cheesecake Filling:
- 12 oz cream cheese, softened (1.5 blocks)
- 1/3 cup granulated sugar
- 1 large egg
- 1/4 cup sour cream
- 1/4 cup fresh key lime juice (or bottled if unavailable)
- 1 teaspoon key lime zest
- 1/2 teaspoon vanilla extract
Optional Toppings:
- Whipped cream
- Extra key lime zest or lime slices
- Crushed graham crackers for garnish
Essential Equipment:
- 12-cup muffin tin (standard size)
- Paper or silicone cupcake liners
- Mixing bowls (one large, one medium)
- Hand mixer or stand mixer
- Rubber spatula
- Citrus zester or fine grater
- Citrus juicer or reamer
- Measuring cups and spoons
- Small spoon or scoop (for pressing crust)
- Wire cooling rack
- Refrigerator space for chilling
Optional but helpful:
- Food processor (for crushing graham crackers finely)
- Piping bag (for clean whipped cream topping)
Step By Step Guide
Step 1: Preheat the Oven and Prep the Pan
Set your oven to 325°F (163°C). Line a 12-cup muffin tin with paper liners. This ensures easy removal and perfect presentation. Lightly spritz the liners with nonstick spray if you want ultra-smooth sides.
Step 2: Crush the Graham Crackers Like a Pro
In a mixing bowl, combine 1 cup graham cracker crumbs, 2 tablespoons sugar, and 4 tablespoons melted butter. Stir until the texture feels like wet sand. Every crumb should be coated—no dry spots allowed.
Step 3: Pack the Perfect Crust
Spoon about 1 tablespoon of crust mixture into each cupcake liner. Press it down firmly with the bottom of a small glass or spoon. Bake the crusts for 5 minutes, then set them aside to cool slightly.
Step 4: Whip the Cream Cheese Until Dreamy
In a large bowl, beat 12 oz softened cream cheese until completely smooth—no lumps. Use medium speed with a hand or stand mixer. The base must be velvety for a flawless cheesecake texture.
Step 5: Add Sugar and Blend Until Silky
Add 1/3 cup granulated sugar and continue to beat until the mixture is glossy and light. Scrape the bowl so no sugar hides along the edges.
Step 6: Crack in the Egg Like a Chef
Add 1 large egg to the bowl and mix just until it disappears into the batter. Don’t overmix—you want the filling creamy, not airy.
Step 7: Stir in the Lime Magic
Add 1/4 cup sour cream, 1/4 cup key lime juice, 1 teaspoon zest, and 1/2 teaspoon vanilla extract. Mix just until combined. You’ll see the filling turn pale green and smell like sunshine.
Step 8: Fill the Liners with Care
Spoon the filling evenly into the 12 muffin cups, on top of the crusts. Each liner should be about 3/4 full. Tap the tin gently on the counter to pop any air bubbles.
Step 9: Bake Low and Slow
Place the tray in the center of your preheated oven. Bake for 15–18 minutes, or until the edges look set but the centers still jiggle slightly. That’s the key to creamy cheesecake.
Step 10: Chill, Top, and Serve Like a Pro
Let the cheesecakes cool in the tin for 30 minutes, then move them to the fridge for at least 2 hours. Top with whipped cream, lime zest, or thin lime slices just before serving. Dessert done right.
Storage Ideas
Refrigerator Storage
- Store in an airtight container in the fridge for up to 5 days.
- Keep toppings like whipped cream separate until ready to serve to avoid sogginess.
- For best texture and flavor, let them sit at room temperature for 5–10 minutes before serving.
Freezer-Friendly Option
- Freeze without toppings. Once fully chilled, place the mini cheesecakes on a baking sheet and freeze until solid (about 1–2 hours).
- Transfer to a freezer-safe container or zip-top bag with parchment paper between layers.
- Label and date the bag—they’ll stay fresh for up to 2 months.
Thawing Tips
- Thaw in the refrigerator overnight or for 1–2 hours at room temp before serving.
- Add whipped cream or garnishes only after they’re fully thawed to maintain their look and texture.
Tips & Tricks
1. Use Room Temperature Ingredients
Let your cream cheese, egg, and sour cream come to room temperature before mixing. This ensures a smooth, lump-free batter that blends beautifully.
2. Don’t Overmix the Batter
Once you add the egg, mix just until combined. Overmixing can trap air, which may cause the cheesecakes to rise too much and then collapse.
3. Fresh Key Limes Make a Difference
Fresh key lime juice and zest deliver brighter flavor than bottled versions. If key limes aren’t available, Persian limes work in a pinch—but adjust for tartness.
4. Use a Cookie Scoop for Even Filling
A medium cookie scoop gives you uniform portions, which bake evenly and look professional.
5. Tap Out the Air Bubbles
Gently tap the muffin tin on the counter before baking. This helps remove air pockets and creates a smoother top.
6. Avoid Overbaking
The cheesecakes should still jiggle slightly in the center when done. They will firm up as they cool. Overbaking causes cracks and dryness.
7. Let Them Cool Gradually
Cool them in the pan before transferring to the fridge. This step prevents drastic temperature changes that could cause sinking or cracking.
8. Decorate Just Before Serving
Top with whipped cream, lime zest, or slices right before serving to keep the presentation fresh and crisp.
9. Dress Them Up for Parties
Use gold or decorative cupcake liners for a festive look. Add tiny mint leaves or candied lime peel for extra flair.
10. Try a Flavor Twist
Want variety? Swap the lime juice for lemon, orange, or passionfruit for a different citrus twist that’s just as delicious.
FAQs
1. Can I use bottled key lime juice instead of fresh?
Yes, you can use bottled key lime juice if fresh key limes are unavailable. Just make sure it’s 100% juice with no added sweeteners or artificial flavors.
2. Why did my mini cheesecakes crack?
Cracks can happen if the batter is overmixed or the cheesecakes are overbaked. Make sure to mix only until smooth and take them out of the oven while the centers still have a slight jiggle.
3. Can I make these cheesecakes ahead of time?
Absolutely! These are perfect make-ahead desserts. You can refrigerate them for up to 5 days or freeze them (without toppings) for up to 2 months.
4. Do I need to use a water bath?
No water bath needed! Because of their small size, mini cheesecakes bake gently and evenly in a muffin tin—no extra hassle required.
5. Can I use a different crust besides graham cracker?
Definitely! Try crushed vanilla wafers, shortbread cookies, or even gingersnaps for a unique twist that pairs well with citrus.
Conclusion
Mini Key Lime Cheesecakes are the ultimate balance of rich, creamy indulgence and bright, zesty refreshment. They’re easy to prepare, fun to serve, and crowd-pleasing every single time. Whether you’re entertaining, celebrating, or just treating yourself to something special, these little bites of sunshine bring a big burst of flavor in a small package. Their smooth texture, citrusy zing, and buttery crust make them an unforgettable dessert worth repeating. One taste, and they’ll become a permanent part of your sweet recipe rotation.
Related Recipes
- No Bake Cheesecake Phyllo Cups: Sweet Bites of Bliss
- Sweet Meets Salty: Irresistible Salted Caramel Cheesecake Recipes to Satisfy Every Craving
- Banana Pudding Cheesecake No Bake | A Must Try Recipe
Hi there, I’m Preppy Hartwell, but you can call me Preppy—the apron-clad foodie behind Preppy Kitchen Tips! I created Preppy Kitchen Tips because I’m convinced food has a way of telling stories that words can’t. So, grab a fork and dig in. The past never tasted so good!