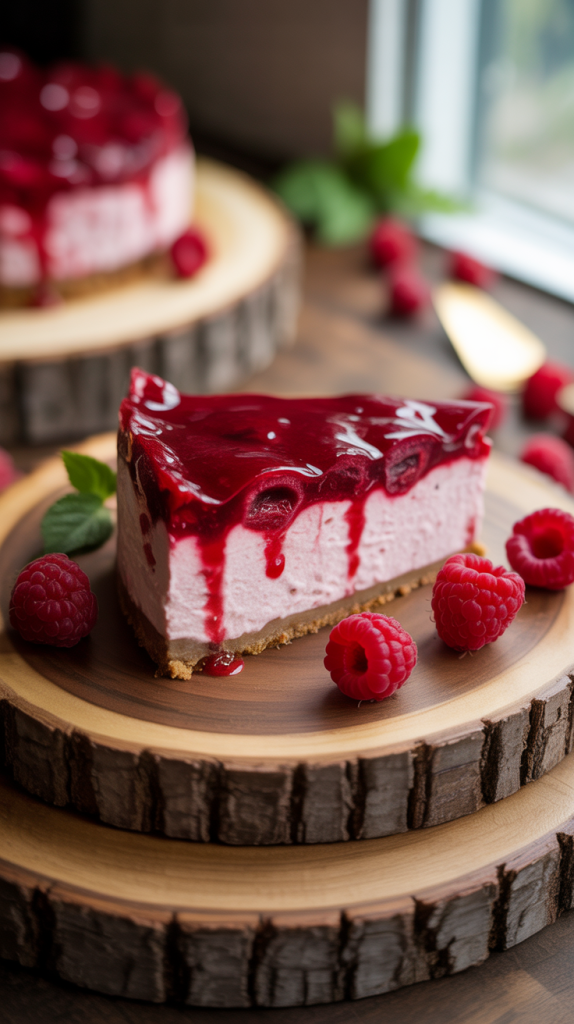
No-bake Red Rippers cheesecake slice make an unforgettable match. This no-bake slice blends creamy layers of velvety cheesecake with the nostalgic chew of crushed Red Rippers, delivering a dessert that’s bold, colorful, and unapologetically fun. Every bite offers a contrast between smooth and chewy, sweet and slightly tangy, soft and crisp. It’s a playful tribute to Aussie childhood favorites wrapped in the rich comfort of cheesecake.
This recipe skips the oven entirely, making it perfect for warm days or lazy weekends. The prep feels effortless, and the results look impressive enough for any party or celebration. Red Rippers infuse the base and topping with a punch of color and flavor that turns heads and sparks conversation. From the first slice to the last crumb, this treat delivers nostalgic joy and creamy indulgence in perfect harmony. Fans of classic lollies and cheesecake will find their new obsession here.
Ingredients
Base:
- 200g plain sweet biscuits (like Marie or Digestives), crushed
- 100g unsalted butter, melted
- 5 Red Rippers, finely chopped
Cheesecake Layer:
- 500g cream cheese, softened
- 300ml thickened cream
- 1/2 cup icing sugar (confectioner’s sugar)
- 1 tsp vanilla extract
- 6 Red Rippers, melted with 1 tbsp water (microwave in short bursts and stir until smooth)
Topping:
- 4–5 Red Rippers, chopped into small bits
- Optional: extra Red Rippers cut into strips for garnish
- Optional: whipped cream for serving
Equipment Needed
To prepare this vibrant and creamy treat, you’ll need a few basic kitchen tools:
- 8-inch square baking pan (lined with baking paper for easy removal)
- Mixing bowls (at least two – one for the base, one for the filling)
- Electric hand mixer or stand mixer (for whipping the cheesecake mixture)
- Rubber spatula (for folding and smoothing the layers)
- Measuring cups and spoons
- Food processor or rolling pin with ziplock bag (for crushing biscuits)
- Microwave-safe bowl (to melt Red Rippers)
- Offset spatula or butter knife (to smooth the top layer)
- Chopping board and knife (for cutting Red Rippers)
- Refrigerator (for setting the slice, minimum 4 hours or overnight)
Step-by-Step Guide: How to Make No-Bake Red Rippers Cheesecake Slice
Step 1: Line the Pan
Line an 8-inch square baking pan with baking paper, making sure to leave some overhang on the sides. This will help you lift the slice out easily once it’s set.
Step 2: Crush the Biscuits
Place the plain sweet biscuits in a food processor and pulse until finely crushed. If you don’t have a processor, pop them in a ziplock bag and crush with a rolling pin.
Step 3: Add Butter and Chopped Red Rippers
Transfer the crushed biscuits to a bowl. Add melted butter and finely chopped Red Rippers. Mix until the texture feels like wet sand and everything is well coated.
Step 4: Press the Base into the Pan
Pour the biscuit mixture into your lined pan. Press it down firmly using the back of a spoon or the base of a glass. Make sure it’s even and tight. Refrigerate while you prep the filling.
Step 5: Soften the Cream Cheese
Place the cream cheese in a mixing bowl. Beat it with an electric mixer for 1–2 minutes until smooth and creamy with no lumps.
Step 6: Add Sugar and Vanilla
Add the icing sugar and vanilla extract to the cream cheese. Beat again until everything is fully combined and silky.
Step 7: Whip the Cream Separately
In a separate bowl, whip the thickened cream until stiff peaks form. This will help your cheesecake hold its shape and stay light.
Step 8: Melt the Red Rippers
Chop the Red Rippers and place them in a microwave-safe bowl with 1 tablespoon of water. Microwave in 15-second bursts, stirring each time, until melted and smooth.
Step 9: Combine and Fold Everything Together
Gently fold the whipped cream into the cream cheese mixture. Then swirl in the melted Red Rippers. Mix gently to keep the air in the filling.
Step 10: Spread, Decorate, and Chill
Pour the cheesecake mixture over the chilled base. Smooth the top with a spatula. Sprinkle chopped Red Rippers over the top for garnish. Cover and refrigerate for at least 4 hours, or overnight, until set. Slice and enjoy!
Tips and Tricks
- Use full-fat cream cheese for the creamiest texture and best flavor.
- Make sure the cream cheese is completely softened before mixing to avoid lumps.
- Whip the cream just until stiff peaks form—overwhipping can make it grainy.
- Press the biscuit base firmly and evenly to help it hold together when sliced.
- Melt the Red Rippers slowly in short microwave bursts to prevent burning or seizing.
- Chill the slice overnight for the best set and easier slicing.
- Use a sharp knife warmed under hot water to cut clean slices without cracking.
- Feel free to swap Red Rippers for similar chewy fruit lollies if unavailable.
- Add a splash of lemon juice to the cheesecake mix to balance sweetness with a hint of tang.
- Store leftovers covered in the fridge and enjoy within 3 days for maximum freshness.
Frequently Asked Questions (FAQs)
1. Can I make this cheesecake slice ahead of time?
Absolutely! This no-bake cheesecake slice actually tastes better after chilling overnight, which helps it set perfectly and develop flavors.
2. What can I use if I don’t have Red Rippers?
You can substitute Red Rippers with other chewy fruit lollies like strawberry or raspberry-flavored candies. Just melt and chop them similarly.
3. Is it possible to make this dessert gluten-free?
Yes! Use gluten-free biscuits for the base, and double-check that your Red Rippers or substitute lollies are gluten-free.
4. Can I freeze the cheesecake slice?
Yes, wrap it tightly in plastic wrap and freeze for up to one month. Thaw in the fridge overnight before serving.
5. How do I get clean slices when serving?
Use a sharp knife dipped in hot water and wiped dry before slicing. This helps create smooth, neat edges without cracking.
Conclusion
The No-Bake Red Rippers Cheesecake Slice brings a playful twist to classic cheesecake with its chewy, colorful Red Rippers and creamy layers. Simple to prepare, this no-bake dessert saves time while delivering big flavor and a fun texture contrast. Perfect for warm days, parties, or anytime a sweet treat is needed without heating up the kitchen. This Aussie-inspired slice invites everyone to enjoy a nostalgic favorite in a fresh, indulgent form. Try it, share it, and watch it become a new crowd-pleaser!
Related Recipes
- No-Bake Keto Cheesecake: Creamy, Dreamy & Guilt-Free Dessert Bliss
- Is Cheesecake Gluten Free? Everything You Need to Know
- Neapolitan Cheesecake: A Triple-Layered Dream You’ll Crave Again
Hi there, I’m Preppy Hartwell, but you can call me Preppy—the apron-clad foodie behind Preppy Kitchen Tips! I created Preppy Kitchen Tips because I’m convinced food has a way of telling stories that words can’t. So, grab a fork and dig in. The past never tasted so good!