Raspberry Swirl Cheesecake: A Burst of Berry Bliss in Every Slice
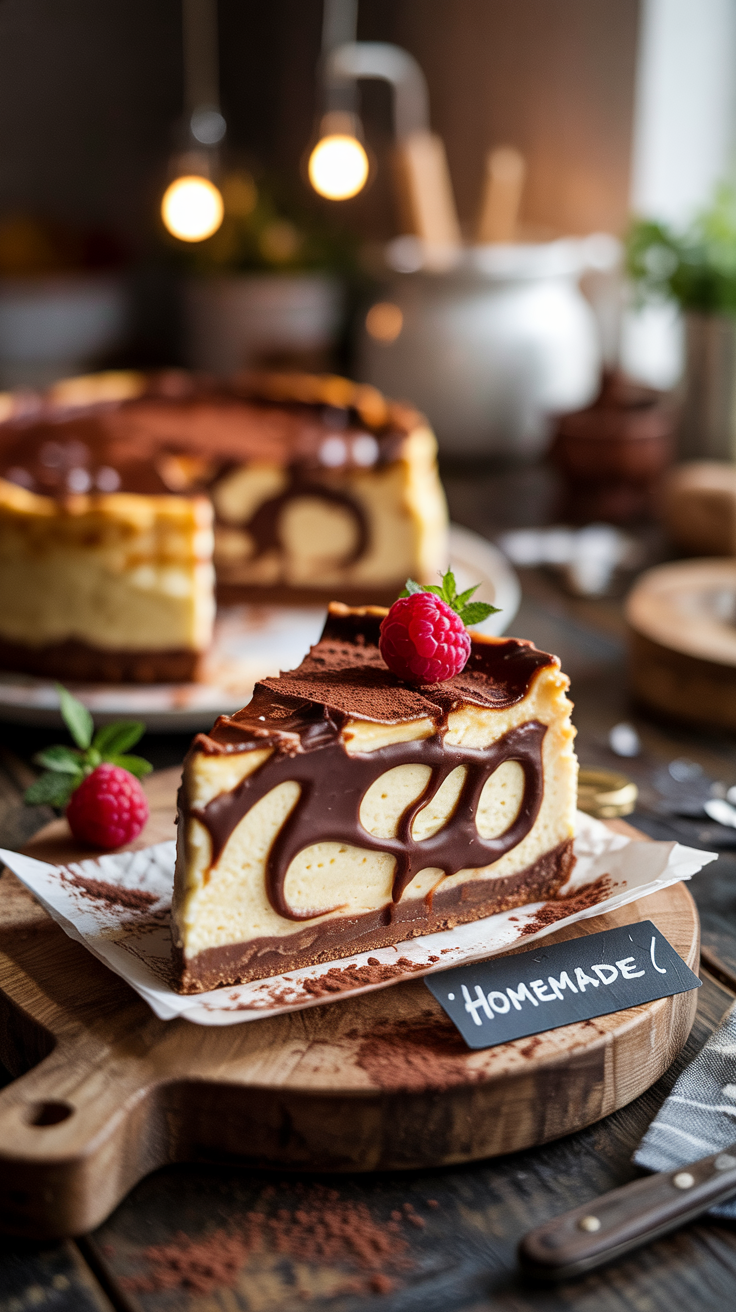
A velvety cheesecake with bold raspberry swirls brings elegance and excitement to any dessert table. This dessert blends the richness of classic New York-style cheesecake with the fresh, slightly tart flavor of real raspberries. Each bite offers a balance of creamy texture and fruity brightness, making it an unforgettable treat for both casual dinners and special occasions.
The visual appeal alone is enough to draw attention. Vibrant raspberry ribbons twist through the smooth, ivory filling, creating a marbled masterpiece that looks as stunning as it tastes. A buttery graham cracker crust adds just the right amount of crunch, making every layer a perfect match.
This raspberry swirl cheesecake doesn’t just satisfy sweet cravings—it impresses guests, sparks conversation, and disappears faster than you expect. Serve it chilled, top it with extra berries, and enjoy the perfect harmony of tart and sweet, smooth and crisp. Dessert has never felt this luxurious.
Ingredients for Raspberry Swirl Cheesecake
For the Crust:
- 1 ½ cups graham cracker crumbs (about 10–12 full sheets)
- ¼ cup granulated sugar
- 6 tablespoons unsalted butter, melted
- 1/8 teaspoon salt
For the Raspberry Swirl:
- 1 cup fresh or frozen raspberries
- 2 tablespoons granulated sugar
- 1 teaspoon lemon juice
- 1 teaspoon cornstarch mixed with 1 teaspoon water
For the Cheesecake Filling:
- 24 oz (680g) cream cheese, softened (full-fat, block-style)
- 1 cup granulated sugar
- 1 cup sour cream, room temperature
- 1 teaspoon pure vanilla extract
- 3 large eggs, room temperature
- 2 tablespoons all-purpose flour
Optional Topping:
- Fresh raspberries
- Whipped cream
- Powdered sugar for dusting
Equipment Needed
- 9-inch springform pan – Essential for easy removal without damaging the cheesecake.
- Mixing bowls – Separate bowls for crust, filling, and raspberry swirl.
- Hand mixer or stand mixer – For blending the cream cheese filling until ultra-smooth.
- Food processor or blender – Helpful for making the raspberry puree.
- Fine mesh strainer – To remove raspberry seeds from the sauce for a silky texture.
- Rubber spatula – Ideal for scraping bowls and swirling the raspberry sauce.
- Measuring cups and spoons – For accurate ingredient portions.
- Baking sheet – Placed under the springform pan to catch any drips.
- Aluminum foil – To wrap the pan if using a water bath (optional but recommended).
- Cooling rack – To cool the cheesecake evenly after baking.
- Sharp knife – For clean, beautiful slices.
This simple setup ensures a flawless, bakery-quality cheesecake every time.
Preparation Steps

Step 1: Prepare the Springform Pan
Grease a 9-inch springform pan with butter or non-stick spray. Line the bottom with parchment paper for easy release. Wrap the outside of the pan with two layers of aluminum foil to prevent water from leaking in during baking.
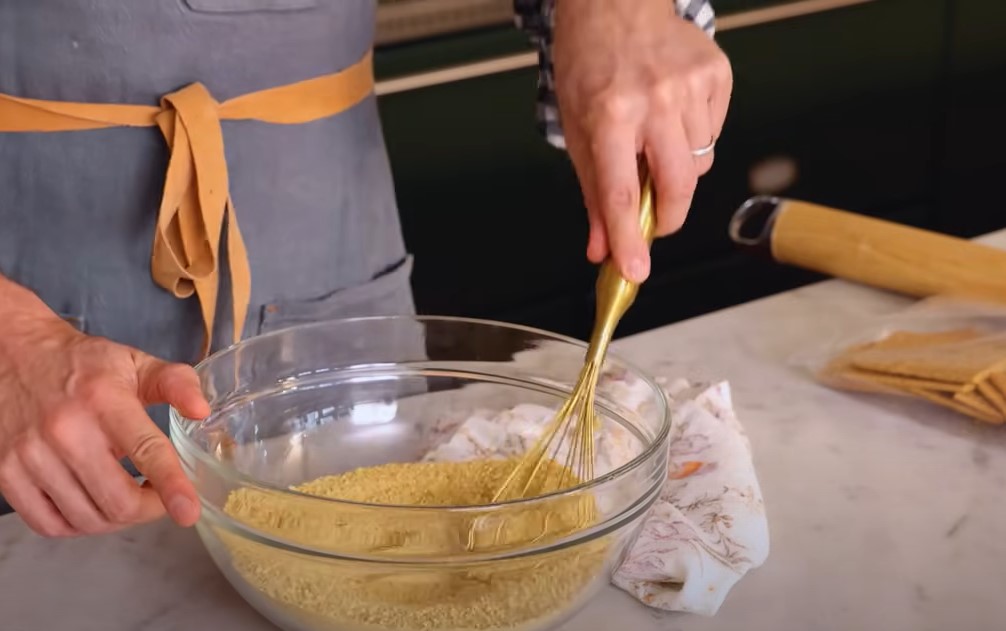
Step 2: Make the Graham Cracker Crust
In a bowl, mix graham cracker crumbs, sugar, salt, and melted butter. Stir until the texture resembles wet sand. Press the mixture firmly into the bottom of the pan using the back of a measuring cup. Chill in the fridge while you prepare the filling.
Step 3: Cook the Raspberry Swirl Sauce
In a small saucepan over medium heat, combine raspberries, sugar, and lemon juice. Stir and cook for about 5 minutes until the berries break down. Add the cornstarch slurry and simmer for another 2 minutes until thick. Strain the sauce to remove seeds and let it cool.
Step 4: Preheat the Oven
Set your oven to 325°F (163°C). Place a large pan filled halfway with hot water on the lower rack to create a steamy environment. This helps prevent cracks in the cheesecake.
Step 5: Beat the Cream Cheese
In a large bowl, beat the softened cream cheese with a hand or stand mixer on medium speed for about 2 minutes until smooth and lump-free. Scrape down the sides as needed.
Step 6: Add Sugar, Sour Cream, and Vanilla
Add the sugar to the cream cheese and mix until fully blended. Then mix in the sour cream and vanilla extract. Keep mixing until the batter is creamy and light.
Step 7: Incorporate Eggs and Flour
Add eggs one at a time, beating well after each. Do not overmix. Stir in the flour just until combined. Overmixing can introduce air and cause cracks during baking.
Step 8: Assemble the Cheesecake
Pour half the cheesecake batter into the crust. Drizzle a few spoonfuls of raspberry sauce over the top and gently swirl using a skewer or knife. Add the rest of the batter, then repeat the swirl with more sauce on top.
Step 9: Bake the Cheesecake
Place the springform pan on the middle oven rack above the water bath. Bake for 55–65 minutes or until the center is slightly jiggly. Turn off the oven, crack the door open, and let the cheesecake cool inside for 1 hour.
Step 10: Chill and Serve
Remove the cheesecake and let it cool completely on a wire rack. Refrigerate for at least 6 hours or overnight. Release from the pan, slice with a clean, hot knife, and serve with whipped cream and fresh raspberries if desired.
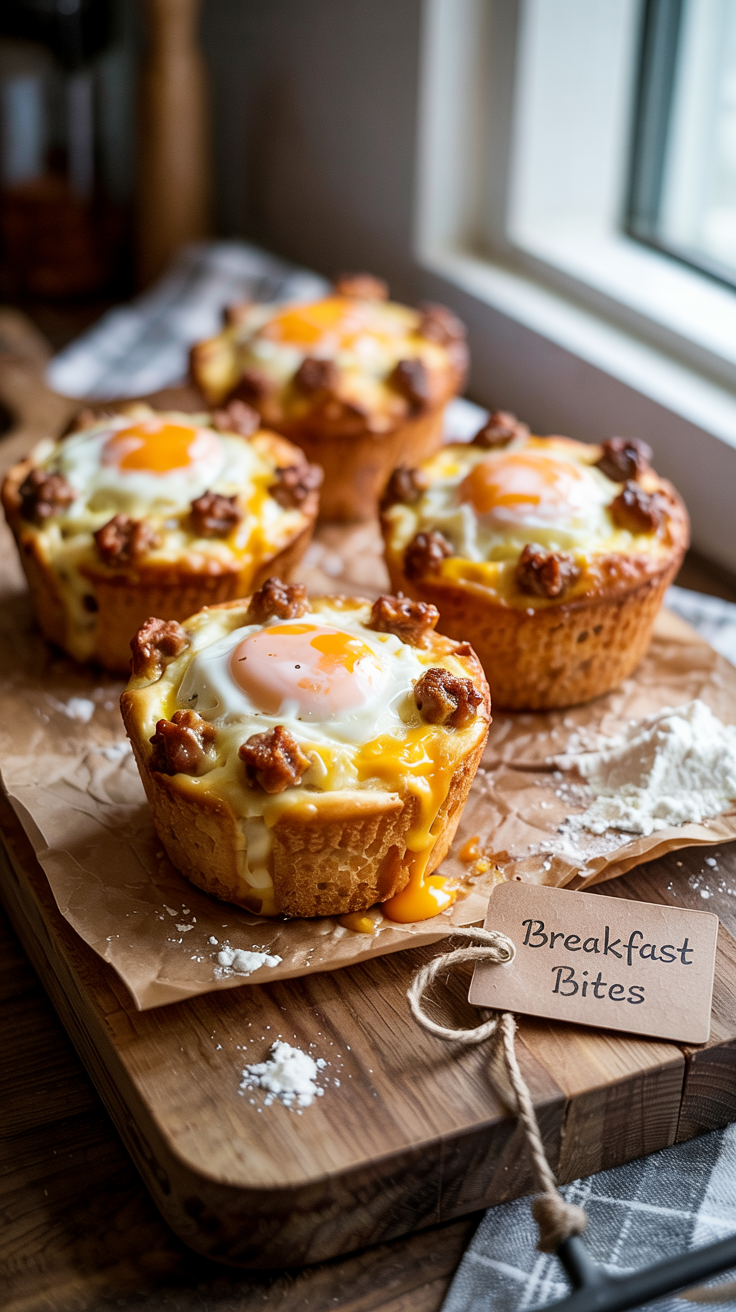
Assembling the Mini Cheesecakes
- Line Your Muffin Tin:
Place paper cupcake liners into each cup of a standard 12-count muffin tin. Lightly spray with non-stick baking spray for easier removal later. - Add the Crust Layer:
Spoon about 1 to 1½ tablespoons of the prepared graham cracker crust into each liner. Press the mixture firmly down using the back of a spoon or a small glass to create a compact base. - Spoon in the Cheesecake Batter:
Fill each liner almost to the top with the smooth cheesecake batter. Leave just a little space to avoid overflow during baking. - Swirl the Raspberry Sauce:
Add ½ to 1 teaspoon of raspberry sauce on top of each mini cheesecake. Use a toothpick or skewer to gently swirl the sauce into the batter for a marbled effect. - Bake the Mini Cheesecakes:
Bake in a preheated 325°F (163°C) oven for 18–22 minutes, or until the centers are just set and no longer glossy. Avoid overbaking. - Cool and Chill:
Let the cheesecakes cool in the muffin tin for 30 minutes. Then transfer them to the fridge to chill for at least 2 hours before serving.
These bite-sized raspberry swirl cheesecakes are creamy, tangy, and irresistibly cute!
Cooling and Serving
Cool Gradually for Best Texture:
After baking, let the cheesecake sit in the turned-off oven with the door slightly open for about 1 hour. This slow cooling helps prevent cracks on the surface. Then transfer it to a wire rack and let it cool completely at room temperature.
Chill Before Slicing:
Once fully cooled, cover the cheesecake with plastic wrap or foil and refrigerate for at least 6 hours—preferably overnight. Chilling firms up the texture and enhances the flavor, giving you clean slices and a creamy bite.
Serve with Style:
For perfect slices, dip a sharp knife in hot water and wipe it clean between cuts. Garnish with fresh raspberries, a drizzle of extra raspberry sauce, a dollop of whipped cream, or a dusting of powdered sugar. Serve cold for the best experience.
This cheesecake makes a stunning dessert for any occasion—and it tastes even better than it looks.
Frequently Asked Questions
1. Can I use frozen raspberries for the swirl?
Yes, frozen raspberries work well. Thaw them first and strain out excess liquid before cooking the sauce.
2. Why did my cheesecake crack on top?
Cracks often come from overmixing or sudden temperature changes. Use a water bath and allow the cheesecake to cool gradually to help prevent cracking.
3. How long will raspberry swirl cheesecake last in the fridge?
It will stay fresh in the refrigerator for up to 5 days if stored in an airtight container.
4. Can I freeze this cheesecake?
Yes! Freeze the whole cheesecake or individual slices for up to 2 months. Wrap tightly in plastic wrap and place in a freezer-safe container.
5. What’s the best way to swirl the raspberry sauce?
Use a toothpick or skewer to gently swirl the sauce through the batter in figure-eight motions. Don’t overdo it—less swirling creates a beautiful marbled look.
Conclusion
Raspberry swirl cheesecake delivers the perfect blend of creamy, tangy, and sweet. With its buttery crust, velvety filling, and fresh berry ribbons, it’s a show-stopping dessert that’s easier to make than it looks. Whether baked as a full-sized cheesecake or charming mini versions, each bite brings richness and balance. Enjoy it chilled, serve it proudly, and don’t forget that second slice—it’s worth it.
Related Recipes